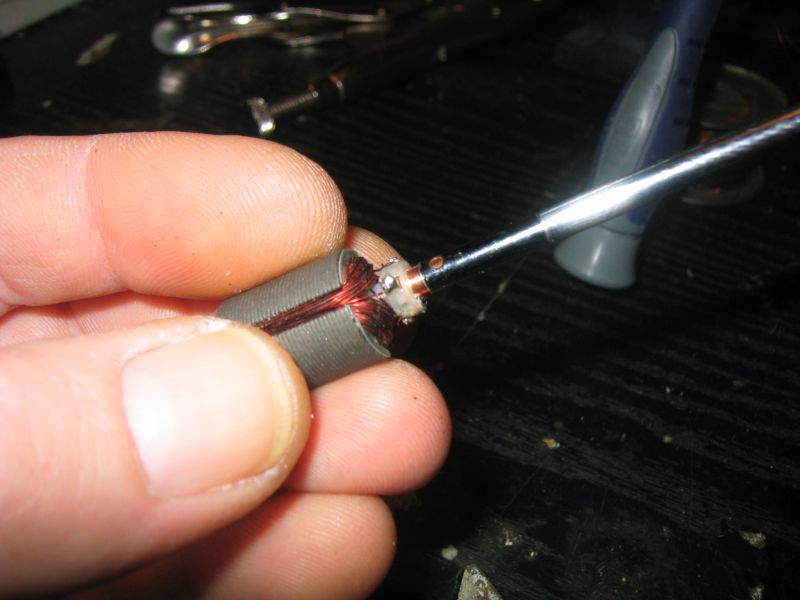
In the last pic, you'll see I've put a piece of transmitter aerial tube over the comm - this isn't usually needed, but cheap small motors tend to have comms made of thin copper leaves which are only held in place by the windings. The tube was to keep the comm segments in place whilst there was no wire on the rotor to keep them there.
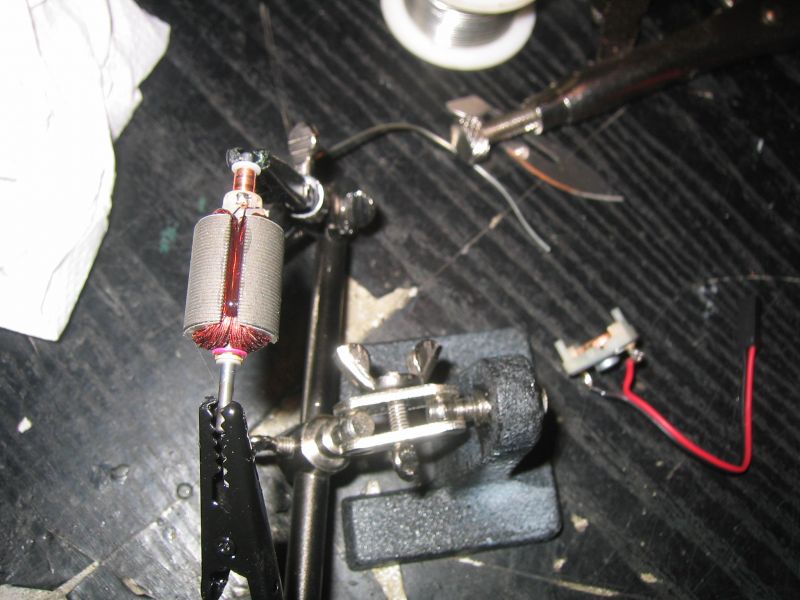
Next pic is of the rotor with its new windings on it - 80 turns per pole of 0.2mm wire in the end.
Before securing the windings, I checked my work with a multimeter - it's all too easy to pull the wire too tight when winding, & this can result in the insulating enamel wire coating being cut so the wire can short to the iron rotor core, or to other similarly damaged wires.
Resistance of the new windings is 2ohms, more than double what it was, so it should be much slower & less thirsty.
Once happy that the wire had survived the winding process, the comm connections were soldered for security
Then, the windings need to be secured so they don't shift, vibrate or come apart whilst whizzing round at 10,000rpm+. I've used epoxy in this case, but nail varnish works better if you've got some
Started getting excited at this point, I was nearly finished & ready for a run, so completely forgot to take any more pics....
The rotor was carefully assembled to the endbell first, taking care not to damage the fragile brushes, then the assembly fitted into the can. The rotor will want to "jump" into the can & tear out of the brush gear, so be ready for it &/or do something to restrict how far/fast/if it jumps.
I usually put slight sideways force on the rotor to hold it in the back bearing by friction, & also put a finger over the front bearing to stop the spindle coming through too quickly.
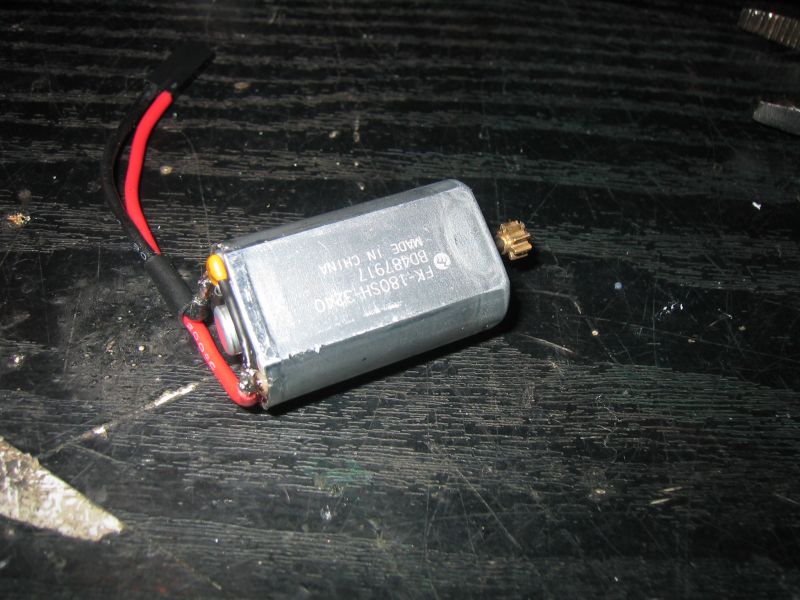
Once together, the endbell crimps were re-crimped & the various wires etc re-soldered. Pinion was re-fitted by heating to expand it & pressed onto the spindle
Span the motor up to check everything was ok, then refitted to the car & gave it a pootle around the spare room. Appears much better....
Took it to work again today & gave it a proper run. It's 200% better than it was!
It's still covering the 10m in around 3 seconds, but you can use all of the throttle now without fear of it flipping out. Still lots of wheelspin, but it's controllable & tons more fun now!
I'm a happy bunny at a job well done!


")