Keyword

TOPIC:

1965 Mustang Restoration project 4 years 5 days ago #59017

Top Manu. :y:

Please Log in to join the conversation.

1965 Mustang Restoration project 4 years 4 days ago #59052

Nice work Mate :)
If you can't fix it with a hammer, you've got an electrical problem mate :)

Please Log in to join the conversation.

1965 Mustang Restoration project 3 years 2 months ago #64508

Since then I've been working on the Mustang. After installing the engine I realized that all the wiring harnesses were very, very tired and worn out. Every wire I touched disintegrated in my hands. The insulation was disintegrating and the copper was breaking down inside. Luckily complete harness kits can be ordered in the USA, they are in the original colors as well as the connectors. So I ordered a set with some improvements, still invisible, such as a centralized fuse box, additional slots for kdes possible accessories.

So I started with the installation of the new carburetor since the electric choke has to be connected to the wiring harness. After that I also installed the electronic ignition integrated in the distributor. Only experts will notice that two cables come out of the distributor instead of one for the capacitor.


And here is the installation of the induction sensor in the distributor. The installation is very easy.
It is simply a matter of installing the rotor containing the pulse generator on the rotor. 


In comparison, here is the distributor with the original components.


With all the new parts installed.

Proud owner of the Bruiser Family
Attachments:
The following user(s) Liked this: stingray-63, Al, 1972 LeMansGT Jim

Please Log in to join the conversation.

1965 Mustang Restoration project 3 years 2 months ago #64509

That's a dream to restore a car especially a old US.

Please Log in to join the conversation.

1965 Mustang Restoration project 3 years 2 months ago #64510

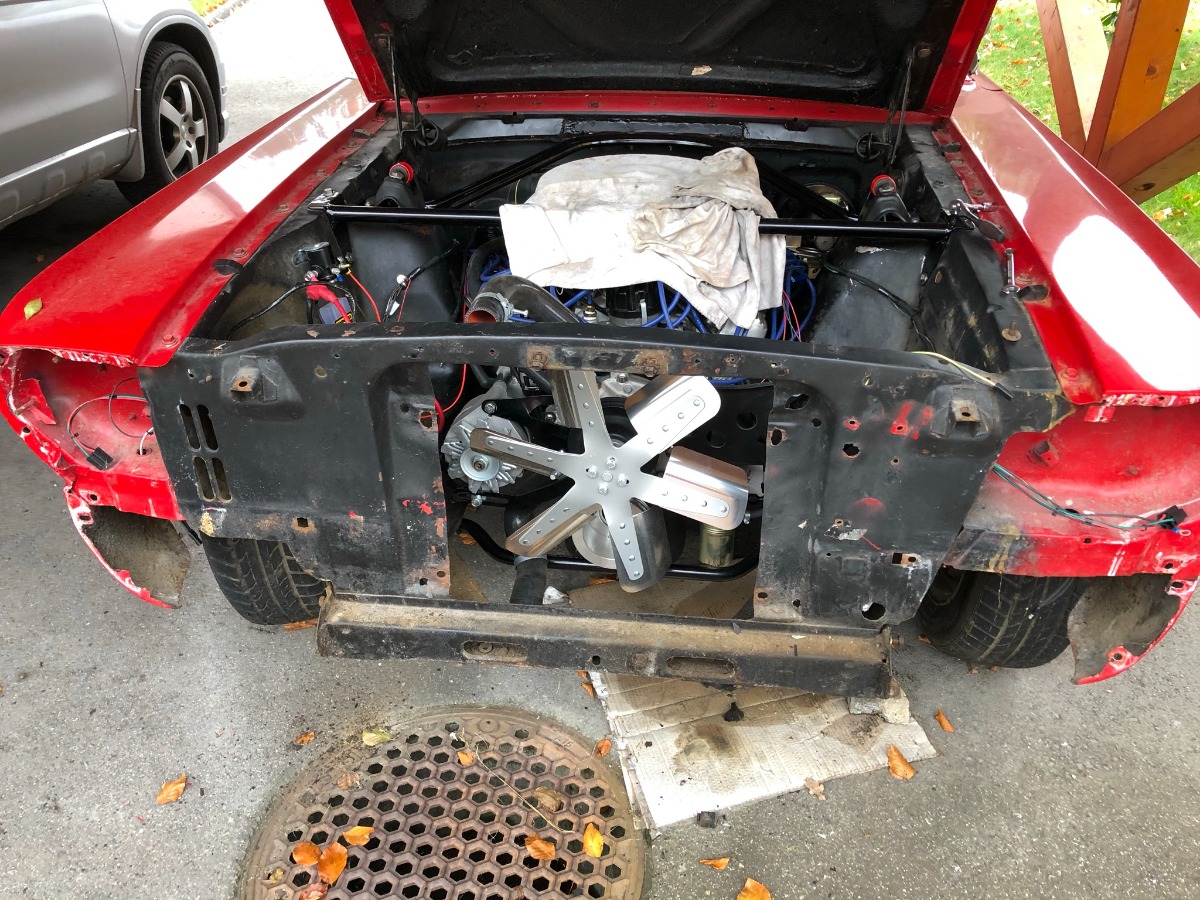
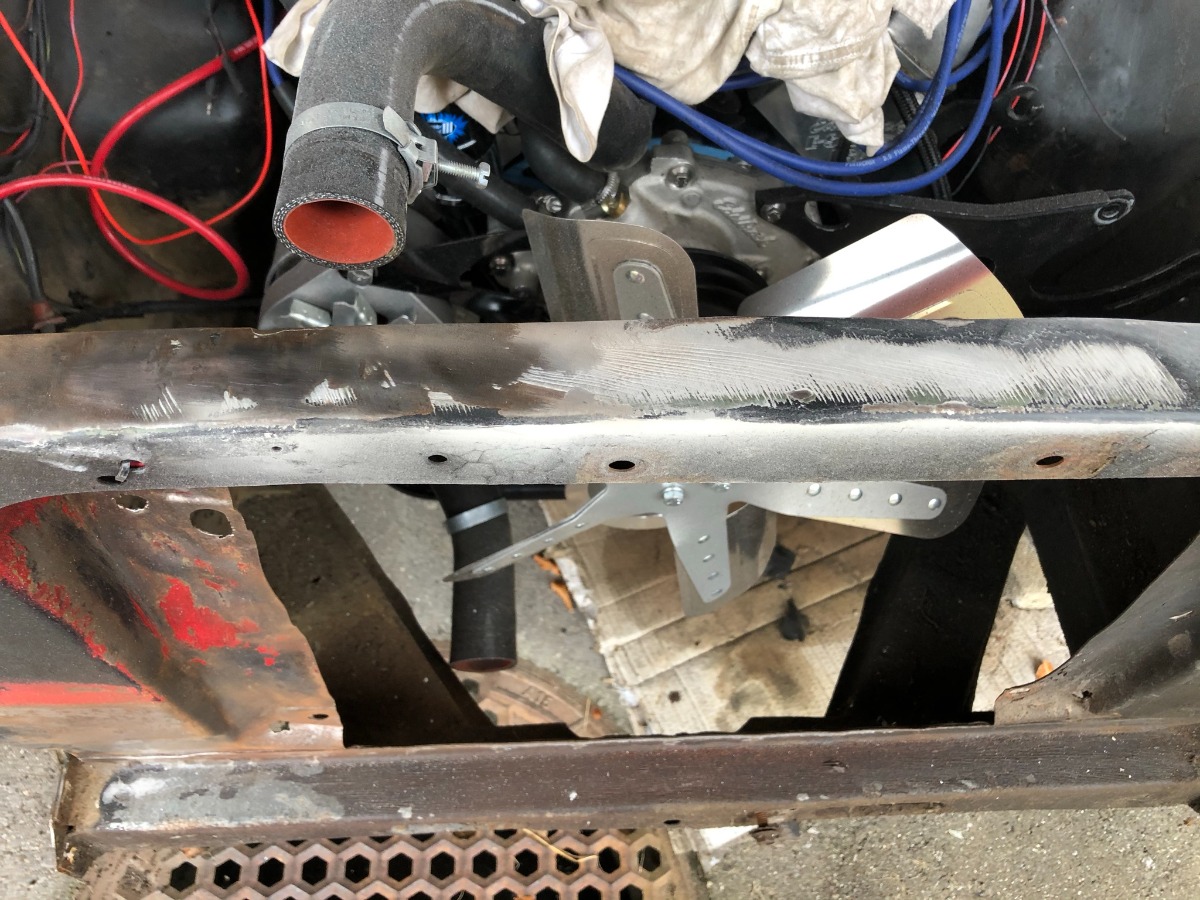
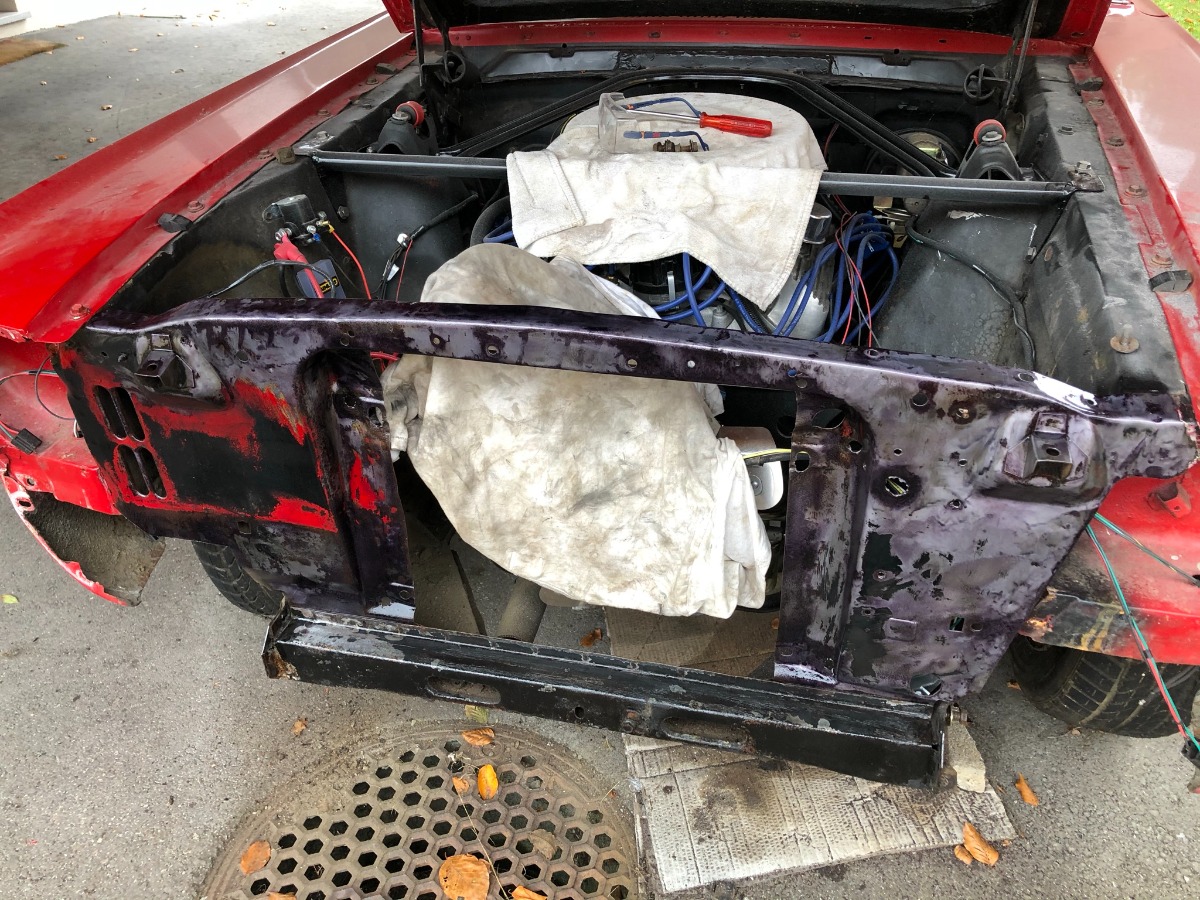
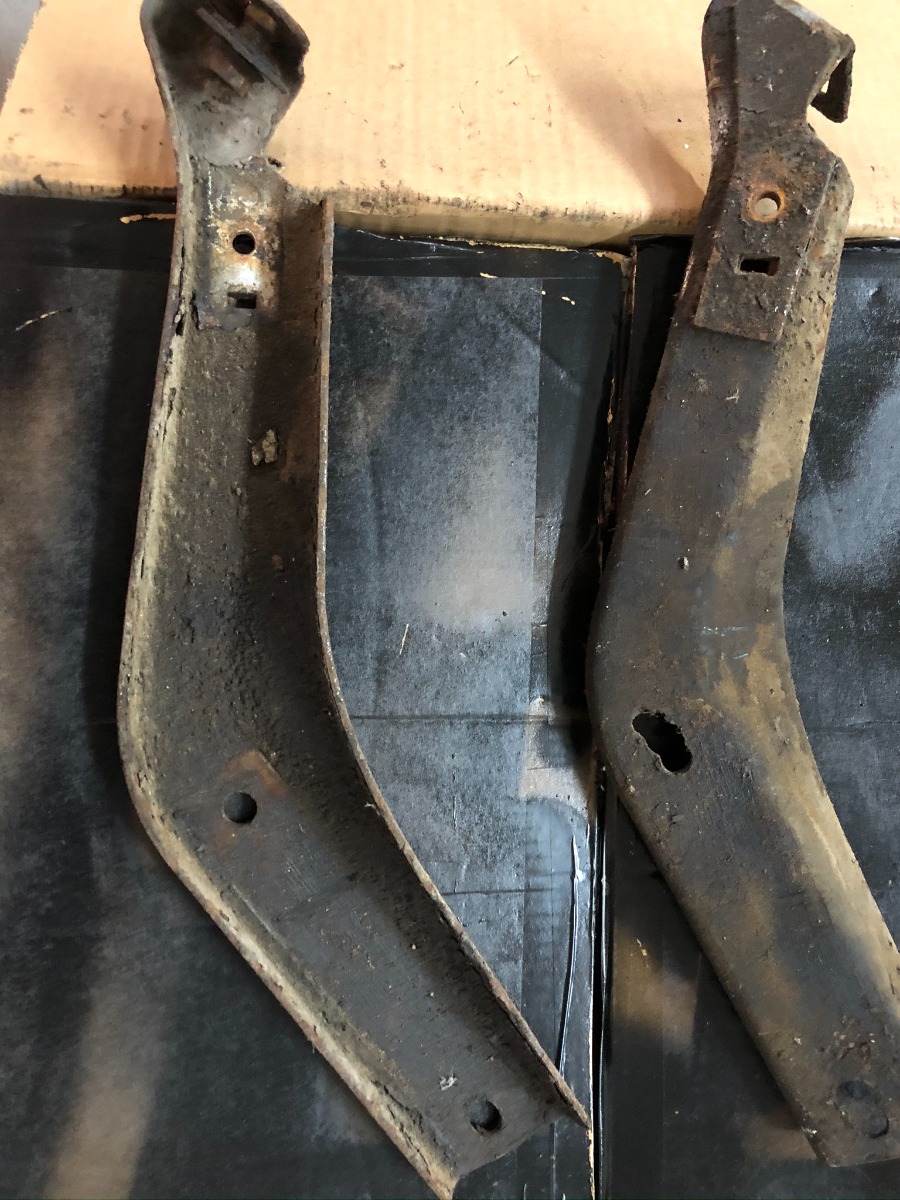
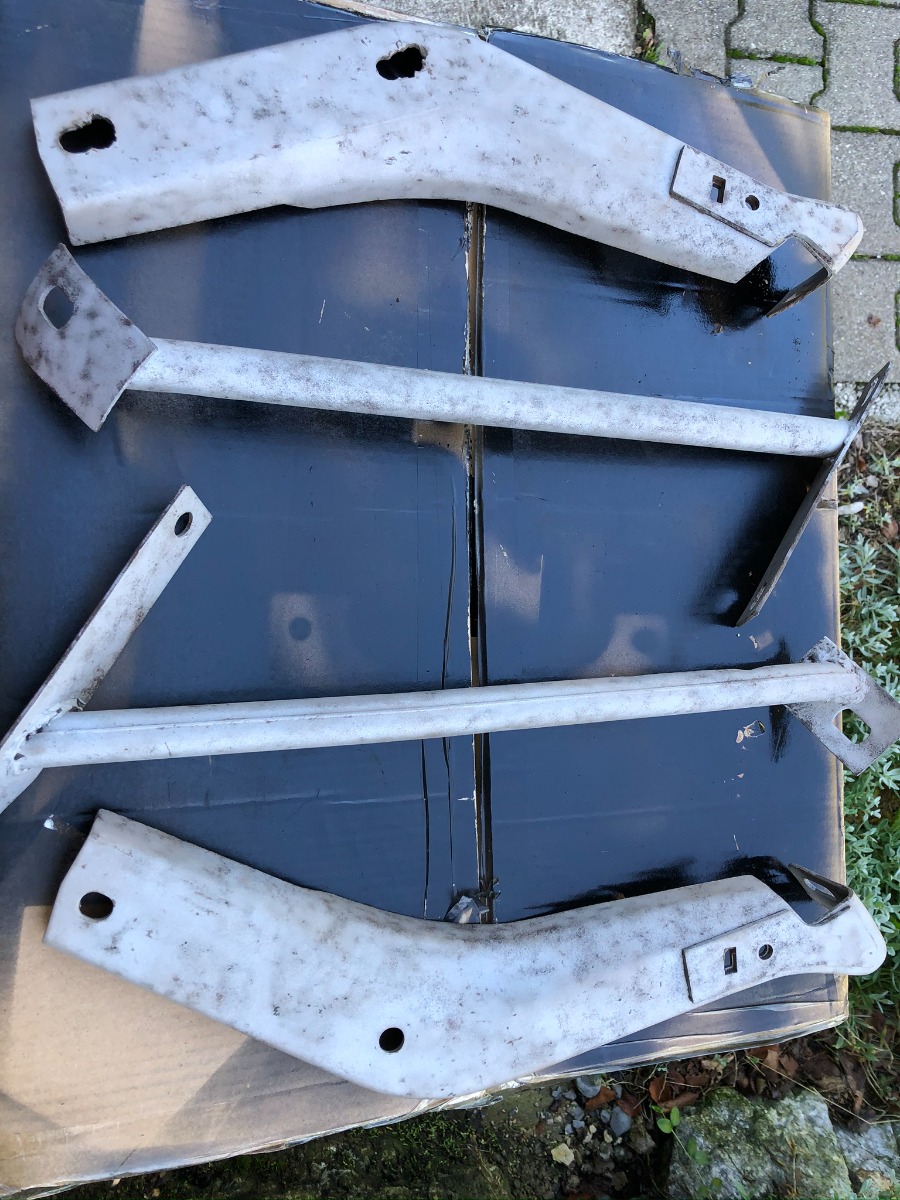
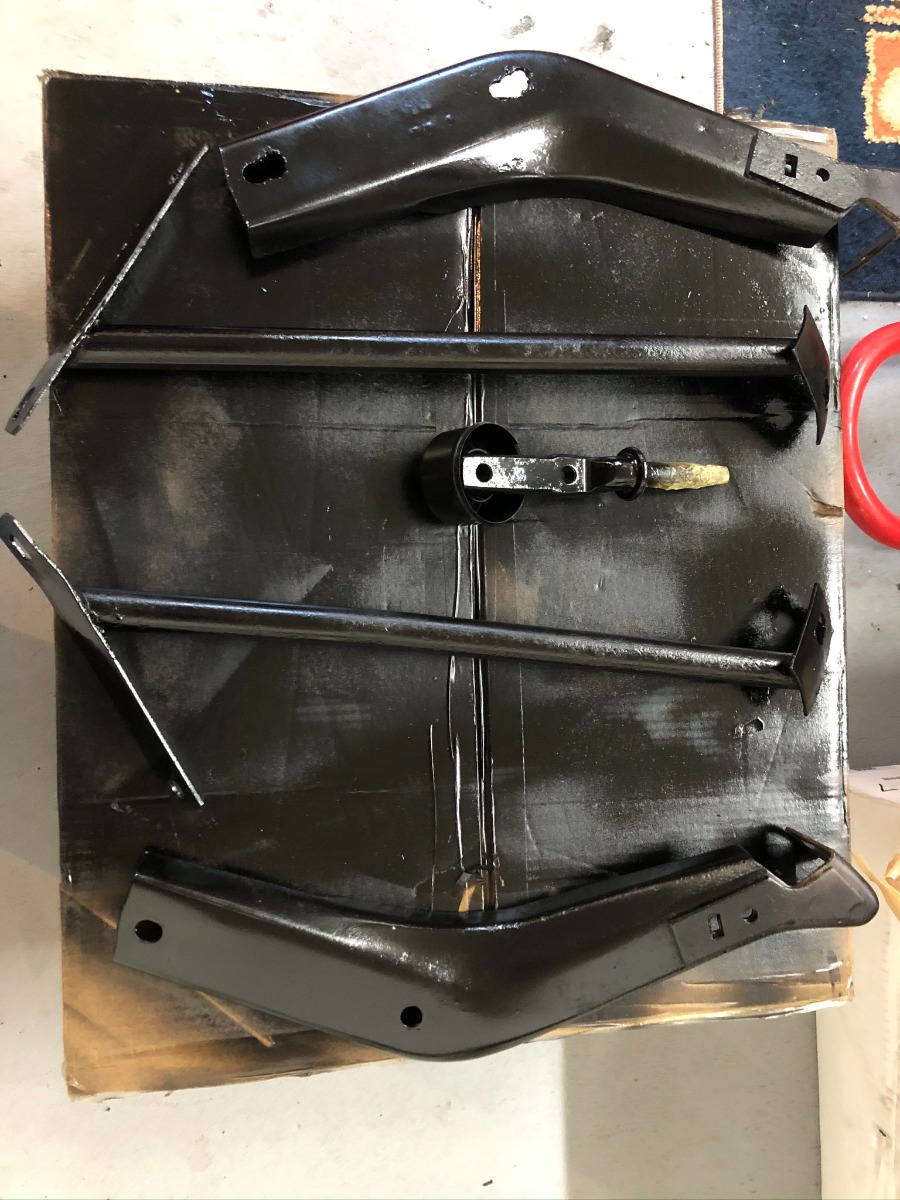
Once this part was finished, I tackled the electrical part.So no need to tell you that a lot of parts needed to be disassembled again. The front part of the body also had to be removed, the headlights and the turn signals in the lower part. To be able to remove this lower part, the front bumper had to be removed. While disassembling it, I noticed that the supports were corroded and needed attention.


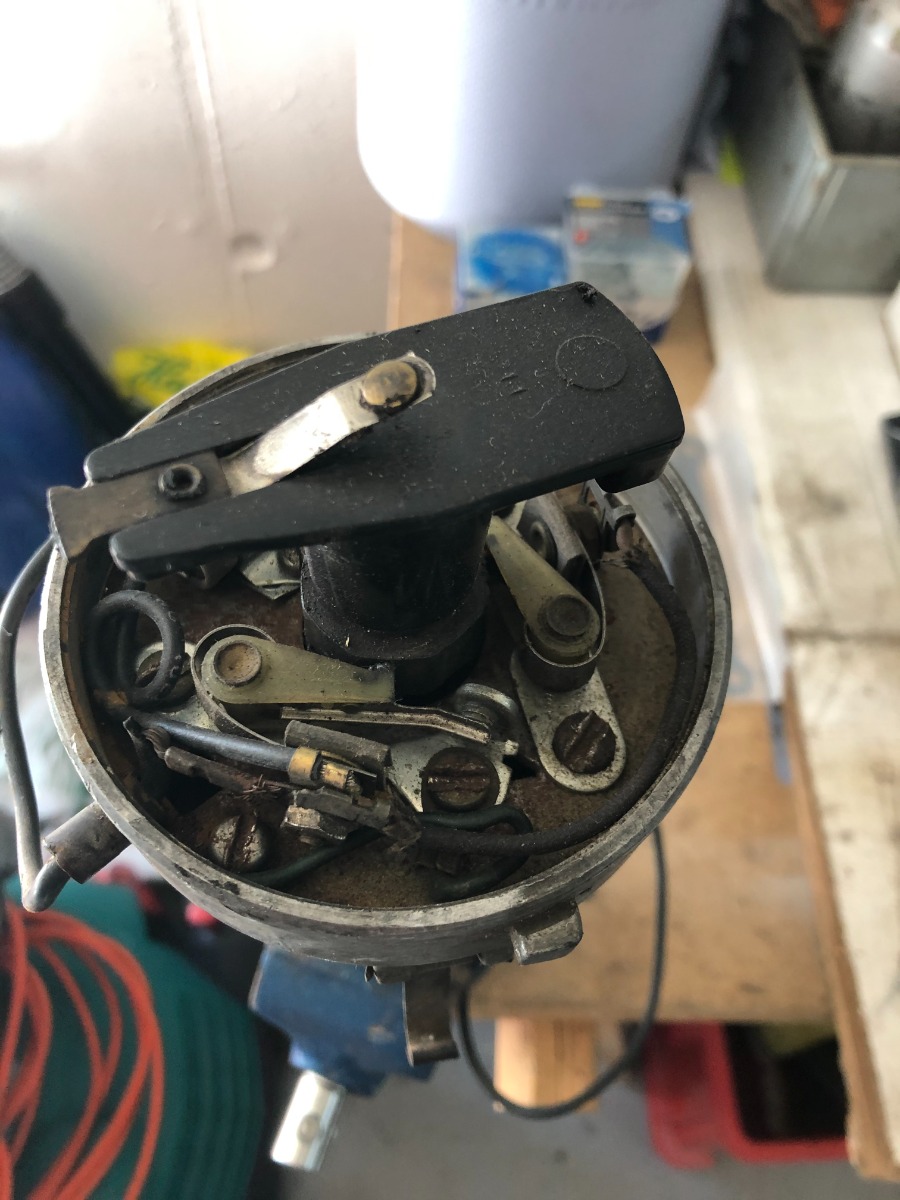
This is how the ols wires look like


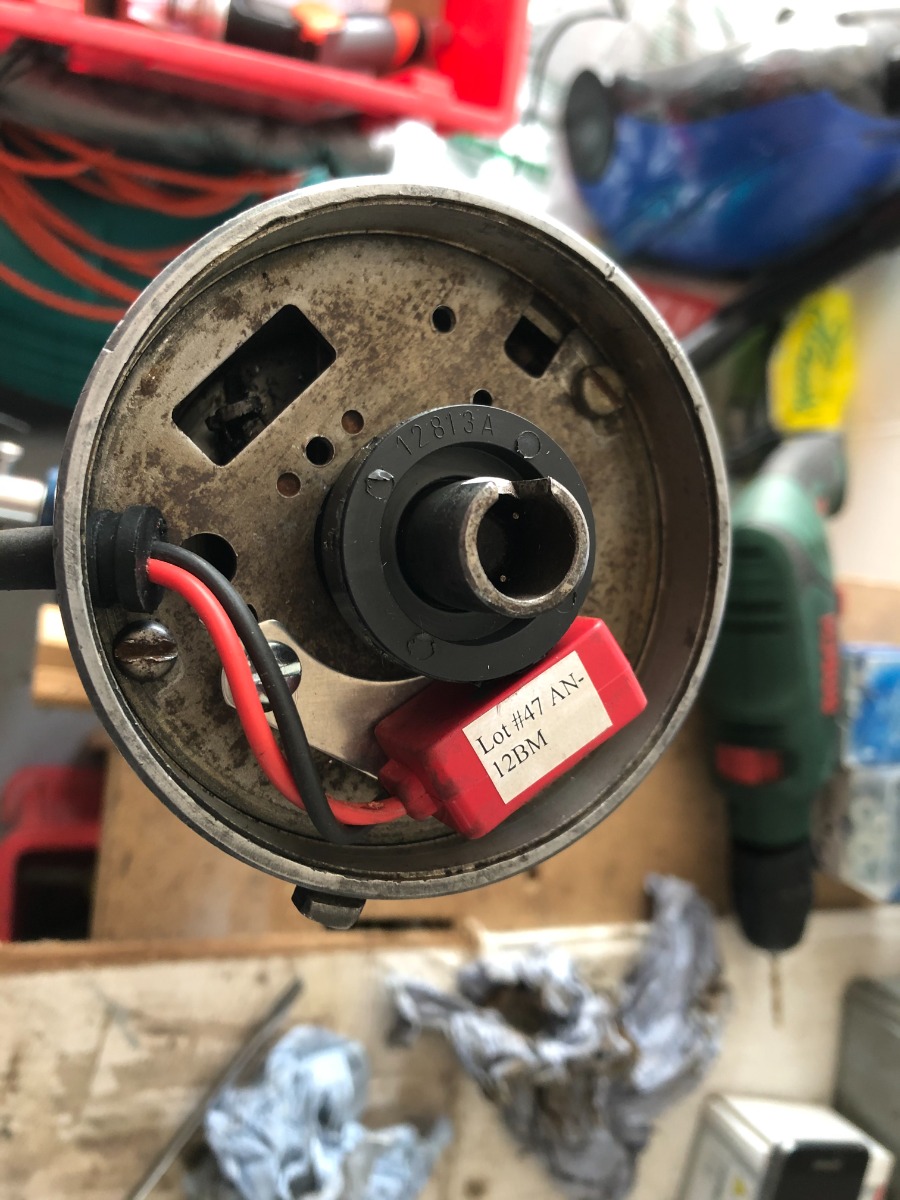
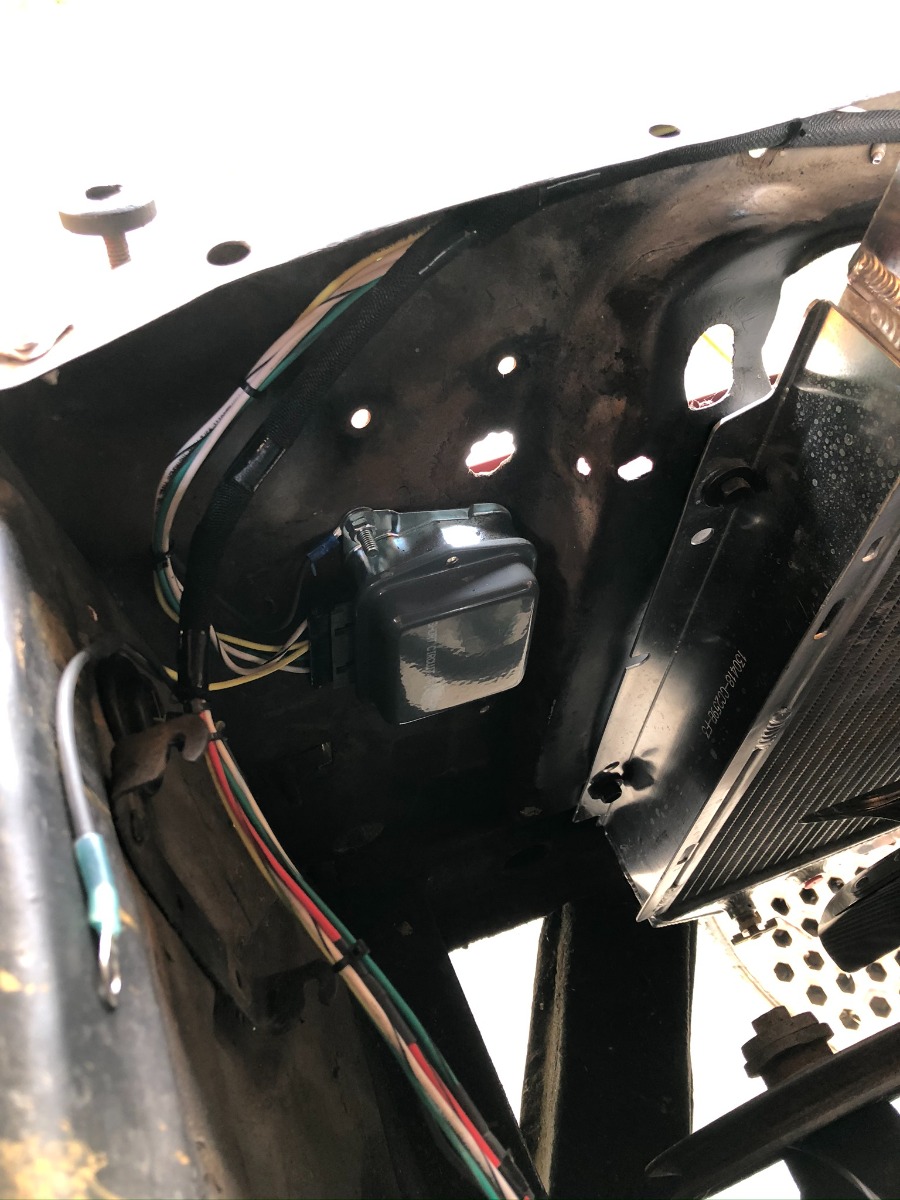
Also replaced the Alternator external regulator


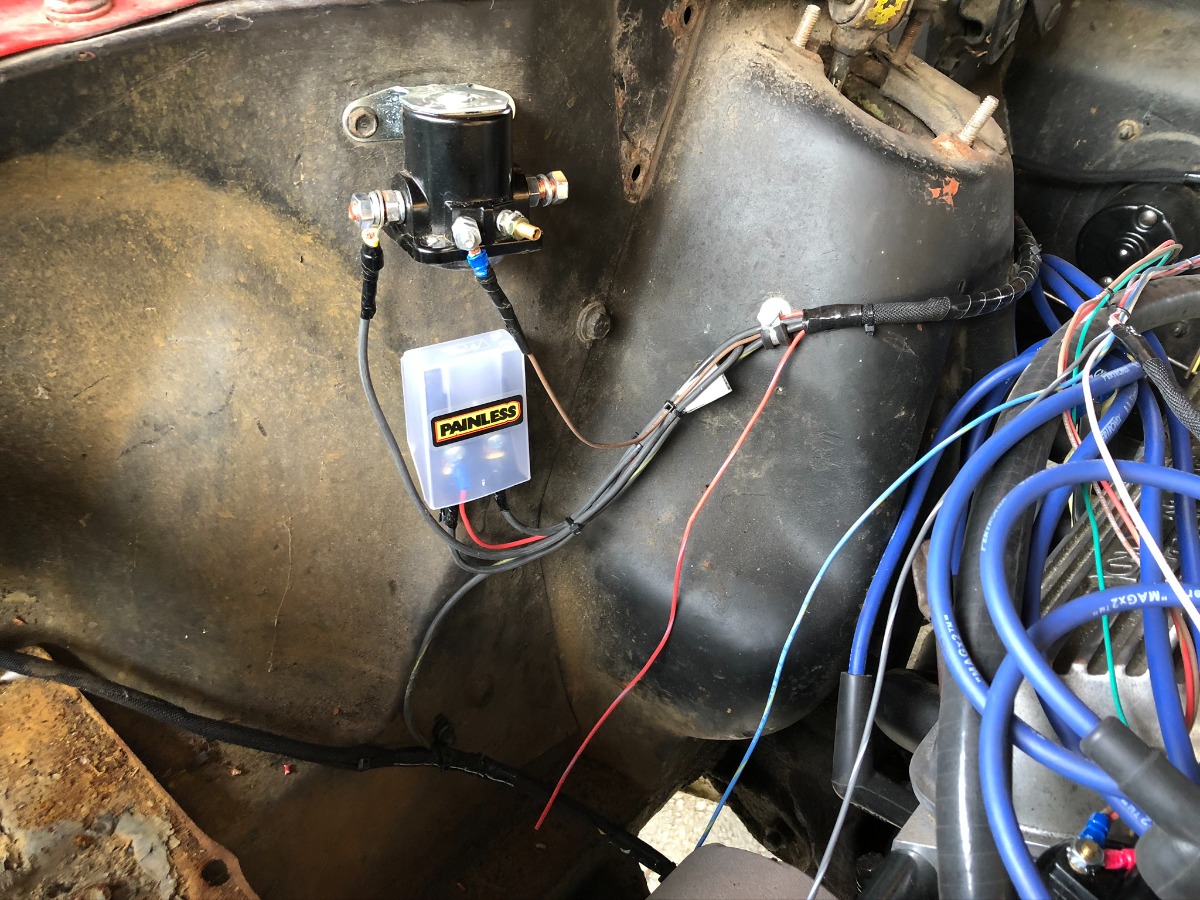
With the new wiring harness, I chose the option with safety fuse... Who knows


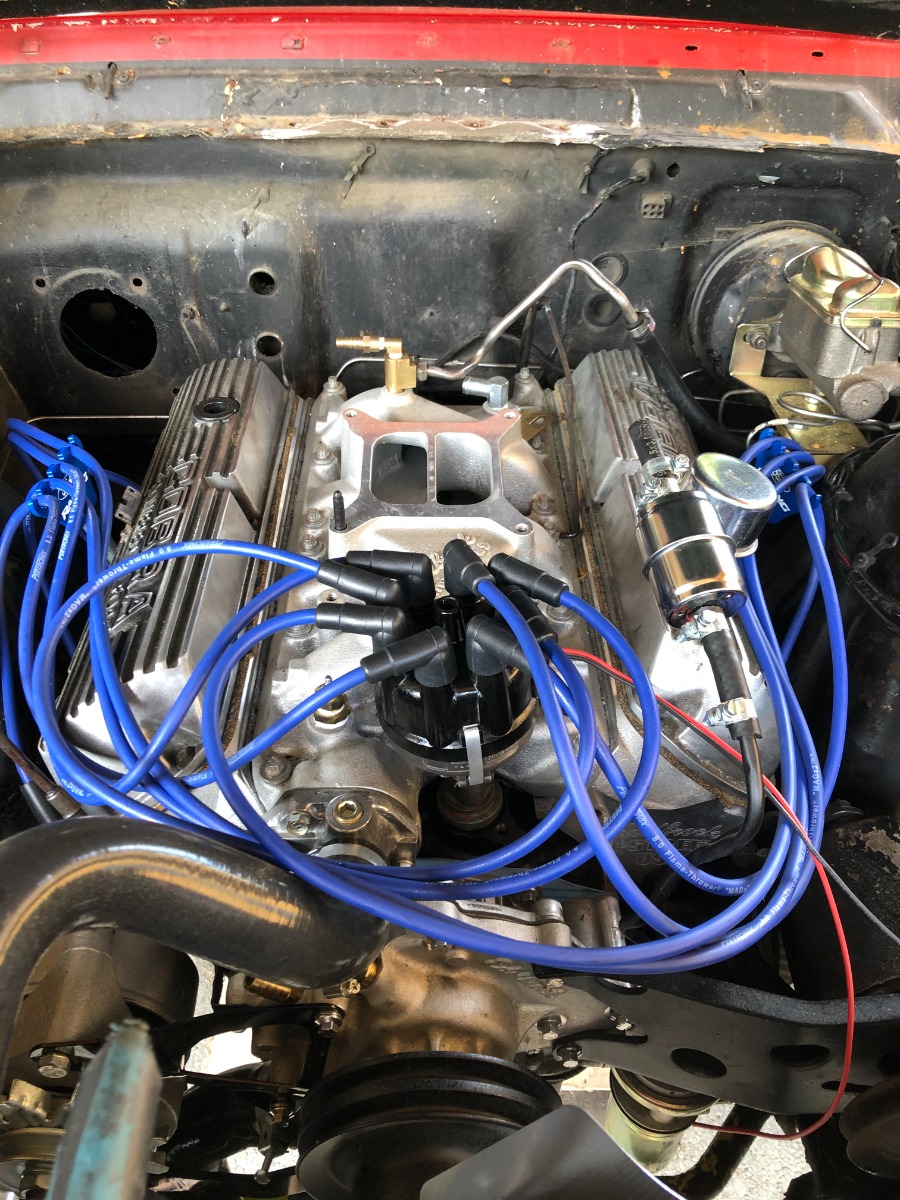
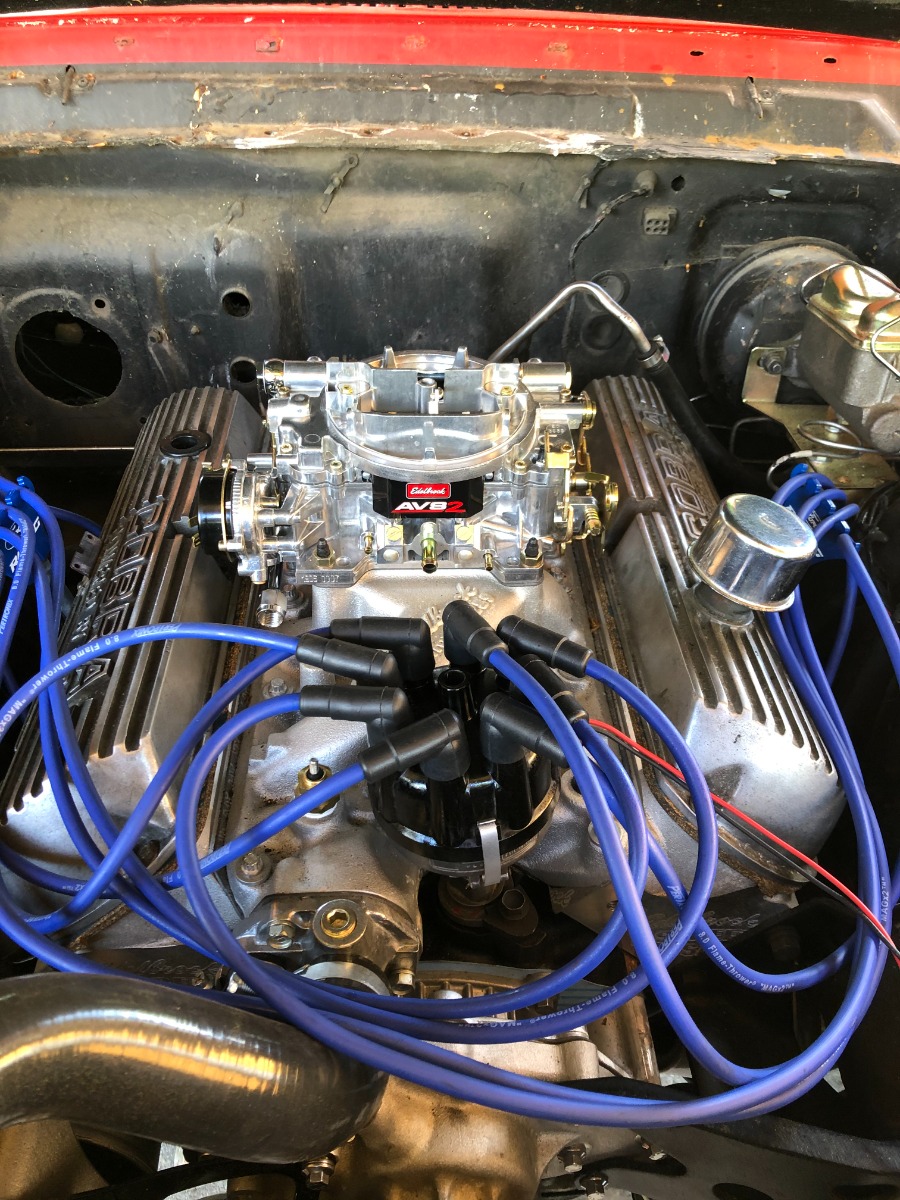
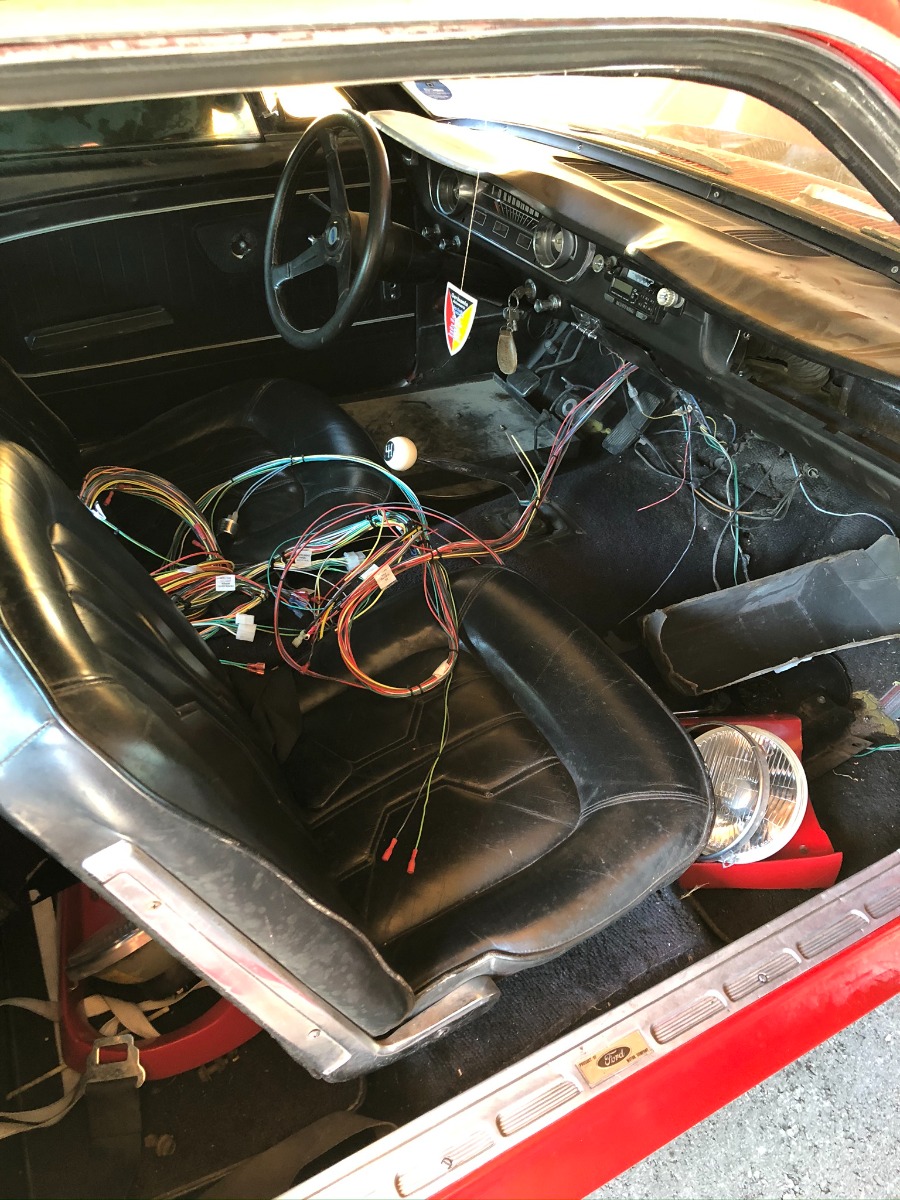
Once these elements were disassembled, the old wiring could be removed. The installation of the new wiring harness was then started. Fortunately the new wiring harness consists of 3 parts: The engine part, the interior part and the rear part.Most of the engine wiring harness being installed I worked on the interior part.The engine part is not finished because I'm still missing some parts. The starter has been replaced by a more powerful and modern one, because of the increase of the compression ratio with the new cylinder heads and the camshaft with more crossed opening angles, the original one would not have supported this treatment for a long time. As the dimensions of the new starter are not quite the same, a screw is still missing which prevents its installation.

This is how the interior looks like while work is in propgress 

 
Proud owner of the Bruiser Family
Attachments:
The following user(s) Liked this: stingray-63

Please Log in to join the conversation.

Last edit: by Manotas.

1965 Mustang Restoration project 3 years 2 months ago #64512

Harnesses were my job and the refab are fabulous. All is in its place. You did a very nice work on it. Congrats.

Please Log in to join the conversation.

1965 Mustang Restoration project 3 years 2 months ago #64515

Nice to see progress on your Mustang project 
Painless wiring is one of the top brands of wiring for old US cars, good choice!

Sadly there is nothing like that available for my Capri.
There is a place in UK that makes new wiring harness, but only for the older ones.

My Capri has been painted since last time you were here 
The following user(s) Liked this: Manotas, stingray-63

Please Log in to join the conversation.

1965 Mustang Restoration project 3 years 2 months ago #64518

Harnesses were my job and the refab are fabulous. All is in its place. You did a very nice work on it. Congrats.

Thanks Flo,
I have to admit that the qualits of that coplete Harness exceeded my expectations. I have seen harnesses with EU-standards compared to others and many of them where dissapointing in terms of quality.
I finally found a nice supplier selling quality instead of quantity. You have to wait a bit longer but it's really worth. Everything fits perfectly as it should and all the "loose" wires are always a bit longer than required so you'll never have a "too short wire" !

In the meantime i came across this :  Mustang 1965 Digital Dash  have a look at 2min 13 sec.

You think that I immediately contacted the CAR-SOS production without much hope of receiving an answer. Two days later I received an answer to my question with the contact details of the person who develops these dashboards...
Now I am waiting to hear from him for a full quote as soon as his prototype is ready for sale.

Anyway, still lot's to do even if it progressed good. More posts will follow.
 
Proud owner of the Bruiser Family
The following user(s) Liked this: stingray-63

Please Log in to join the conversation.

1965 Mustang Restoration project 3 years 2 months ago #64519

Dude!

Please Log in to join the conversation.

1965 Mustang Restoration project 3 years 2 months ago #64520

After disassembling the whole front part, I realized that the sheet metal was no longer very nice. Surprises followed one after the other and I installed the brass wire brush on the drilling machine (the slag does not damage the sheet metal) and started to remove the layers of paint.
Once the successive layers of paint were removed, I applied an epoxy treatment that prevents corrosion and acts as a base for the paint layer.


In the meantime, I worked on the front parte-chocs supports. I sanded them, treated them with epoxy and applied a few coats of black paint.

The lateral supports, covered with several layers of old paint


Main bumper supports


All sanded and ready for Epoxy and paint


Painted and ready to be reassembled

Proud owner of the Bruiser Family
Attachments:
The following user(s) Liked this: stingray-63

Please Log in to join the conversation.

Moderators: caprinutstingray-63AndyAus
Time to create page: 0.192 seconds
Cookies are required to make this site work. If you continue to use this site you permit us to use cookies.