I've always been fascinated by lathes, but at the same time think using them is like magic.
I've used a wood lathe, so I get the principle, what looks like magic to me is the considerations you have (?) to do regarding metal types, support, tools, etc.
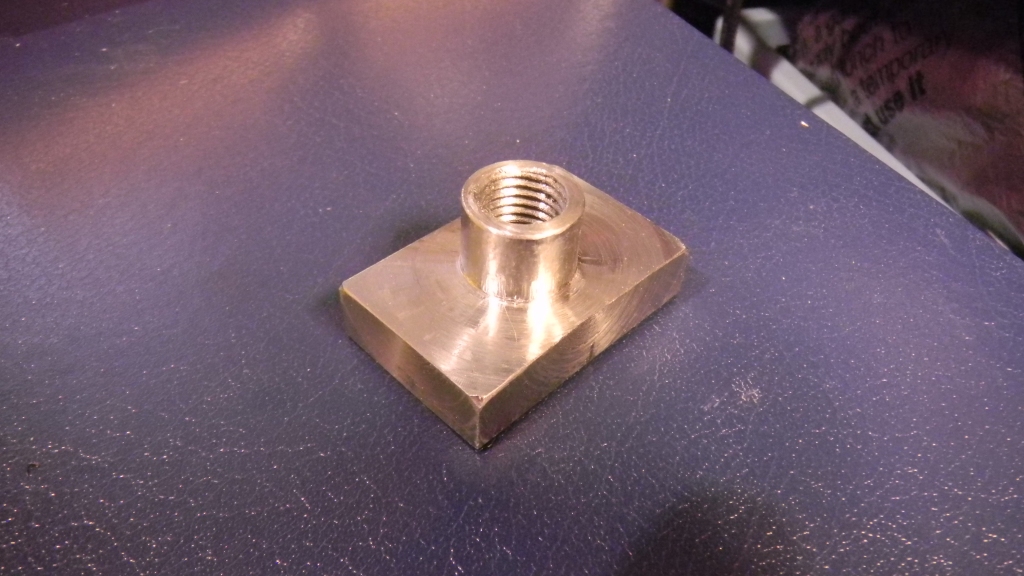
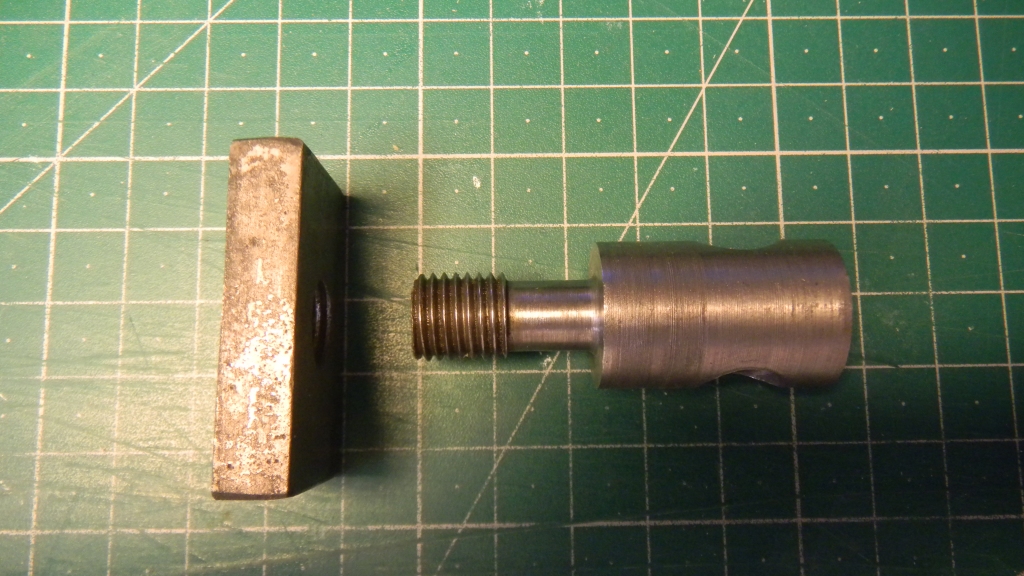
Like the above post where you show the required steps to make the T-nut... magic...
Any sufficiently advanced technology is indistinguishable from magic.
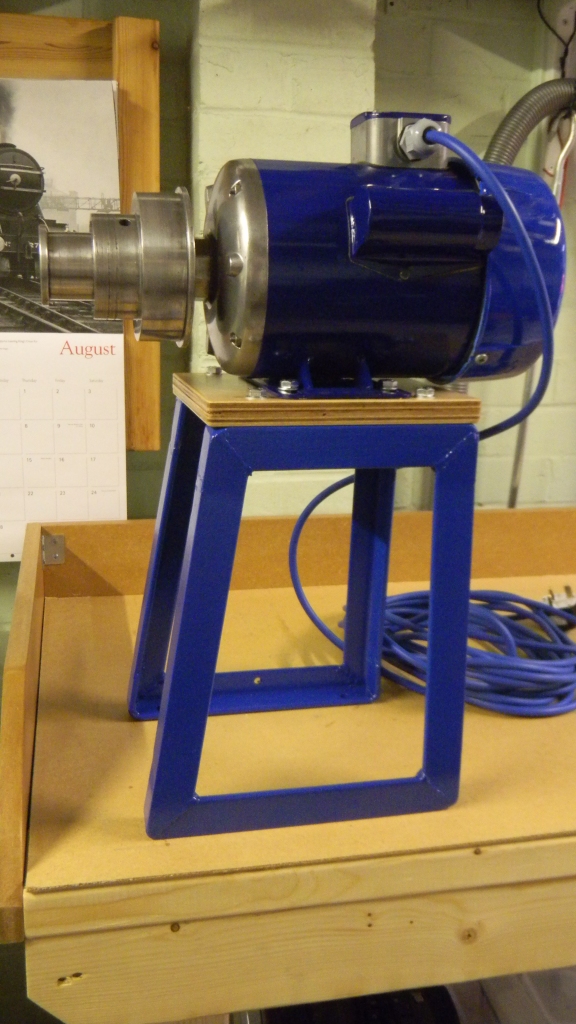
TBH I should have got a fixed steady for the Unimat SL a long time ago ... and been more willing to use centre drills, and the faceplate & dog drive ... If I've improved at all it's due to a combination of "having" to do more involved lathe work, and reading up on the subject ... I have a big pile of paperbacks to get through, plus more in the post - this is what I've read on the subject in the last couple of weeks:
"Using The Small Lathe" (L.C. Mason, MAP, 1963) - a bit dry, not enough photos, starts with adding mass to a food operated treadle flywheel using shutterring and concrete ...
"The Beginner's Guide to the Lathe" (P.Marshall, reprint of 1987 reprint of 1924 revised edition) - not recommended as a first read, the terminology has changed, as well as basic equipment ...
"Basic Lathework" (Stan Bray, SIMB WSP #45, revised edition 2013) - tries to do everything in one volume & consequently covers areas I wasn't interested in & was a bit light on thing I was, but a very good overview anyway ...
"The Compact Lathe" (Stan Bray, Argus 1990, 2012 reprint by SIMB) - read this some years ago & TBH didn't get a whole lot out of it then, recently re-read & did get a bit more. text & photos are completely different from the above despite the same author theoretically covering the same ground...
"Unimat Lathe Projects" (Gerald Wingrove, New Cavendish Books 1979) - Covers some basics then rapidly moves into making 10 tools to suit the Unimat 3 ... maybe it's a badword of a lot stiffer than the SL when set up as a drill or mill & a lot less faff to swap between the lathe/mill/drill/chop saw states, but I don't think I'd want to try most or even all of it on such a tiddly machine (or even 4 of them) ...
"The Mini-Lathe" (David Fenner, Special Interest Model Books Workshop Practic Series #43, 2008) - focusses on the generic 7x14" Chinese Mini Lathe & making one work properly, I'm only halfway through it but it does seem to be moving on to making useful stuff (for that lathe) but ideas/techniques are probably transferable ...
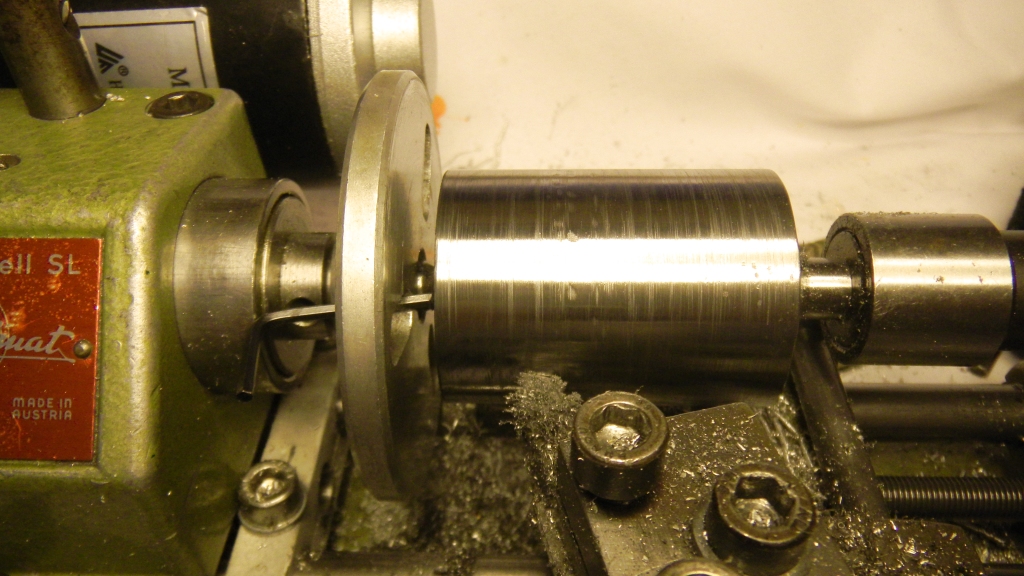
Despite all the theory, sometimes a bit of bodgery is required. Take this for example ...
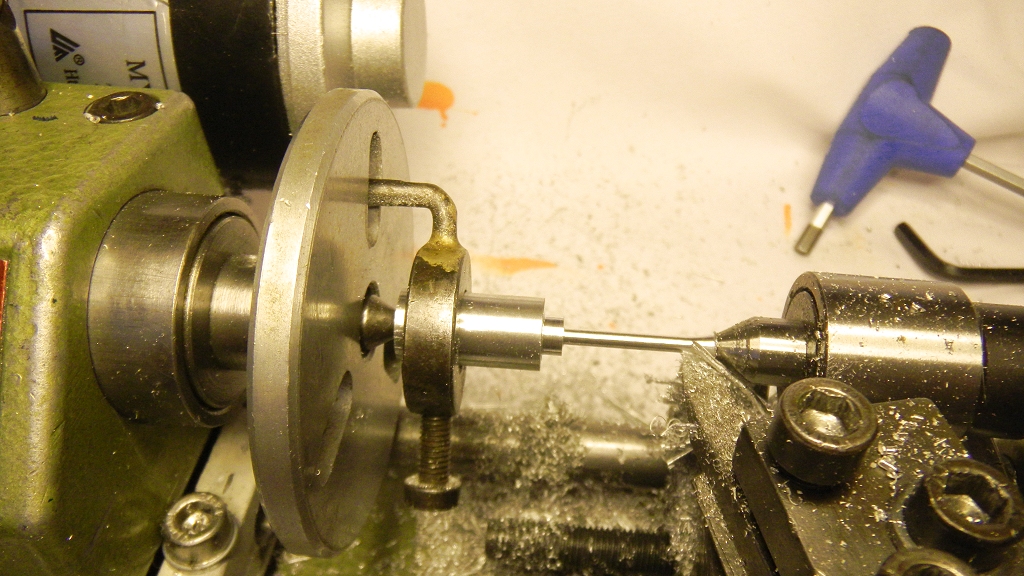
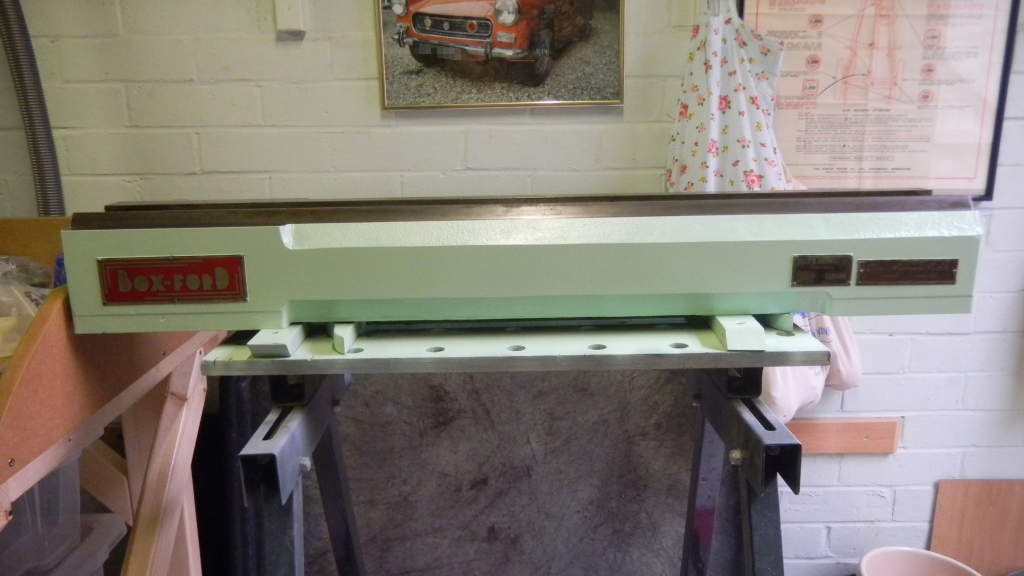
This is the eccentric adjuster centre from the Boxford's toolpost - it refitted ok, but really needed to be a light sliding fit to taken advantage of the possibilities (I think) of being off centre, and certainly needs it for the tool height adjustment to work, but decades of use plus more of rusting meant it just wasn't moving.
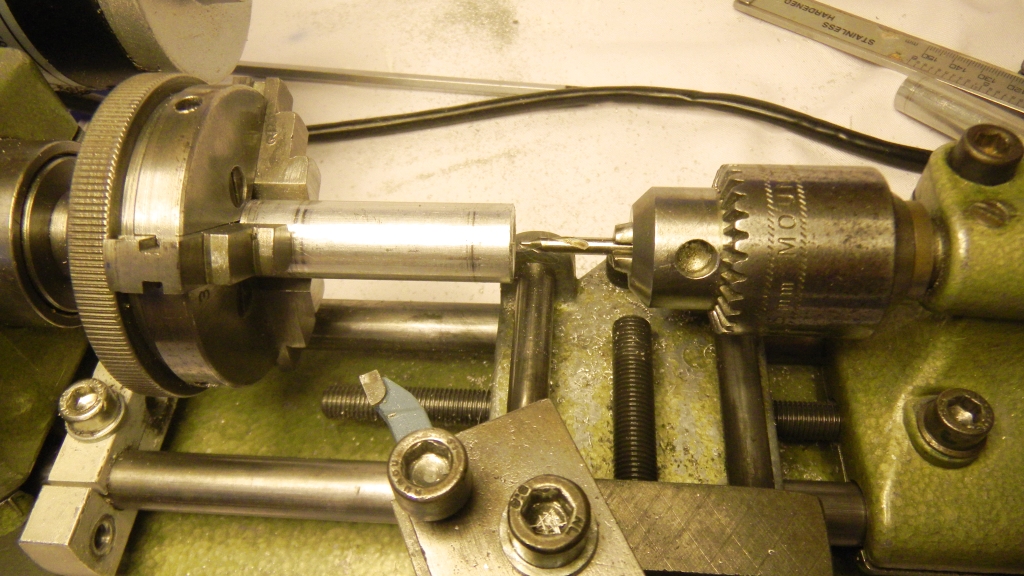
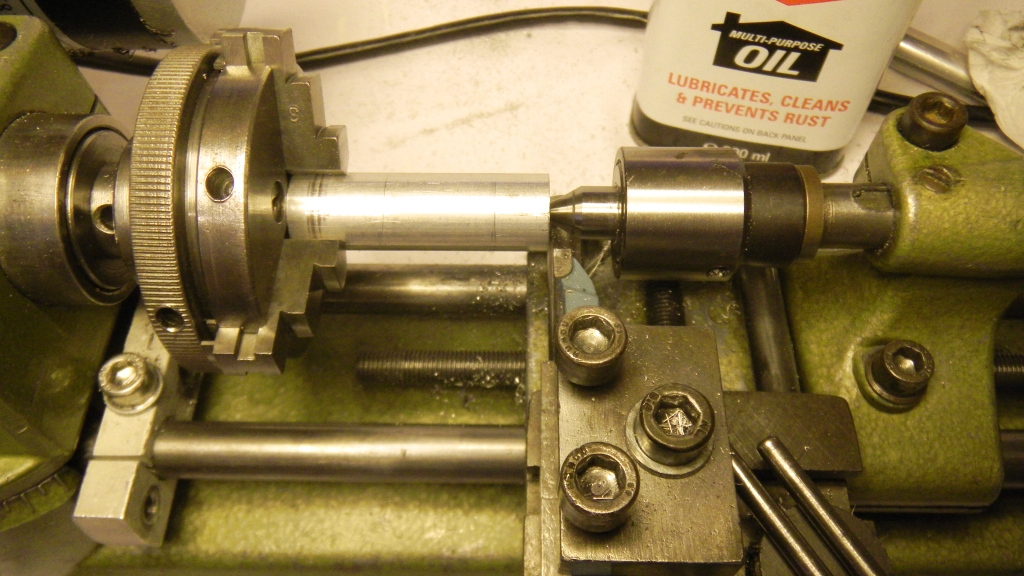
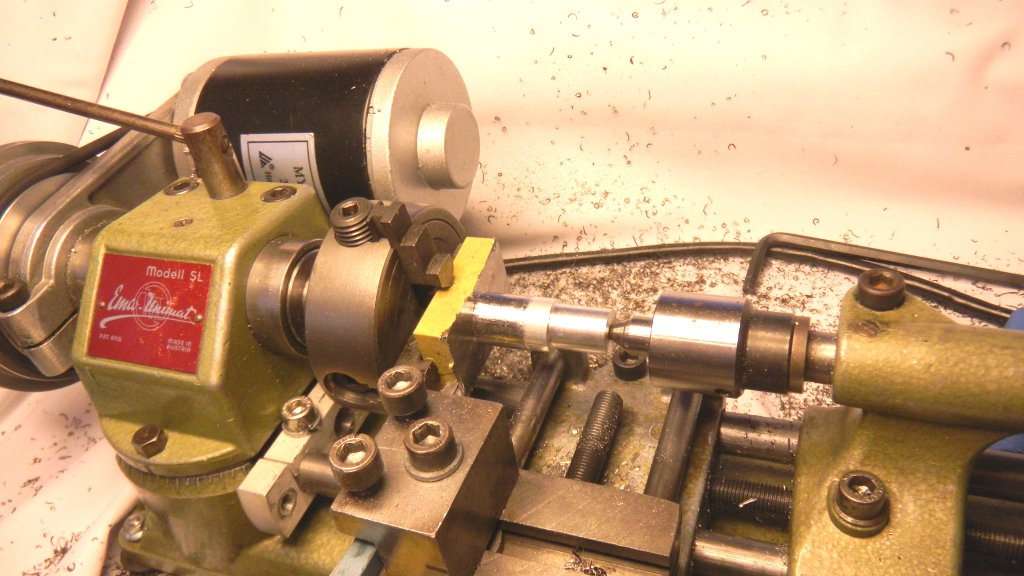
I needed to skim it, theory says you need to support one end of the work in a steady - but if you do that, you can't access even one half in one go - and even then, you shouldn't use a chuck to hold it as you would 1/ need to swap ends and 2/ take a bit off & try it, then repeat ... and you'll never get the alignment the same as the first time, so there'll be some sort of step.
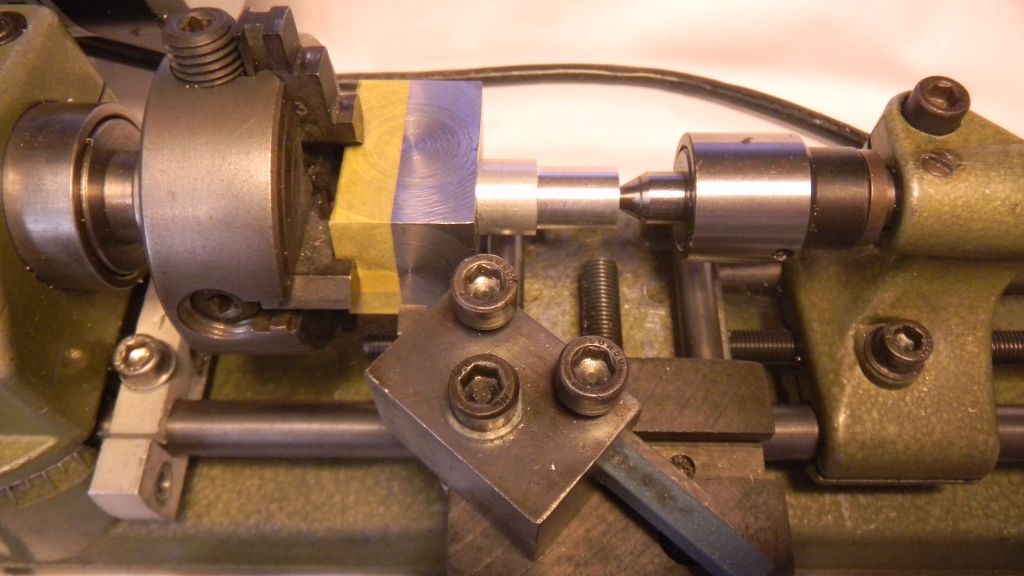
The "answer" I came up with was to use a centre drill to make a small whole in each end (which is I suppose vandalism) & use the dog drive between centres ... but the only way to drive it was to make a pin to fit the hole in the adjuster, with one end small enough to fit the Unimat faceplate... After all that thought & some turning, my new tooling didn't fit. If you're thinking the last picture doesn't look very safe, I can assure you that the Allen key only shifted after the Blu Tac flew off when I turned the Lathe off after the skim... I guess what I should have done was drill the faceplate & fit a pin (more vandalism?) ...
ps typing this up took longer than it did to to the work yesterday evening, I've done nothing today & doubt if I will tomorrow either...


 Frankly I think any attempt on my part to imporve it would look like amatuerish daubing, so I'm going to leave it.
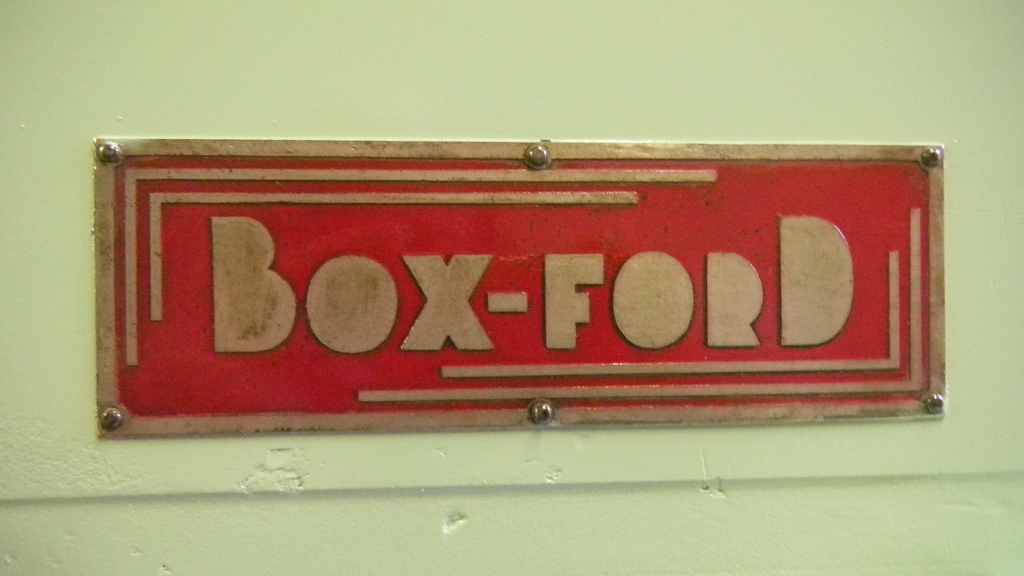


")