Keyword

TOPIC:

Richard's 6x6 build from left over parts. 2 years 2 months ago #70501

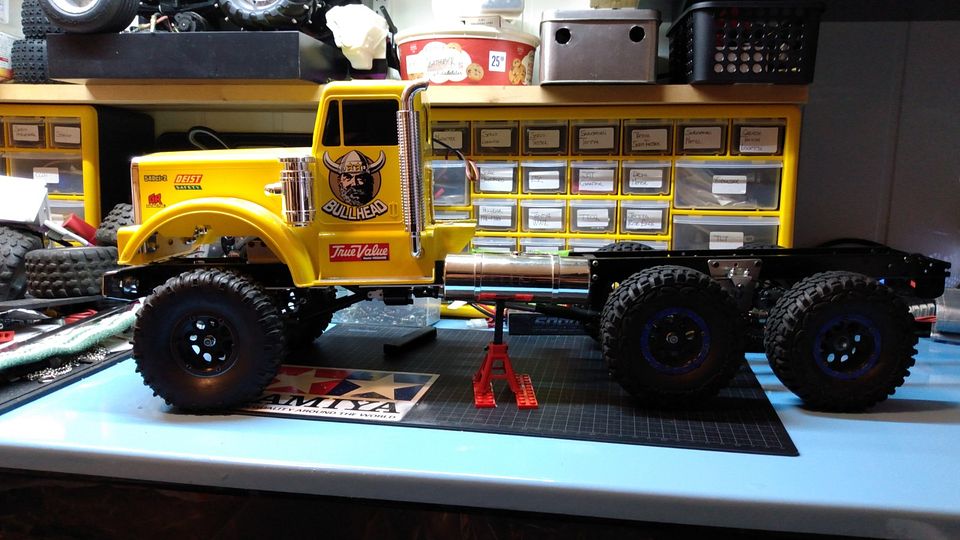
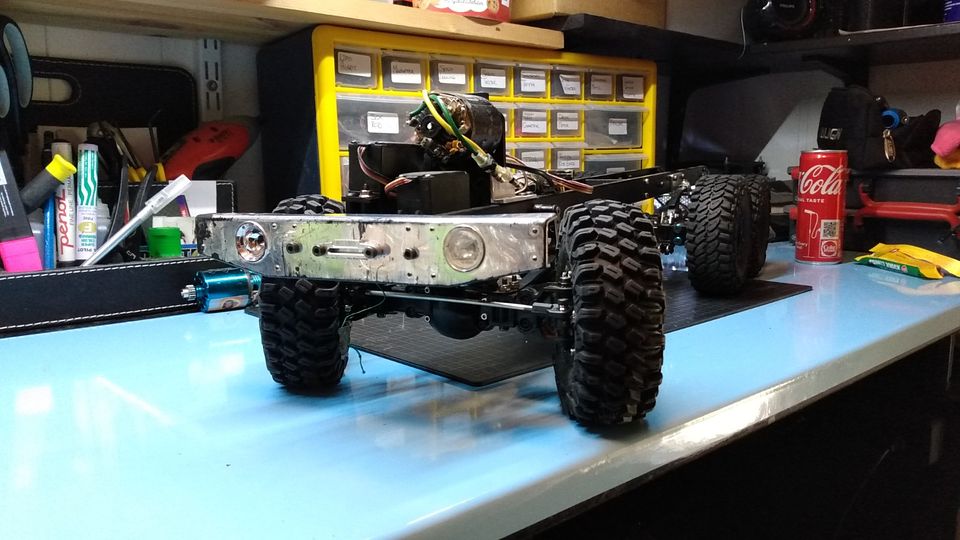
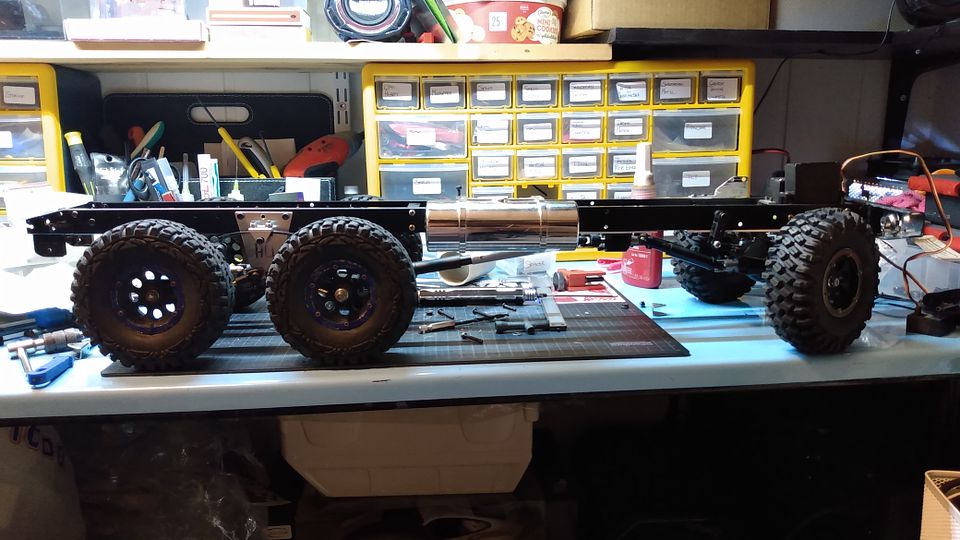
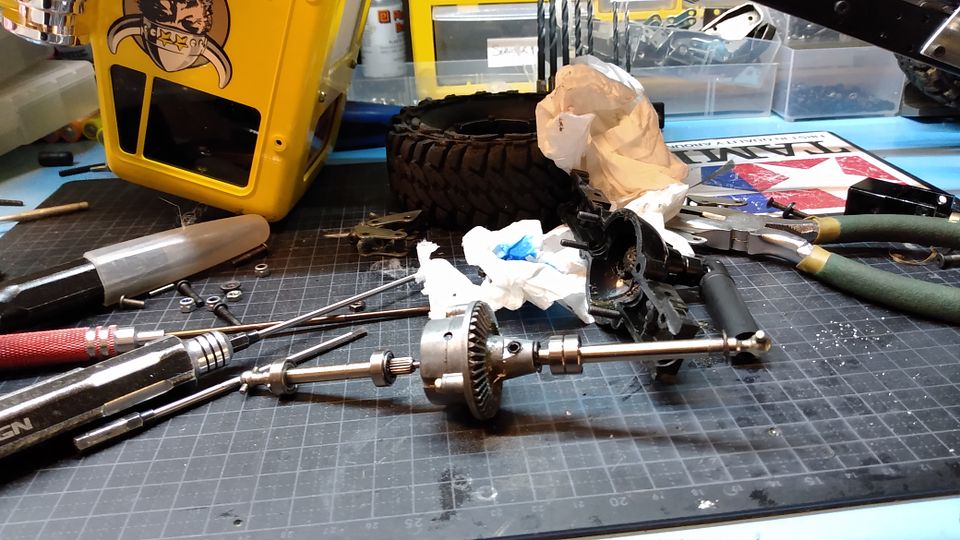
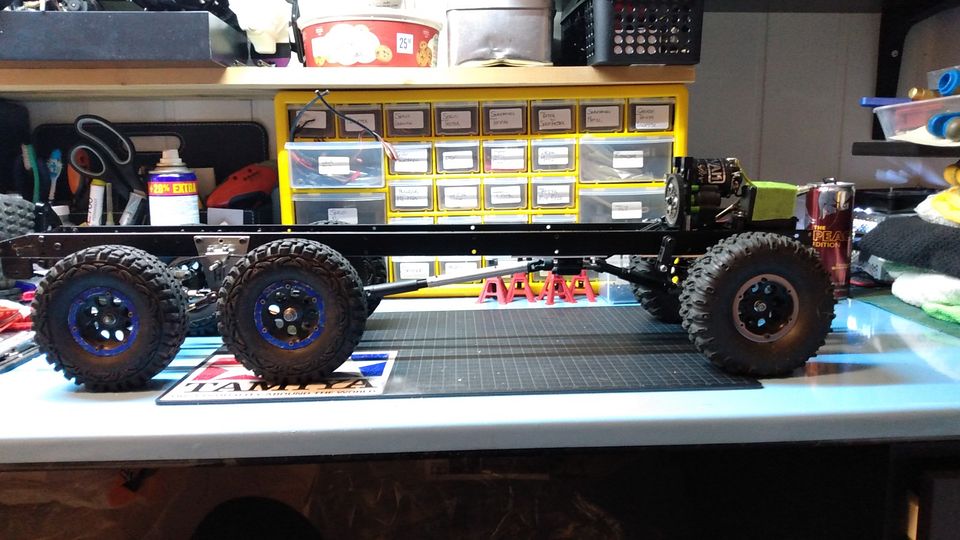
Drivetrain are installed!
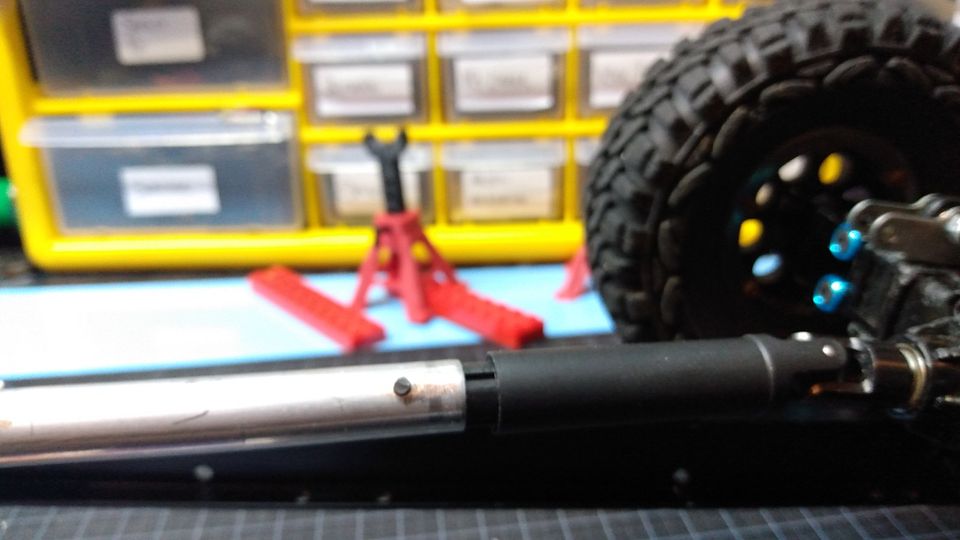
Ended up using various Traxxas slider driveshafts as I can't find the missing half of the one being installed on the middle axle to transfer.


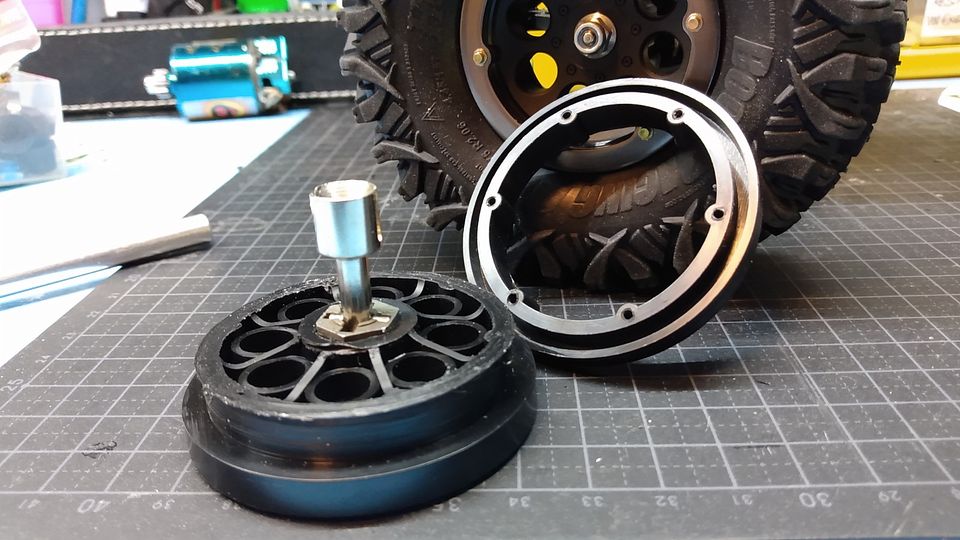
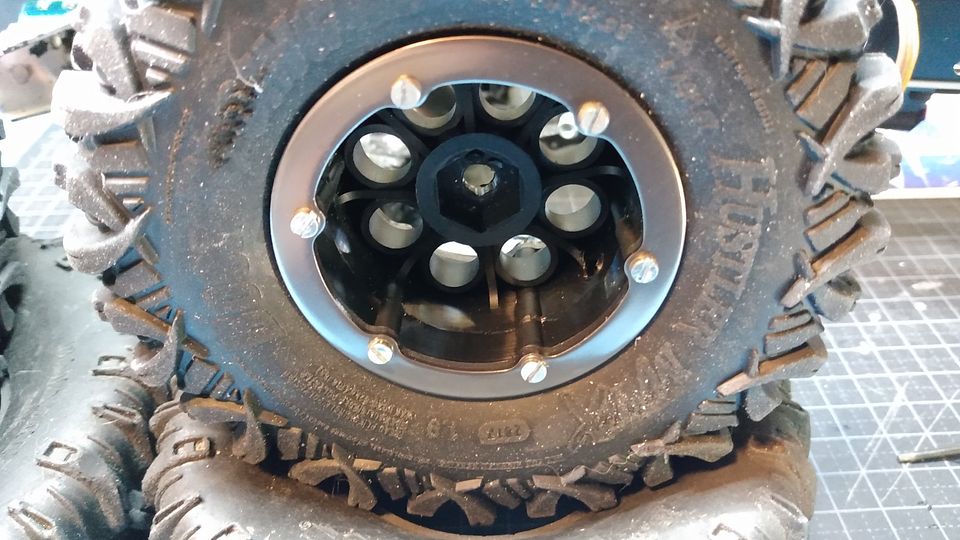
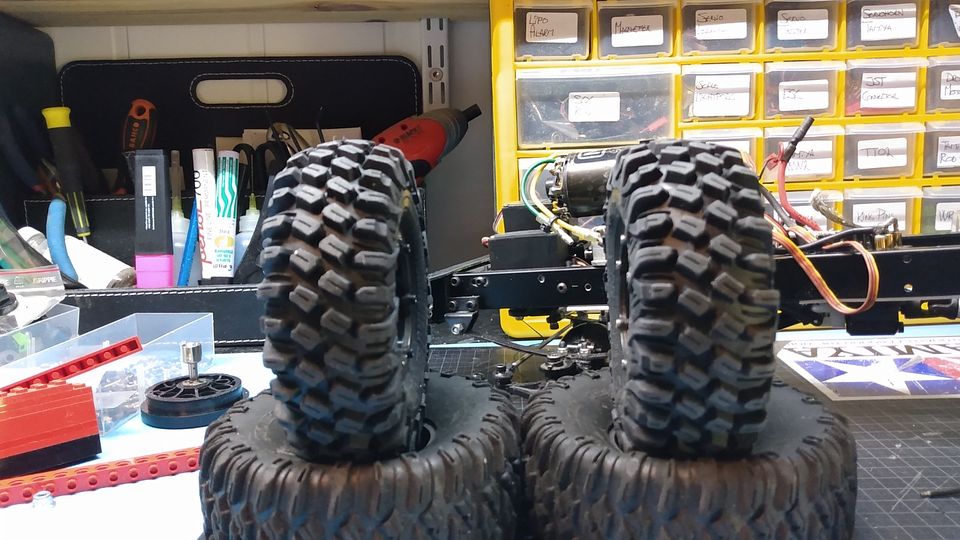
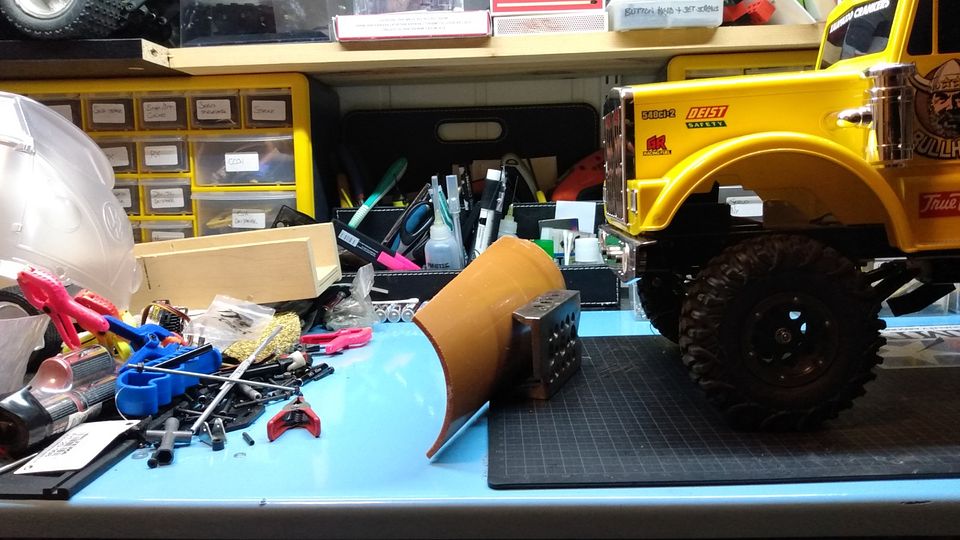
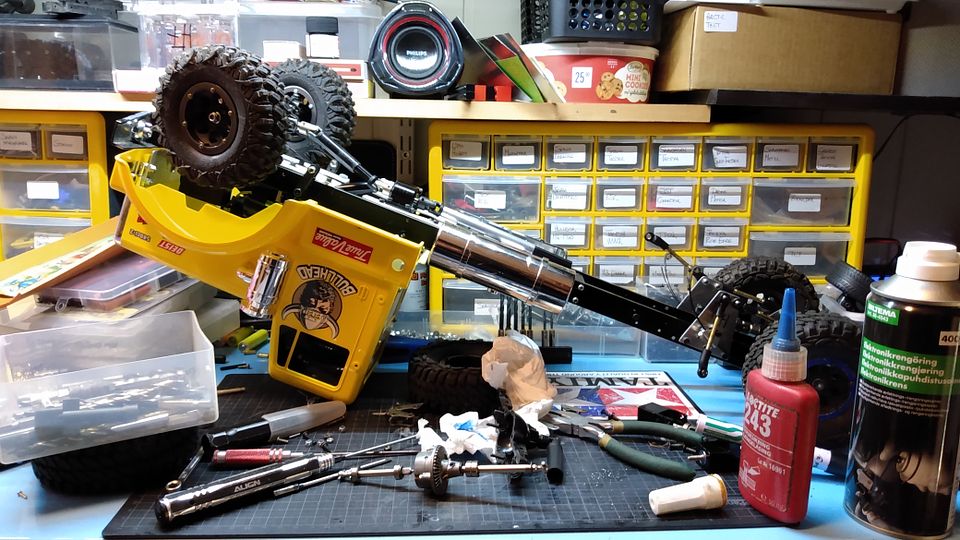
Sorry, some of the pictures are lacking clearness as I'm playing with my camera settings.
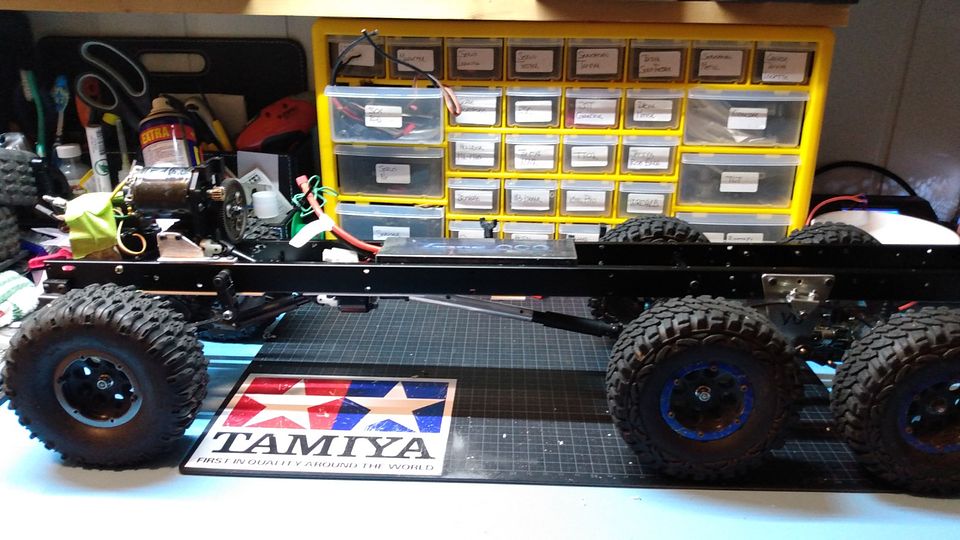
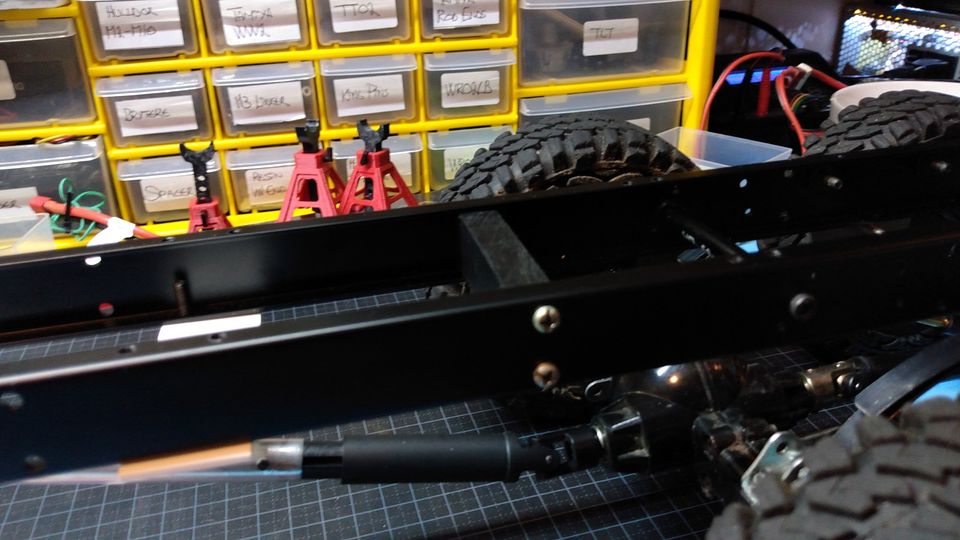
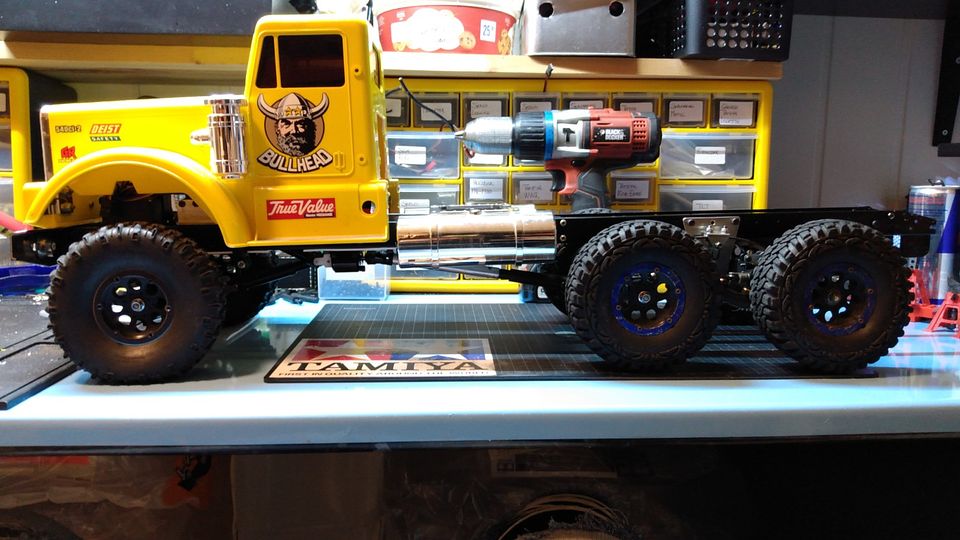
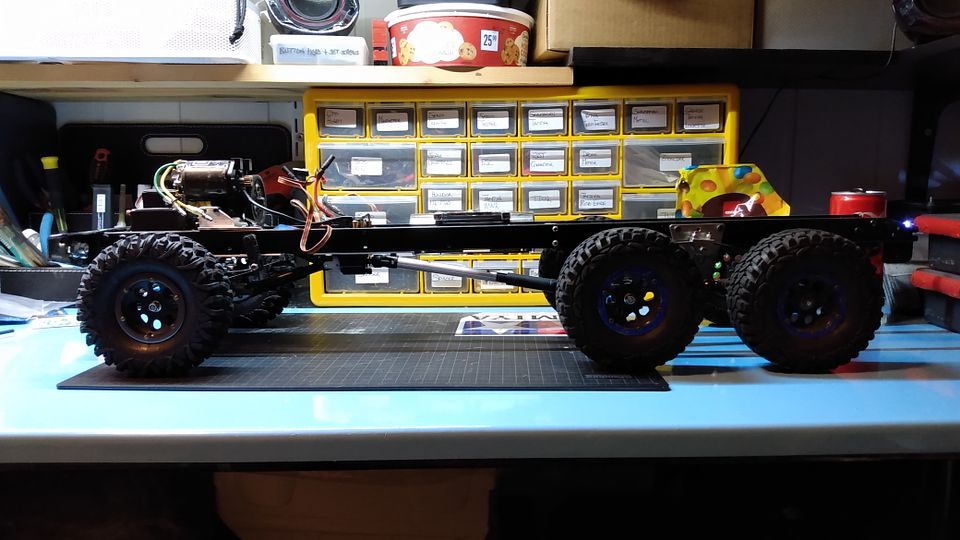
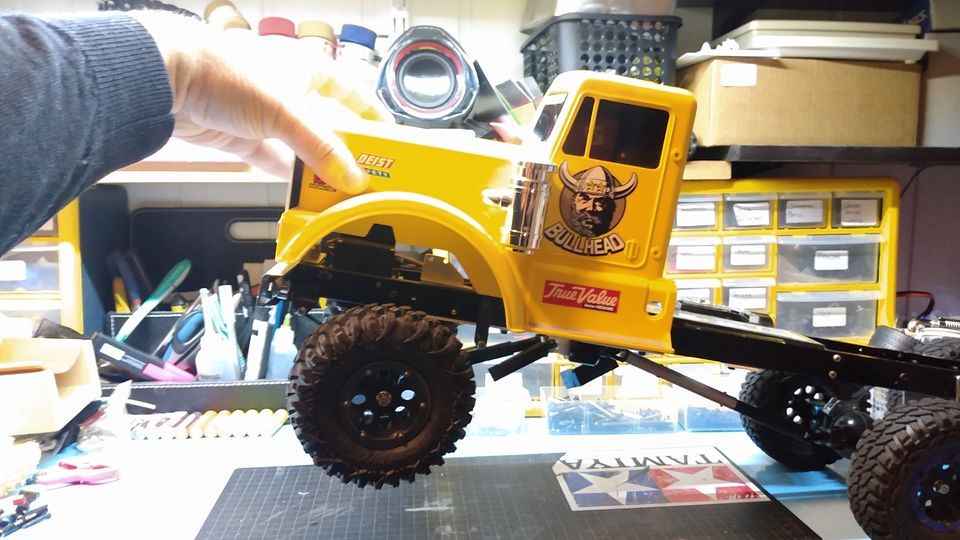
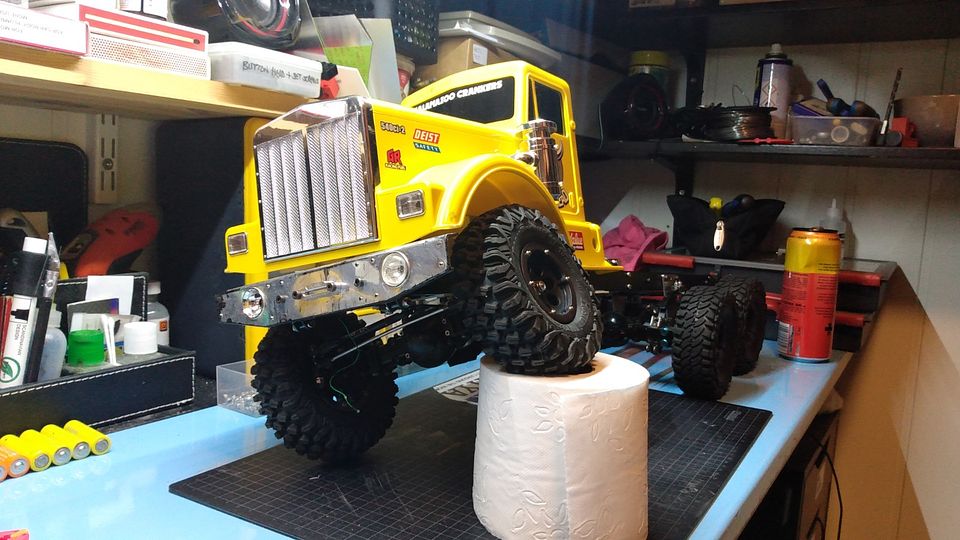
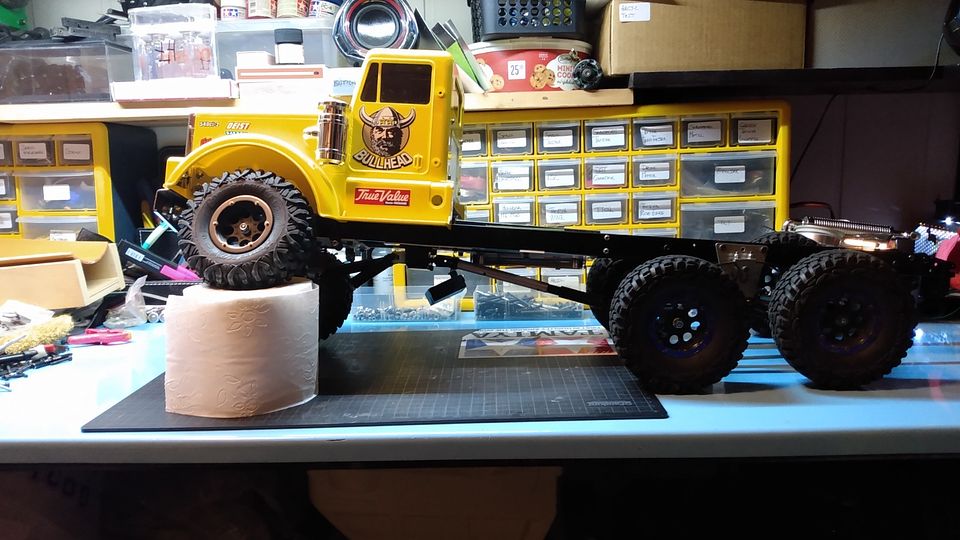
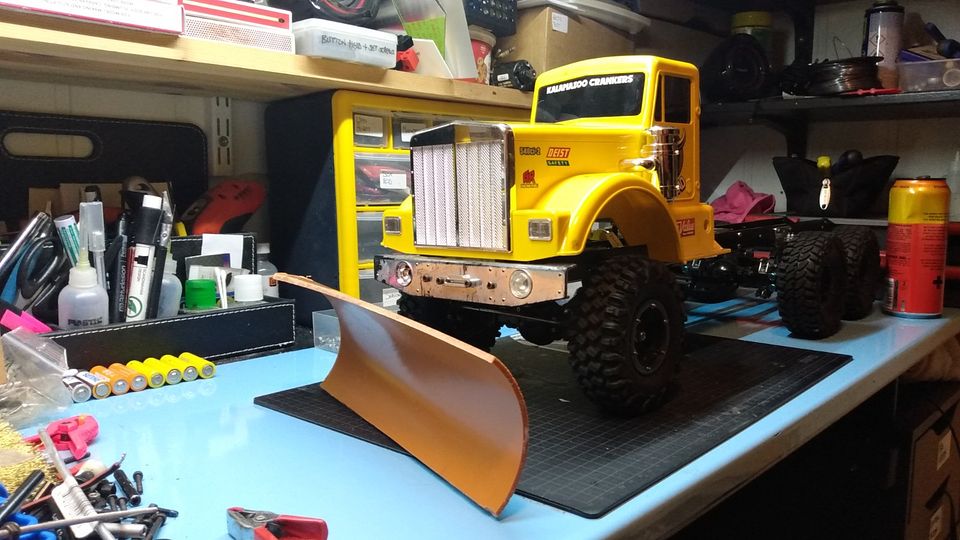
Think ground clearance is ok
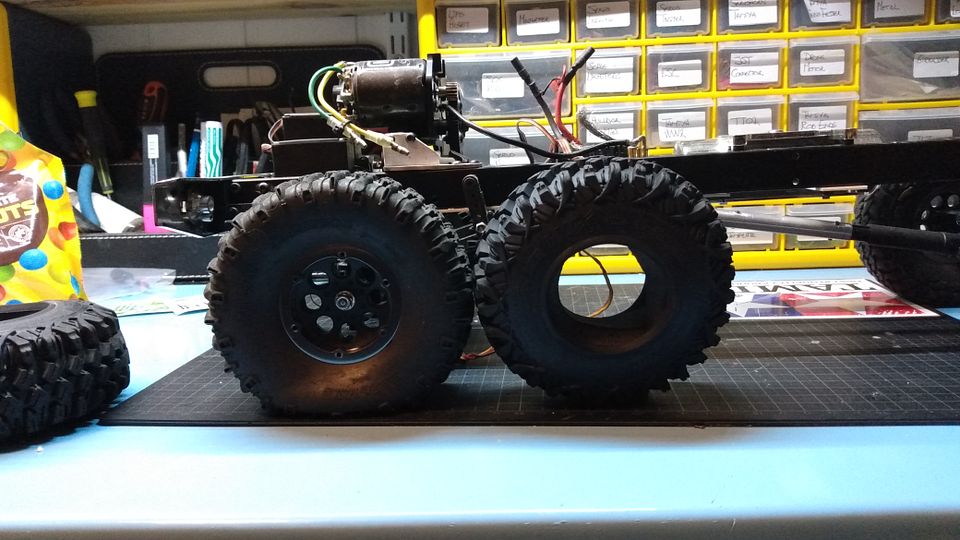
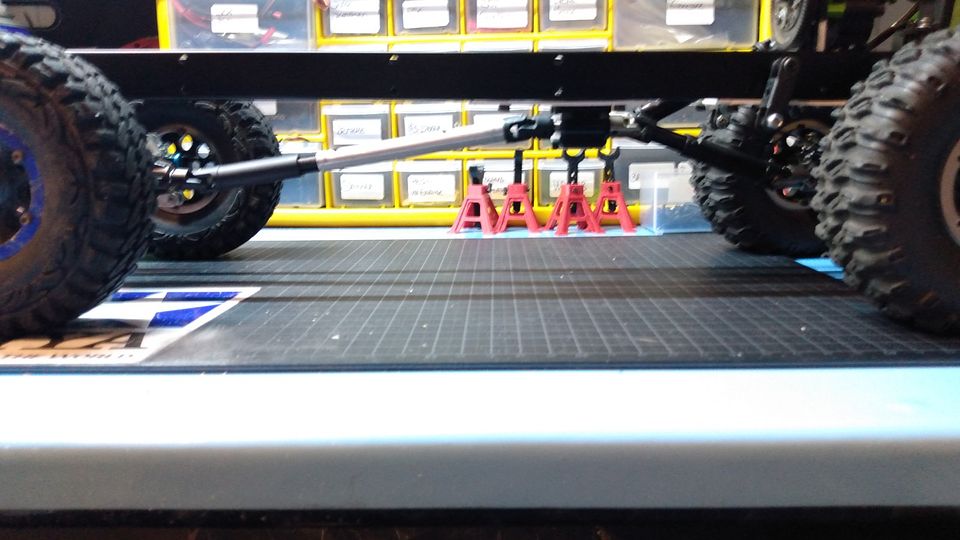

From the underside.


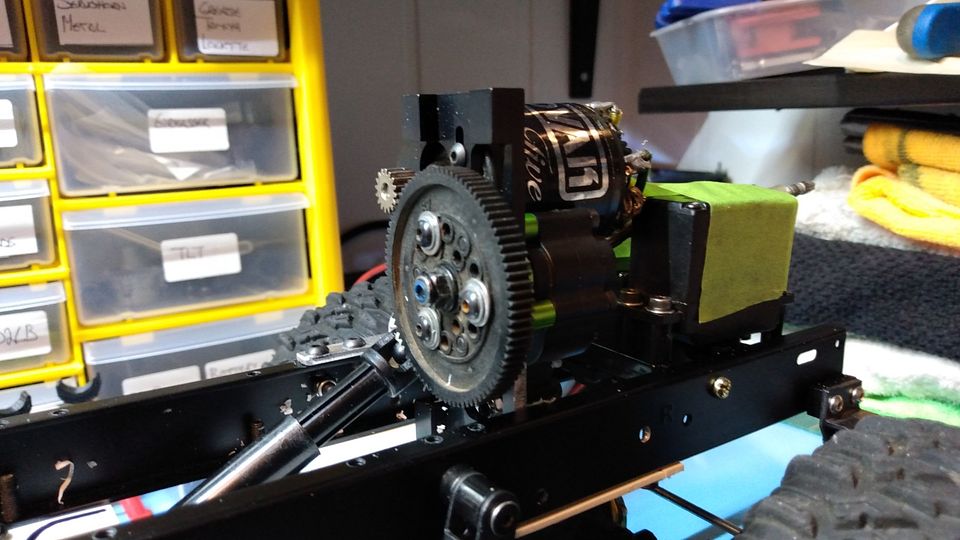
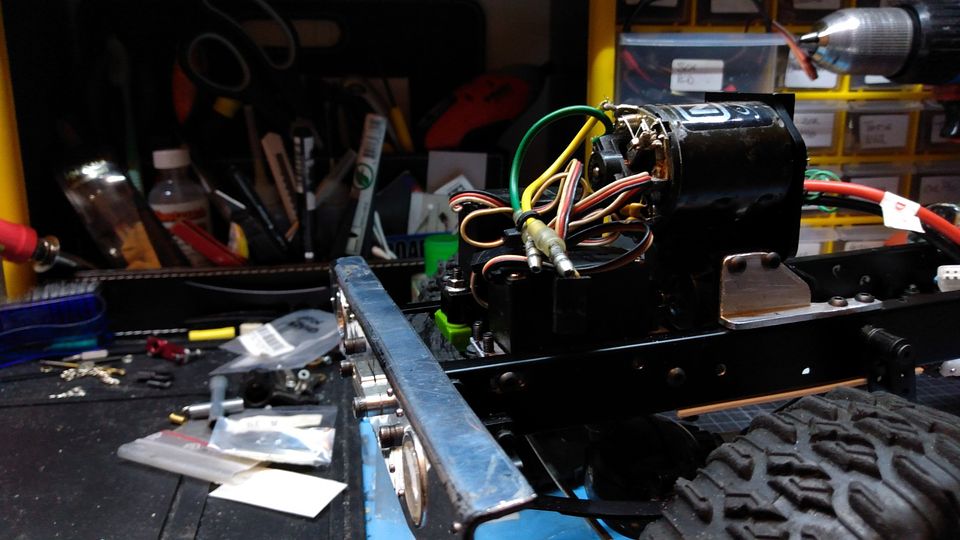
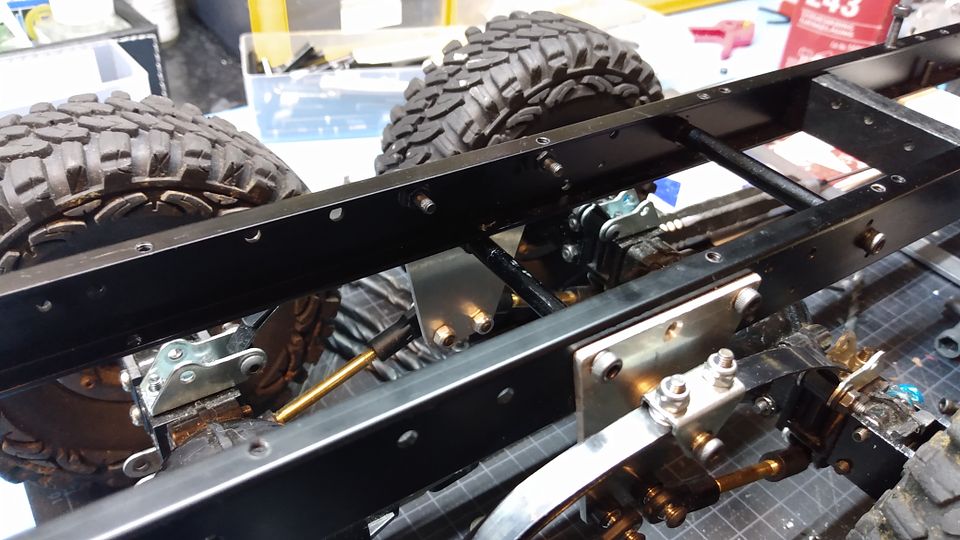
Transfercase is GCM Raing 1:1.
Mine came empty and I have modiefied a pair of Arrma 20t 32pitch steel pinions with 5mm holes due the shafts being 5mm.
Transfercases job is to receive power from the gearbox (Axial SCX10 in my case) and deliver it to the front and rear axles.


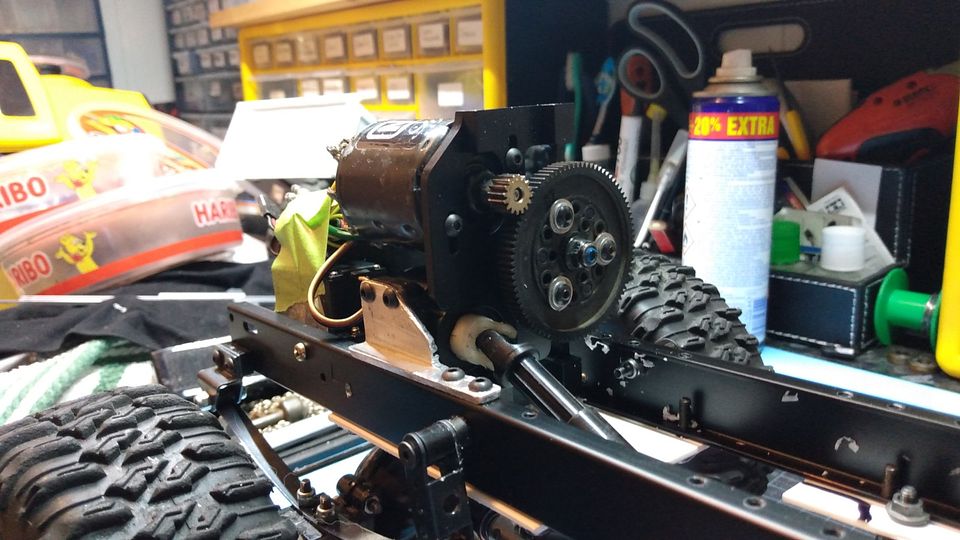
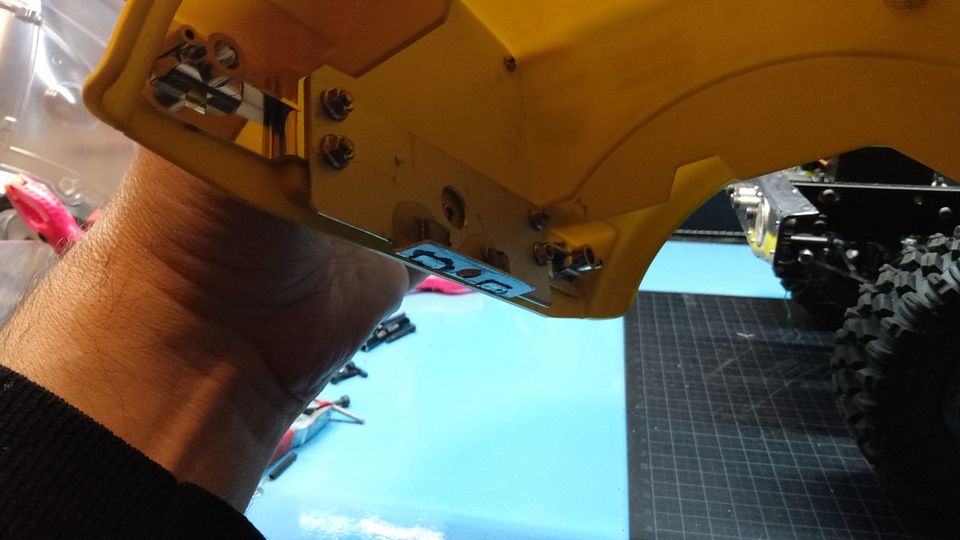
To mount the gearbox I'm using a GCM Raing Cross Canion Axial transmission front mount, turned up on the side.
Had to file lower part closest camera to get it to fit between the rails.
There is to mounting holes at the bottom like the on top side, so I used those to fit onto a plate I mounted on the bottom of the rails.


On the other side I took a L profile aluminium and cut it to fit to make a bracket that screws directly to the bottom of the transmission which is usually fitted directly on top of a skid plate on crawler vehicles.


Here a better view of how I secured the cross canyon transmission mount to the plate.
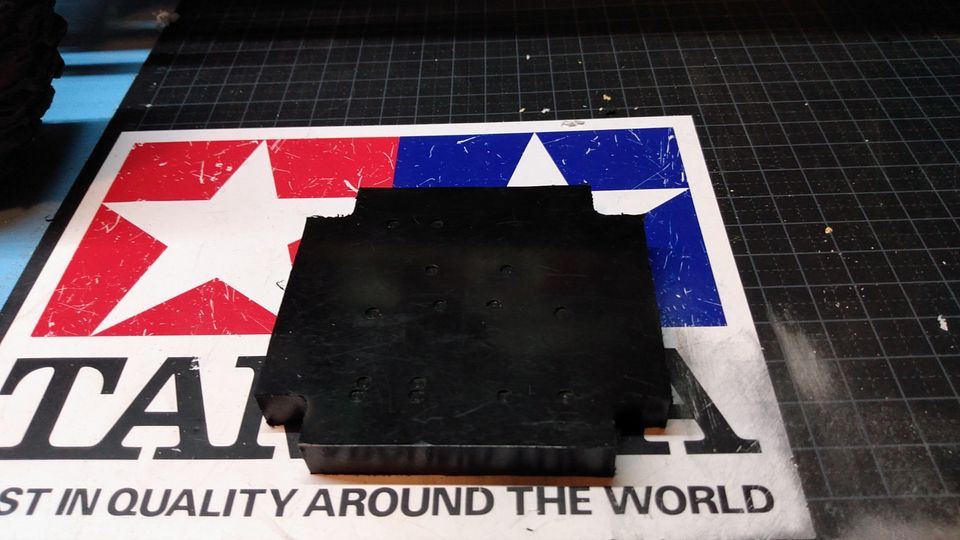
That plate will be made out of aluminium later.
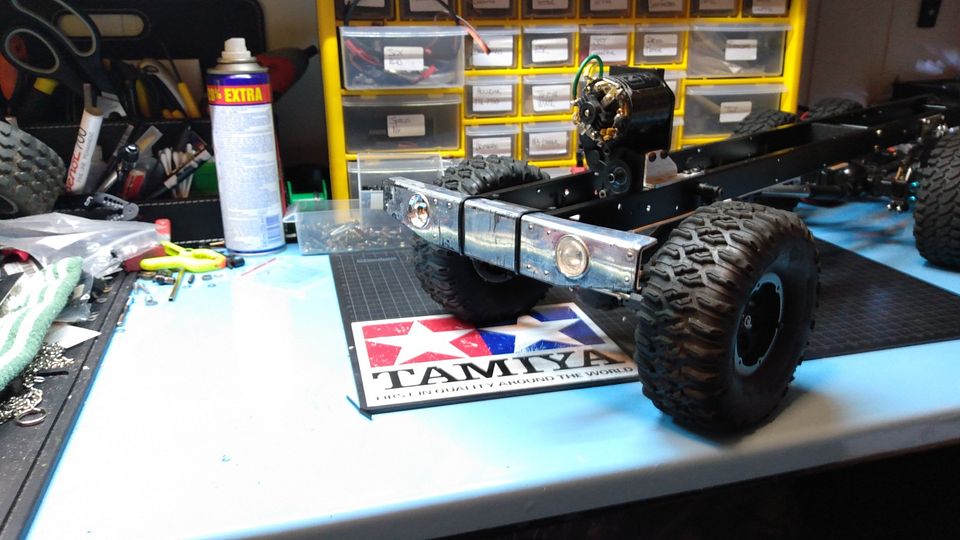
Currently I have fitted a 87t spur and 16t pinion together with a 55t lathe motor.


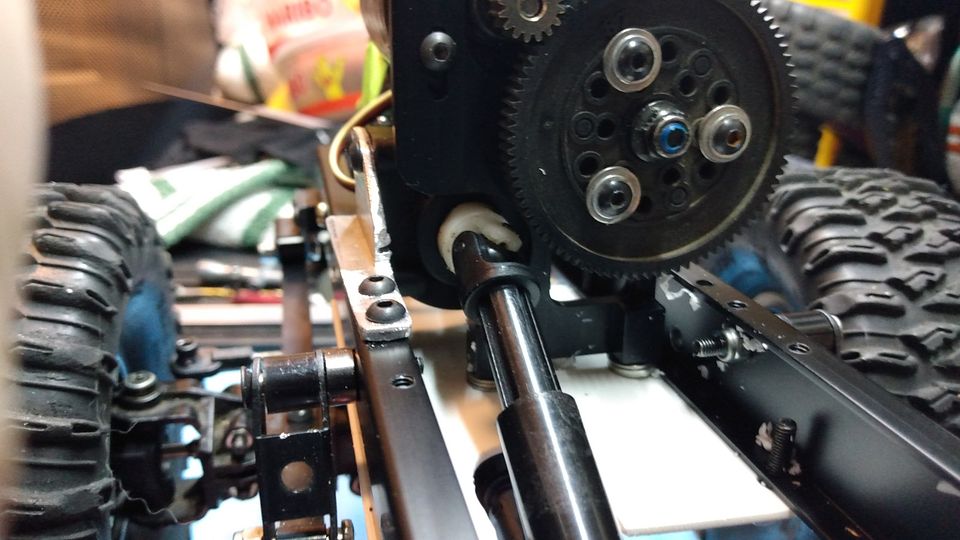
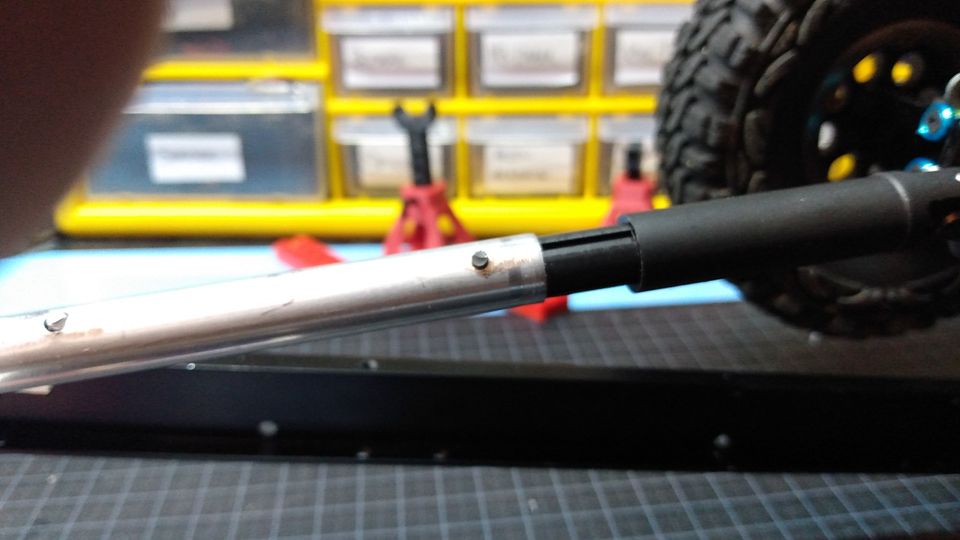
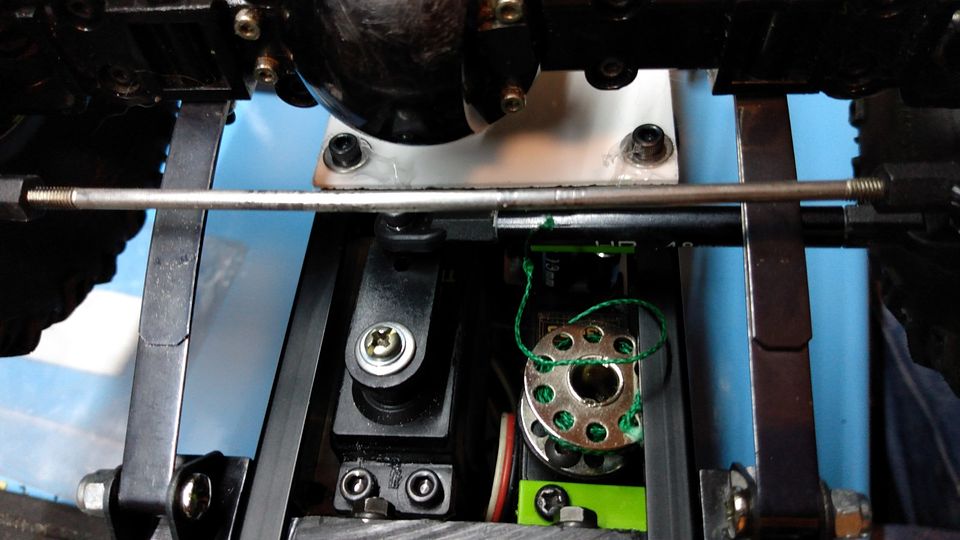
When the middle axle is fully compressed there is just a minimal gap on the splines on the driveshaft.


Fully extended (drop)
For now I have secured the male shaft ends to the aluminium tube with a single 3mm screwpin, butt will later be fully epoxy'd on.


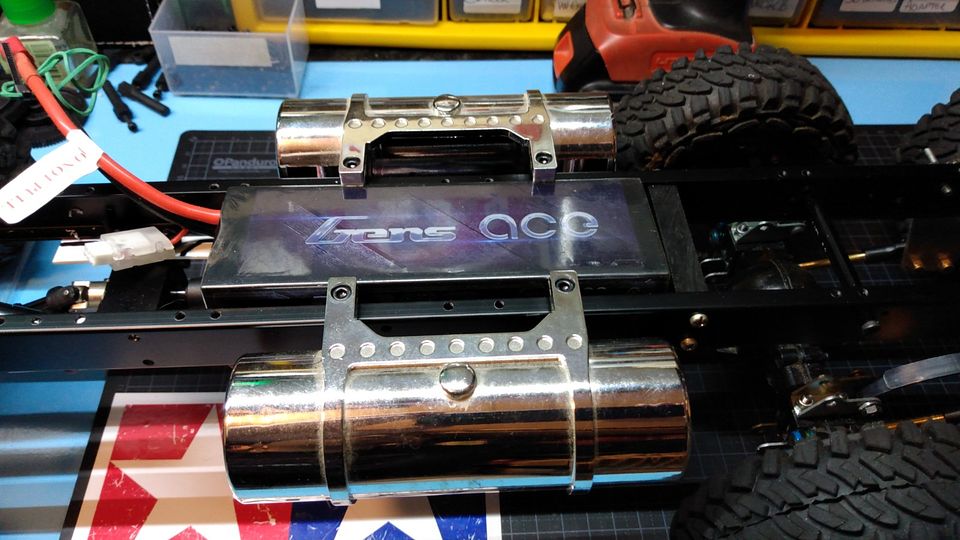
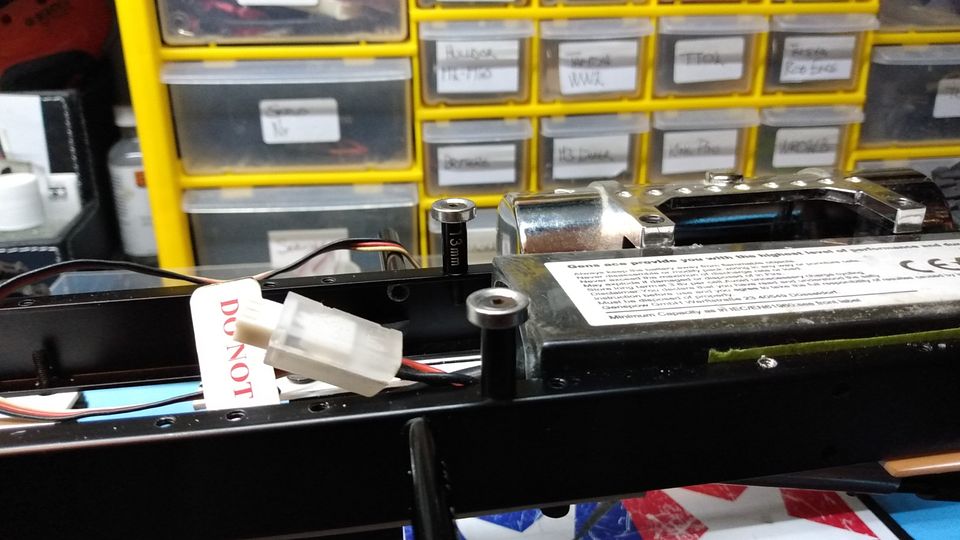
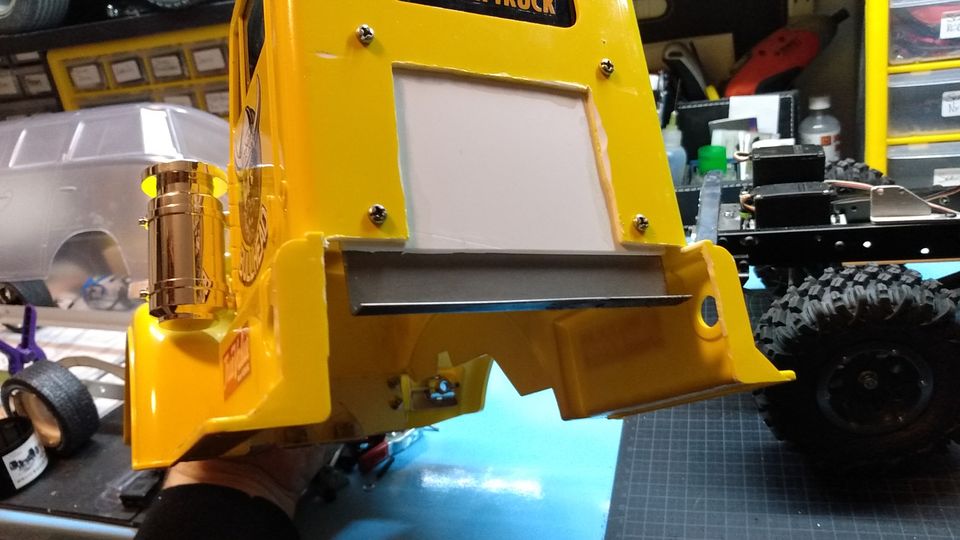
Battery will live here I think under a cover of some sort.
This 5000mAH 2s has no vehicle using it atm, so this fits good for this job.
Should last about 3 hours of driving, plenty of fun time 


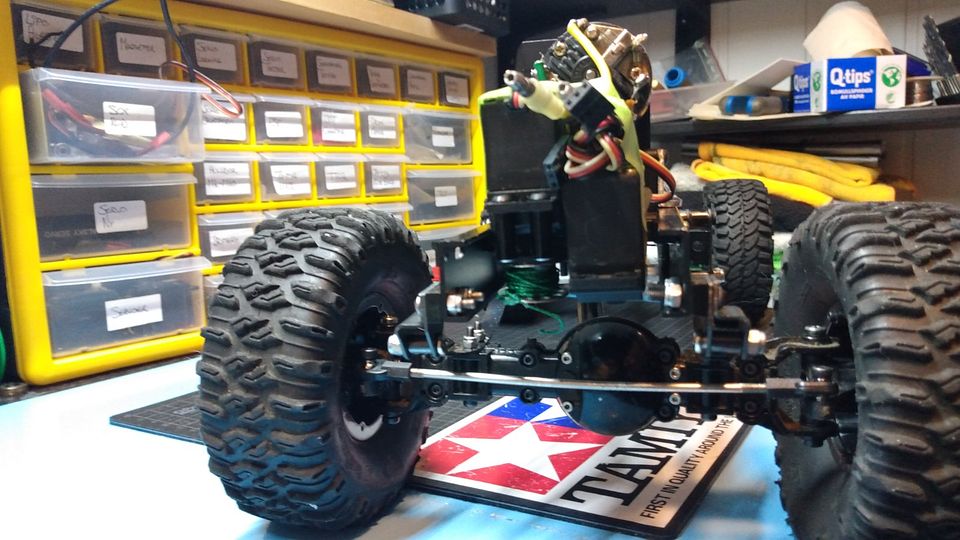
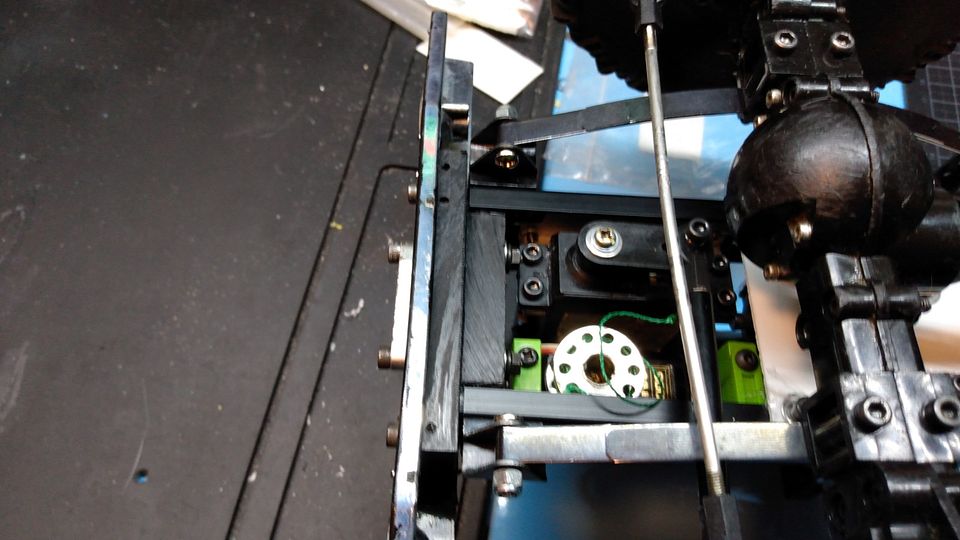
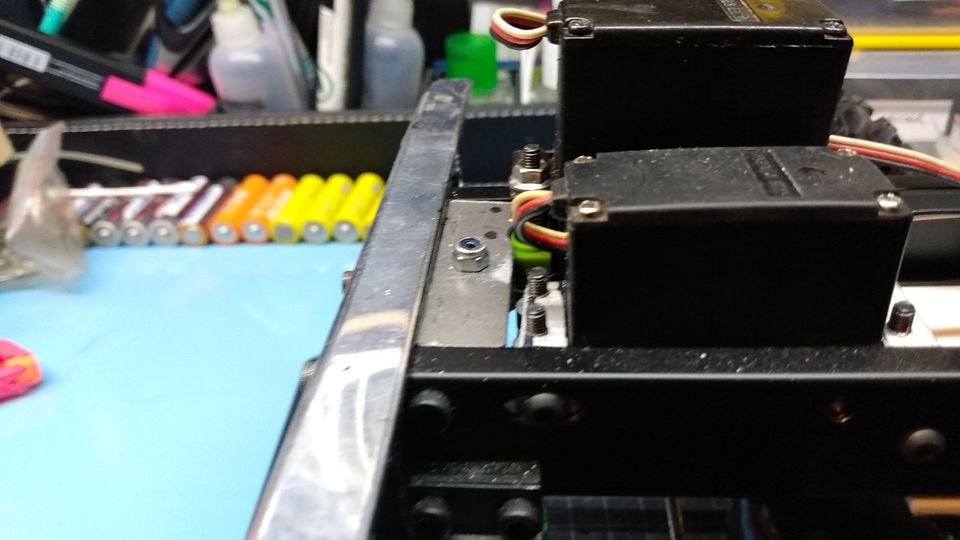
Up front I'm testing a steering servo and winch setup. Might be a but hard to see.
Do not want to make more holes in the chassis, so either I will using US truck servo mounts (have 1, need 2 as holes in chassis is less than the length of a normal servo), or make a plate.
Winch is using a sewing maching spool attached to a round servo horn.
In front of that I'm going to make a solid mount for the bumper which will include a winch fairlead.
Just need to make up my mind how I want it.


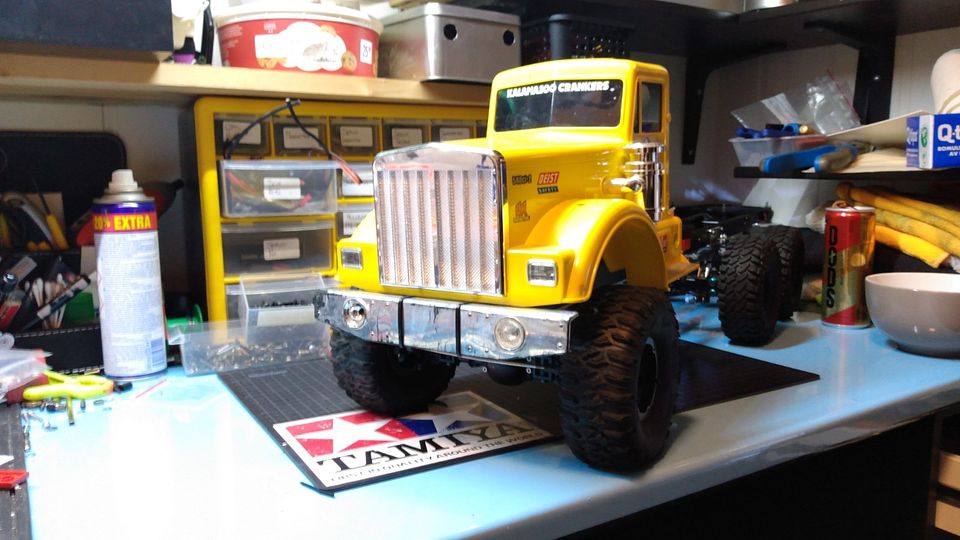
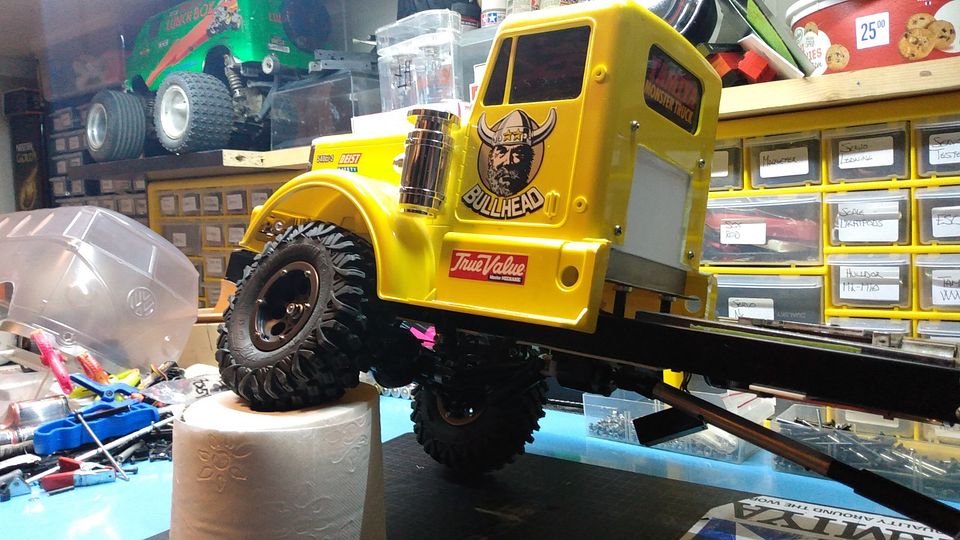
That's how far I got today.
 
The following user(s) Liked this: stingray-63, 1972 LeMansGT Jim, silvertriple, Ducksnuts

Please Log in to join the conversation.

Richard's 6x6 build from left over parts. 2 years 2 months ago #70509

I have some Delrin plastic in my parts bin.
These used to go together with some scale chassis kits that a mate of me produced about a decade ago.
Perfect for chassis crossmembers.


Which was made into two pieces with help of a miter saw


First one was insttalled here.


And the other as front crossmember.
I tapped the holes with M3 tap. Delrin do tap up nicely with little effort.
This will hold lot of stuff, front leaf springer mount, bumper, body mount and servo mount.


I do have this ragged BullHead bumper wich will suit this build fine. I may do some weathering on this and on the body.
Also might replace it with a custom one out of 5 or 6mm flat stock aluminium depending if I can find something.


Yeah!That will do!


Found the exhaust and the fuel tank which fits perfectly on this build!


Obviously I need to fit longer stacks as I like the current trend of big and high stacks on US trucks.


Now the front crossmember is on I can plan on mounting the bumper and making body mounts as well.
As soon as those things are in place I do want to take it on a little test run to see how it drives 

I also see my LHS has the snow chains in stock again so I might buy some of those next time I'm there (35min ish away from me).

 
The following user(s) Liked this: stingray-63, Al, 1972 LeMansGT Jim, silvertriple, jord001, Ducksnuts

Please Log in to join the conversation.

Richard's 6x6 build from left over parts. 2 years 2 months ago #70510

Yeahhhh awesome Richard. 
The following user(s) Liked this: caprinut, jord001

Please Log in to join the conversation.

Richard's 6x6 build from left over parts. 2 years 2 months ago #70579

Bumper is now mounted.
Winch fairlead act both as winch guide and the two bolts also holds the bumper to the chassis.
Since last time I have changed the servo mountings as well


Steering servo is now hold in place via a aluminium L bracket as the servo brackets I have, did not put the servo where I wanted. I also did not want to make more holes in the chassis.
Winch servo will also hung with the same method as the winch barrel touch the bottom of the frame.


To space out the bumper from the chassis I used another of those delrin skid plates I had laying around.
Ended up like a hack job because I messed up my measurements, oh well....


Fuel tanks is bolted in. I tapped the chassis so I could use M3 screws.
The tanks is a bit tight to eachother, so battery is a press fitment atm.
I think I need to trim the mounting tabs a tad.


Rear of the cab is trimmed so the tanks actually fits now with the body placed where I want it to be.
Due the added weight up front, the chassis is about 8mm lower up front so I need to make some lift blocks for the leafs.


The back wall will be closed with some styrene later on. But first I need to figure out the body mounting systtem.


Now I need ot swap out the mock up steering servo and fit electronics so I can take a test drive.

Getting there...

 
The following user(s) Liked this: Jonny Retro, stingray-63, Al, jord001, Ducksnuts

Please Log in to join the conversation.

Last edit: by caprinut.

Richard's 6x6 build from left over parts. 1 year 9 months ago #71901

Finally replaced the crappy front tires.
The new ones are Boom Racing Hustler M/T XTREME 1.9" 4.45 (113MM) X 1.57.
I wanted tires to be similar to the rear ones and also the same hight, rear ones are 114mm.

Old RC4WD tires to the left


The Axial beadlock wheels are really too narrow for these tires, so I want to add a another bead or two to each wheel to make it wider.
As you can see, the are now round instead of a flat profile.
There are aluminium beads to be bought and added, but before the land on my doorstep the will be expensive.


I did fit 2mm scale bolts to the outer ring, but the tool started to stripped.
Will order a new too and tap the holes before more screws are added. 
The following user(s) Liked this: stingray-63

Please Log in to join the conversation.

Richard's 6x6 build from left over parts. 1 year 9 months ago #71908

I had two spare wheels of same sort as used on the truck, so I cut them up to steal the inner bead so I can widen the wheels.
Have no lathe so I just bolted a wheelaxle to the wheel and fitted that to my drill. A model hacksaw made it quick ish job of cutting the bead off.


Backside of that ring that will be added to the wheel.


All I had to do was to drill the holes with 2mm drill bit and clean up the cut a little bit.
Then using 2x16mm bolts to fit the extra ring on.


Widened wheel to the right, standard to the left


Both widened wheels fitted back on


Beadlock wheels of the Axial type bolt pattern is really easy to make wider.
LockedUpRc is selling widening rings for these type wheels in several silver and black finishes, and both single and double width at 20 dollars for a pair...
Shipping is killer so I rather chopping up a set of standard wheels 
The following user(s) Liked this: Manotas, stingray-63, 1972 LeMansGT Jim, Ducksnuts

Please Log in to join the conversation.

Richard's 6x6 build from left over parts. 1 year 9 months ago #71920

Excellent work..

I really like how this is looking and love the Bullhead cabin !

Well done keep us posted
Proud owner of the Bruiser Family
The following user(s) Liked this: caprinut

Please Log in to join the conversation.

Last edit: by Manotas.

Richard's 6x6 build from left over parts. 1 year 6 months ago #72718

As I've mentioned in the what have you done today thread, I have been working on this project.

Replaced the allthread rod for the pivot point for the leaf springs.
First I took a 6x68mm threaded pipe and cut off 4mm of each side as it was too long.
Then the pipe was drilled with 2.5mm drill bit to make the threads deeper as the hole is not completly all the way through in this pipe.
After that I tapped it with M3.

Before I could bolt it back I made small sections of 4x3mm pipe fit into the hole of the TLT link mounts.
Four big M3 washers is then used as spacers between the link mount and the frame.
After that it was just simply matter of bolting it together again.


Thet Axial SCX10 transmission is now used in mock up my new crawler chassis.
I will pick up more SCX10 transmissions soon, but the seller is not responding to my messages and I have been ill for a few weeks now.
The following user(s) Liked this: stingray-63, Al

Please Log in to join the conversation.

Richard's 6x6 build from left over parts. 1 year 6 months ago #72760

Been working on this for a few days now.

Needed some sort of body mounts.
The first front one did not go as planned as the 3x3mm round magnets was not strong enough.

Bodymounts fitted


I belive the magnets should be strong enough...


For the front mount a fitted a small piece of steel sheet on top of the front crossmember.


Inside the nose I fitted this bracket that use the bolt holes for the light buckets to fasten it to the body.
The hole in the middle slides over the M3 locknut on the front crossmember and the 10x10x5mm magnets are fitted a pair of slots and epoxy'd to the mount.


Rear use these magnets with countersunk holes bolted to the frame via a spacer.


This steel L bracket just fits over the magnets on the frame.


Suspension works like I want it to. Max flex is approx a roll of toilet paper...


Here you can also see how the rear body mount works.
Need to make guide plate on tthe metal plate for the magnets.


As winter is just a month or two away I have started on a snow plow.
Planning anyway.
Just a 6" plastic drain tube cut down.
I plan on trying to heat the tube to make a sharper curve.


This is sorta the plow design I'm going for
The following user(s) Liked this: stingray-63, Al, 1972 LeMansGT Jim, Ducksnuts

Please Log in to join the conversation.

Last edit: by caprinut.

Richard's 6x6 build from left over parts. 1 year 6 months ago #72787

Transmission is fitted again and electronics are programmed.
Sidewinder 3 and 55t motor.
My LRP receiver smoked, so I had to swap to old faithful Futaba Attack R crystal radio with Acoms receiver.

After a short test it came apparent the center axle was not locked which was not ideal when climbing.
Someone had broke the set screw in the High Lift axle to lock the diff, so I tapped the other side with 4mm threads.
Ready to be assembled.


Workbench was a mess..


Put it together and had a longer test ride which was successful.
Hard to film with phone and stick radio..


For some reason the Sidewinder indicates reverse with red led, but there is now reverse. So need to look into that.
The drag brake needs to be bumped up as well (vehicle braking by itself downhill, ot hold when parked in hillside depending how much is added and motor spec)
The following user(s) Liked this: Jonny Retro, stingray-63, 1972 LeMansGT Jim, Lemsko, Ducksnuts

Please Log in to join the conversation.

Last edit: by caprinut.
Moderators: caprinutstingray-63AndyAus
Time to create page: 0.277 seconds
Cookies are required to make this site work. If you continue to use this site you permit us to use cookies.