Keyword

TOPIC:

Carbon fibre racer in minature, scratch build! 11 years 2 months ago #18171

Every once in a while I build something that really makes me smile in disbelief that I actually pulled it off. This project is one of those....

I was going to do what I normally do & hold off posting until it was finished, but I've just given it a shakedown run & I can contain myself no longer!

I had been thinking about pan cars a lot around xmas time & decided to build one, got distracted by Mini-Zs & decided the project should be a small one. It was going to be based on Mini-Z or Tamtech parts (Cos I've got an Iwaver 28th RX-ESC board kicking about), but I got a bit carried away....

So, to start I dug out the smallest servo & receiver I own, then bout an HPI ESC designed for 18th cars, landed some cheap "walkabout" phone batteries (1/2AA size NiCds) & a cheap 180 size heli motor, so I could have a measure up to see what might be possible.

Took lots of pics this time, so for starters, the motor & batteries (To be made into a 6-cell pack)


I roughly balanced the pile of bits together, to get a feel for what sort of scale I was looking at (Decided 1/24, 1/25) then bought a Revell "Snap-tite" car kit to obtain a suitably sized body shell.

Next job, I thought it best to draw this one up, as at this scale there's no spare space, so it has to be right before I start hacking materials up.
Dunno what they'll come out like, but below should be a couple of screen dumps of the proposed assembly & the fabrication drawings for the bits


Ok, now to pick a starting point, brave the cold shed & get making!

Wheels first


Then I needed tyres for them...
Bought some foam bicycle handlebar grips, made a mandrel to mount them & spin them up in the lathe, removing the material with a sanding drum in the Dremel. It was far more tedious than I was expecting, but they came out well I think.


I scored a bag of very cheap 6x3x2.5 bearings off Ebay, so it was planned to use those wherever I could. Fitted them to the wheels. Tyres are held on with double-sided tape


Ok, got wheels, I'll start on the motor pod etc next I think, mainly because I was dreading doing some of the front-end components!
Milled out motor pod sides & rear damper mount


Then I came indoors to warm up & spend some time splitting toy car ballraces to recover some tiny ball bearings for my proposed ball-diff. I needed 1.6mm & 1mm balls, found the 1.6s but had to settle for 0.8mm ones for the thrust race in the end (They're like grit!)

Please Log in to join the conversation.

Carbon fibre racer in minature, scratch build! 11 years 2 months ago #18172

Next bit to do is the ball-diff. I've made them before for Mardave Bangers, but at this size it was going to be a challenge!

I did some sums & worked out what I thought was a sensible gear ratio, then had a dig about in my bag of spare small gears. 0.5 module was order of the day, an old servo output gear seemed to be a good starting point for the spur. The brass pinion fitted to the motor was going to be too small (8 tooth, likely to wear the spur too quick for my liking), so I heated it up & yanked it off the motor spindle, then fitted a slightly larger plastic one (Cut off the smaller gear of a compound servo gear).
I don't know whats more what my mate at work calls "hatstand", the decision to use titanium for the axle, the fact I had some kicking about, or that it was a paint stirrer before I decided to use it... I think I inherited it as a leftover from a job I was involved in for Johnson Matthey years ago.
Note to self - Titanium is a pig to drill 1mm holes in, more of a pig to tap M1.6.... Machines like stainless, heavier than ally, lighter than stainless. Wrecks carbide tips.
Several hours later, I've got ball-diff components!


I put all of the bits together, gobsmacked that it all fitted first time, gave it a test twiddle & was even more gobsmaked to find it was really smooth & worked perfectly! Hopefully you can get a feel for the size of it with the inclusion of a Tamiya box wrench & Clipper lighter in the pics.


Do some twiddly bits next...
Acrylic rear damper parts


Body mounts.
Blocks are ally, machined some M2 stainless capscrews with a register (These will locate in tubes in the body), locked to screwed-in length by M2 grubscrews (With a 0.9mm A/F allen key!). The grubscrews were originally going to be M1.6 (As the rest of the fasteners) but when they arrived I decided against it - couldn't tell the socket end from the hollow point end! (& require a 0.7mm A/F key!)


Radio deck spacers (With M1.6 tappings & M2 male threads)


Couldn't avoid it any longer, so started on the front suspension & steering components.
Front uprights (With 10 degree caster angle)


Titanium stub axles, silver steel kingpins, stainless rear damper rod, PTFE bushes for the uprights/kingpins, & a pair of knurled M2 thumb-nuts for the battery holder


Steering knuckles (With the stub axles fitted). They're recessed top & bottom so the springs & bush-heads nestle inside, to help get me that 2.5mm of suspension travel I was looking for...

Please Log in to join the conversation.

Carbon fibre racer in minature, scratch build! 11 years 2 months ago #18173

HI!... Where did you get the radio deck spacers? I've never seen those before, at least here in Canada. Those with a bit of machining would work perfect for my Toyota Tom's runner I'm currently building.

Neal.

Please Log in to join the conversation.

Carbon fibre racer in minature, scratch build! 11 years 2 months ago #18174

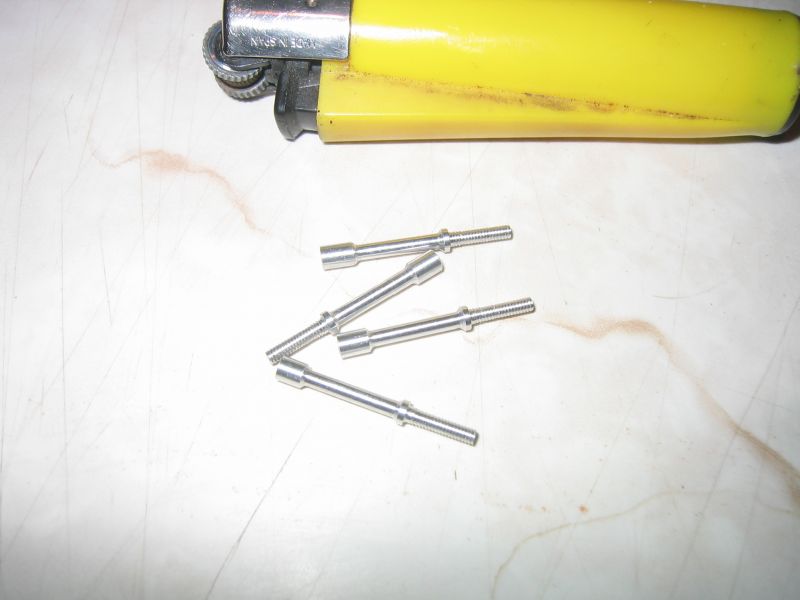
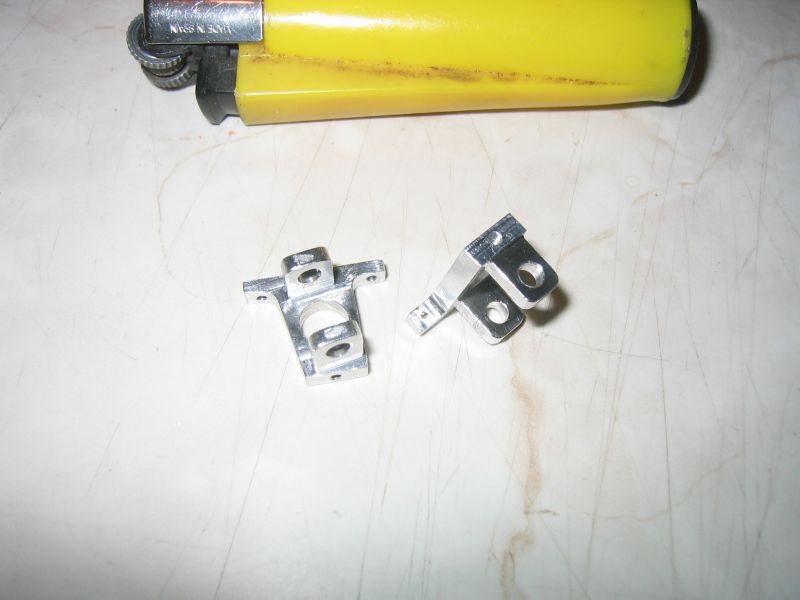
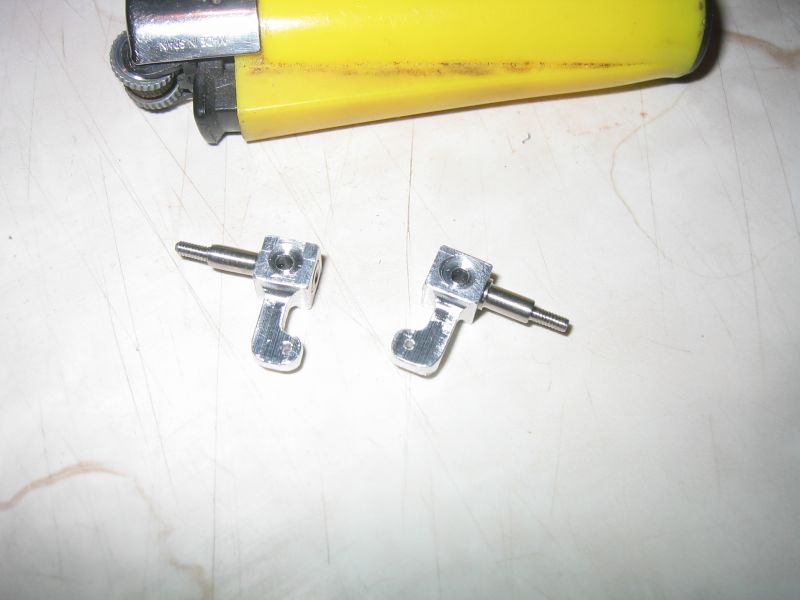
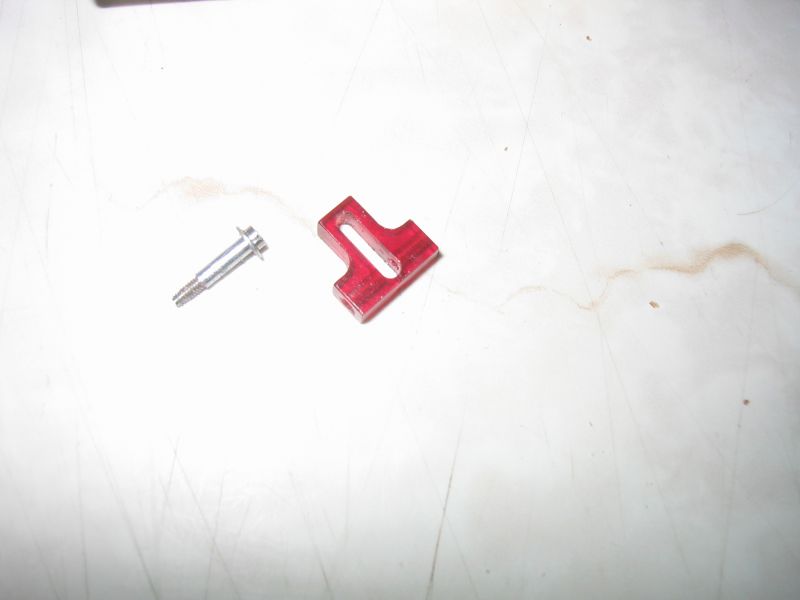
Milled out an acrylic steering yoke, & made a pair of 2mm ally track rods (Machined from 1/4" ally bar....)


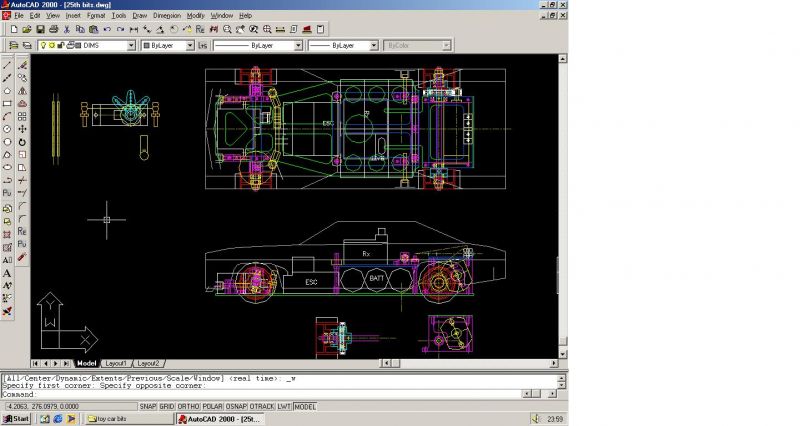
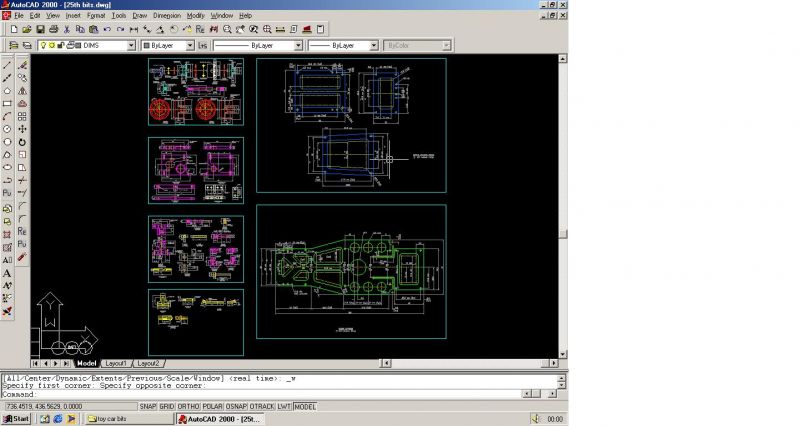
There were now loads of toy car particles blowing about on the bench, so I thought it was about time I did something about a chassis, to mount them to, before I lost any of it....

Bought some 1mm thick carbon fibre sheet... well why not, it's got titanium axles....
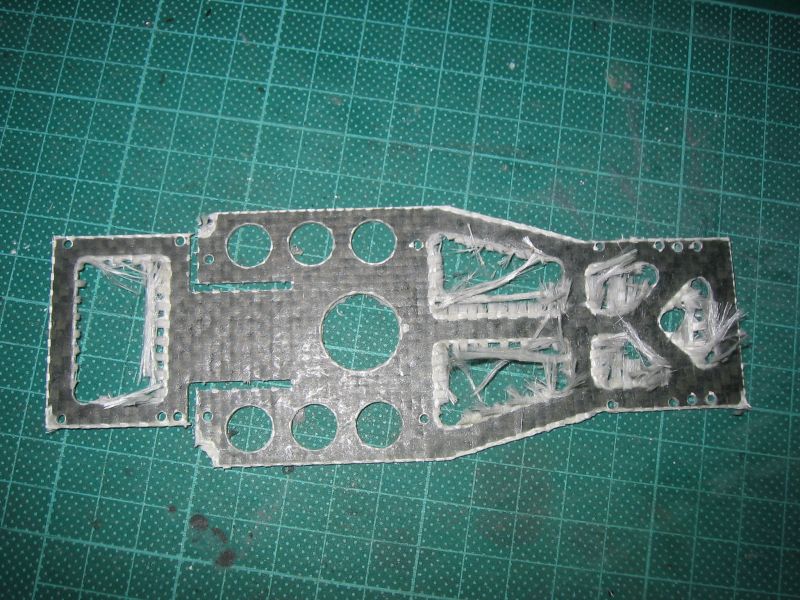
This stuff is a nightmare to machine. 20mm of cutting had the HSS tooling for breakfast, solid carbide was struggling to stay sharp too. Trick seems to be slow feed, flat out spindle speed, so you end up grinding rather than cutting. I had thought about making a bracket to mount the Dremel on my mill, so I could get a really high spindle speed & use diamond cutters, but in the end I just couldn't be bothered & just persevered with the carbide cutters. It all went very slowly, mainly because the carbon fibre was only double-sided-taped to a block of poly for machining (No other way to keep hold of it & keep it flat).
The finished cuts were untidy, like a fiberous nest!


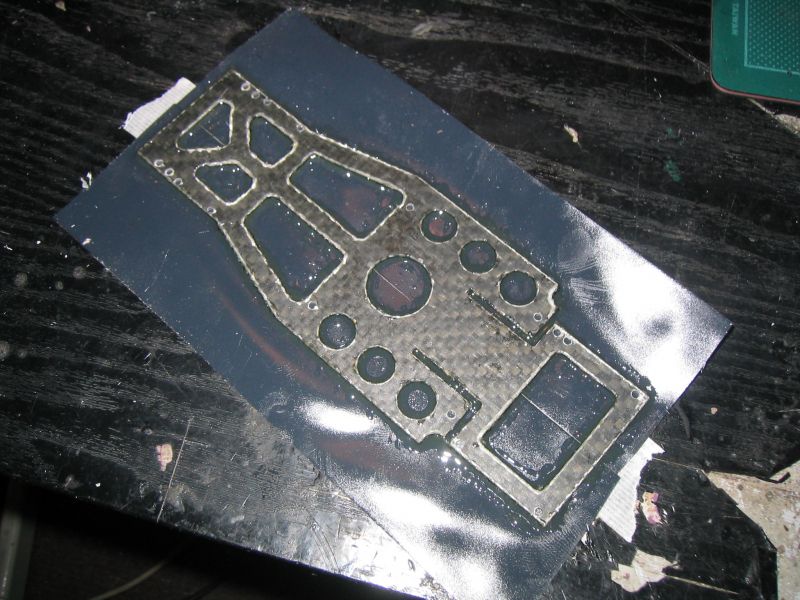
I cut off the worst of the fluff with scissors & scalpel blade, then backed the chassis with insulating tape, then smeared epoxy resin up the cut edges - plan was the epoxy would soak up the frays & set, making the edges easier to file/sand/tidy up.


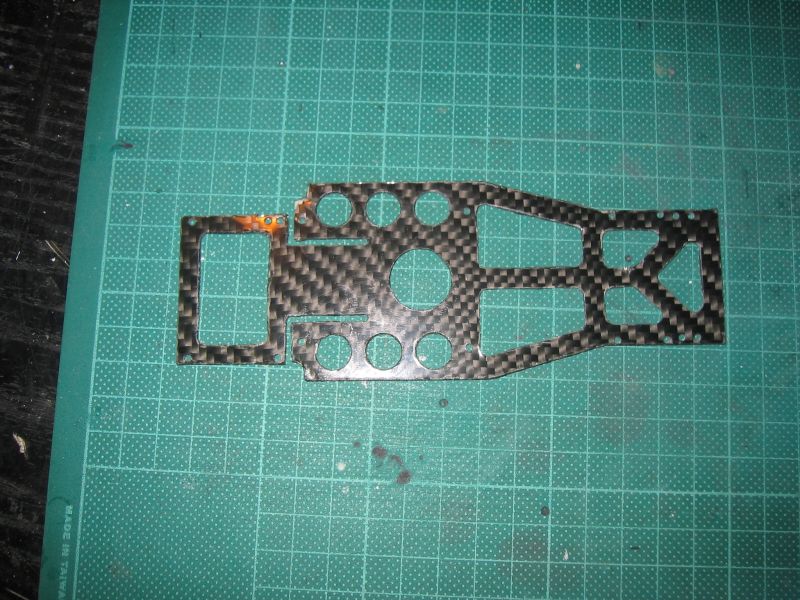
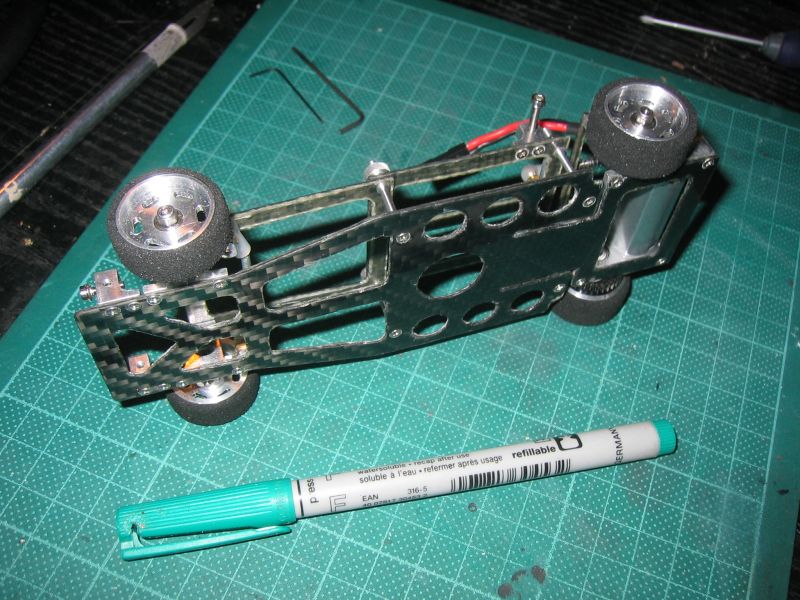
Seemed to work - finished chassis


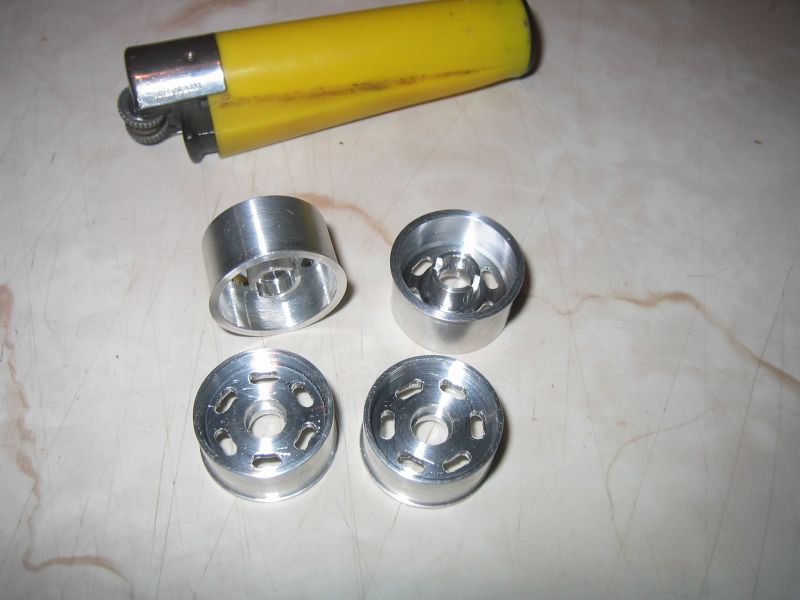
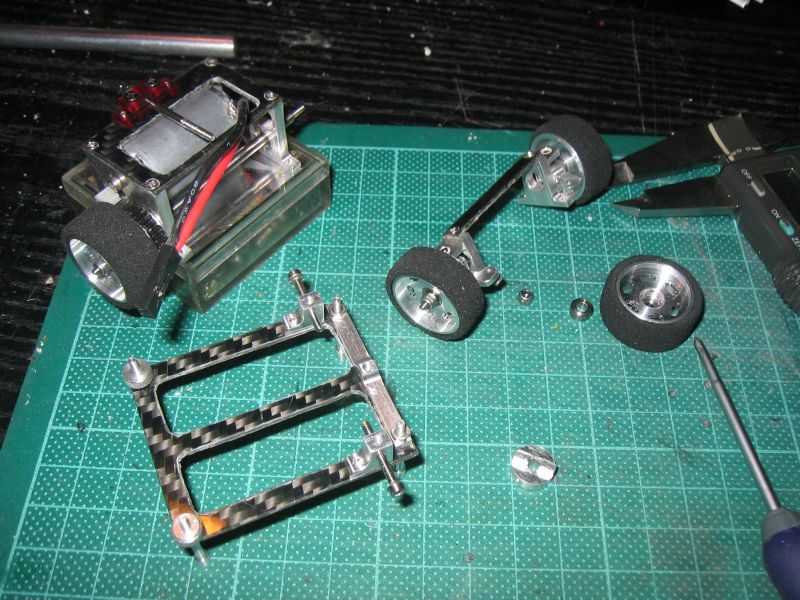
Machined out the top deck bits, tidied them up, then started assembling some of the bits.


How cool is that?! Seems a shame to cover it all up with the electrics, but it had to be done...
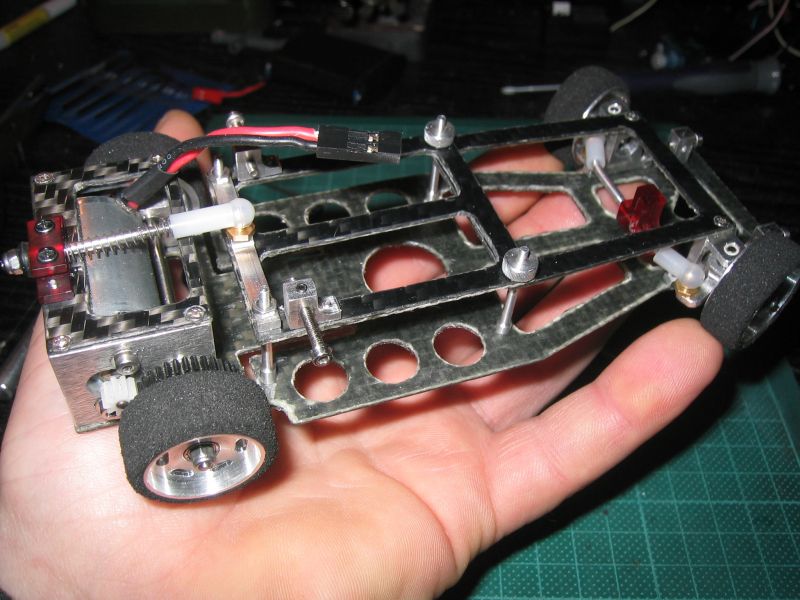
1st off, hacked the phone batteries up & turned them into a 6-cell pack.
Then, I plonked all the radio bits where they were supposed to go, & went around shortening all the wring, to tidy it up (There's no room for the excess!).

Nearly forgot - the motor has turned out to be a bit of an "unkown" - I bought it specifically because it was the right frame size (180) & the heli that uses it runs on 7.4v.
Out of interest, I looked up the actual manufacturer's part number for it on the net, & was alarmed to discover it's only rated 3v... I looked further through the info for the maximum ratings (To see if I could get away with running on up to 12v from a charged 7.2v NiCd) & stubled across its stall current rating of 9 amps... really? Must be some typos amongst the numbers methinks... Nothing else for it, I had the end cap of to look at the windings & brush-gear - sure enough, it's got proper carbon brushes (ie not those phosphor bronze "fingers" low voltage motors have) & the windings are 0.6mm wire. Won't know for sure until I properly run it, but I think it should survive. It certainly pokes out some serious torque for a tiddly motor, you can't stall it by pinching the spindle anyway!

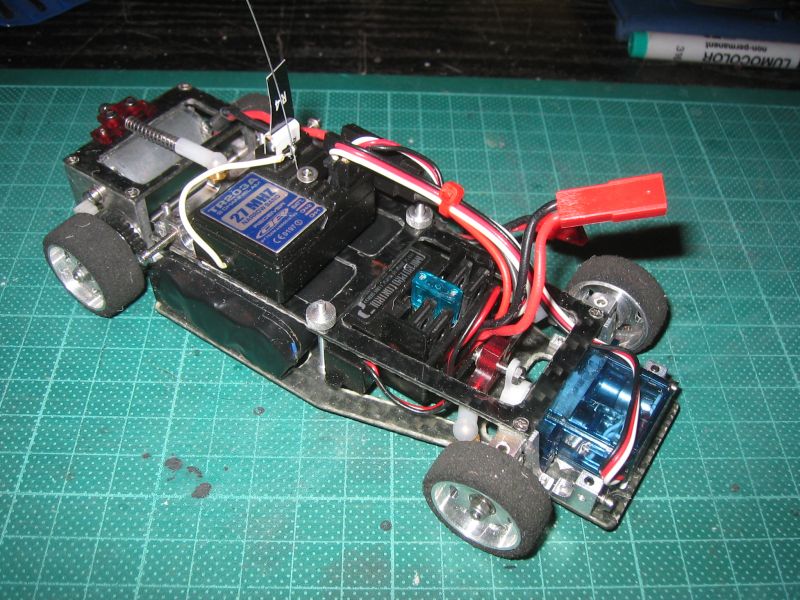
So, Electrics installed, ready for a test run.
The receiver aerial is an old guitar string, the aerial wire is cut down & soldered to it, then the whole shebang screwed to the top of the receiver case, for convenience


As I said, I've given it a quick run around tonight, to see how it goes... it's absolutely loopy!
It's too high geared really, but poke the stick & there's masses of wheelspin, on carpet!
Wind it up slowly to get traction & it's too fast for the front room with the motor barely "ticking over". I can't wait to try it at work in the office where there's more room!
Before I do however, the next task is to sort the bodywork out. Must do that before I seriously play, or I'll be distracted & never finish it!

Please Log in to join the conversation.

Carbon fibre racer in minature, scratch build! 11 years 2 months ago #18175

Hi Neal, Sorry it's all scratch designed & hand made (By me), you can't buy the bits, but if you want the drawings to have a go yourself, PM me your email address & I'll send you some pdf's (Or AutoCAD files if you can use them)

Please Log in to join the conversation.

Carbon fibre racer in minature, scratch build! 11 years 2 months ago #18176

Awesome work Ed! :woohoo: amazing what we can achieve if we set our minds to it, really great job :y: cheers for sharing... Andy.....
If you can't fix it with a hammer, you've got an electrical problem mate :)

Please Log in to join the conversation.

Carbon fibre racer in minature, scratch build! 11 years 2 months ago #18177

HOW COOL IS THAT! :ohmy:
Amazing work, Eddrick, I wish I had the skills and tools to do this.
Signature now gets correct formatting if you edit it in your Profile. Use normal BBcode if you want.
www.tamiyabase.com was formatted automatically.

Please Log in to join the conversation.

Carbon fibre racer in minature, scratch build! 11 years 2 months ago #18183

You've taken awesome to another level there :woohoo: :y:

Do we have to guess the bodywork? My guess is ... '69 Camaro :)

Please Log in to join the conversation.

Carbon fibre racer in minature, scratch build! 11 years 2 months ago #18196

Er, how did you do that Jonny? Do I have to start wearing my kitchen foil hat again? Some truly scary guessing there!

Cheers for the comments guys!

I'll post pics etc of the bodywork when I've got a bit futher with it - still waiting for glue to dry at the mo

Please Log in to join the conversation.

Carbon fibre racer in minature, scratch build! 11 years 2 months ago #18197

Er, how did you do that Jonny? Do I have to start wearing my kitchen foil hat again? Some truly scary guessing there!

...


I could explain, but you know the 14th Commandment: "always be as mysterious as possible" ;)

Please Log in to join the conversation.

Moderators: caprinutstingray-63AndyAus
Time to create page: 0.148 seconds
Cookies are required to make this site work. If you continue to use this site you permit us to use cookies.