Since I was missing a pair of C-hubs (for the front), that was a good excuse to do another hop up on the FRP chassis.
Gonna put the regular parts from that car on the current build and replace them with aluminium. I thought black would look best but GPM doesn't make 'em in that colour for the TA01 or TA02. But Louisbaby confirmed my suspicion that the CC-01 uses the same parts! And these also come in black... Definitely a cool upgrade - now the hubs can also get some ball bearings. Gonna offer the alloy motor mount with the finished bathtub chassis... For the search engines : the C-hubs from the Manta Ray, other DF-01s, CC-01, TA01, TA02 and the TA03 are the same! Edit - this is a quote from TC : Second edit - CC-01 suspension shafts are 4mm instead of 3mm for a DF-01! |
|
Please Log in to join the conversation.
Last edit: by Edou.
|
Wow - the new anodising supplies really made the process work!
The dyes and sealer I received : A big cup and a spatula for mixing the dye and some bottles of demineralized water : A meat thermometer to check the temperature of the dye and sealer : Prepping with caustic soda : And nitric acid : The sulfuric anodisation bath : And a dyed result I am very happy with, even if the surface isn't all smooth because of it being cast aluminium : |
|
Please Log in to join the conversation. |
Edou,
I had not noticed, but you are actually doing "home anodizing" ?! Really good stuff to see and read! Do we see an article coming up when you are through the test phase? Signature now gets correct formatting if you edit it in your Profile. Use normal BBcode if you want.
www.tamiyabase.com was formatted automatically. |
|
Please Log in to join the conversation. |
Yep, and the results are getting a bit better each time. I still have to troubleshoot the process somewhat but I'll definitely try to write a nice article when it's fully operational. |
|
Please Log in to join the conversation. |
Some touching up and a respray for the rims :
Made some adjustable rods with low friction adjusters for variable camber on the wheels : Shock tower put on the gearbox... man, I do like that "accidental" gunmetal a lot : Brand new Top Force Evo suspension arms : Finished off with some blue alloy hexes with grub screws : I've managed to fit the rear shocks too. The colour is a great match with the shock tower. I'll make some pics with better light tomorrow... |
|
Please Log in to join the conversation.
Last edit: by Edou.
|
Not disappointed by the total look.
I think a better solution for the upper attachment of the shocks would have been some 6mm ball nuts and spacers though... But since I didn't have these, I fitted the elongated pivots I did have and used shims to get rid of any play. 
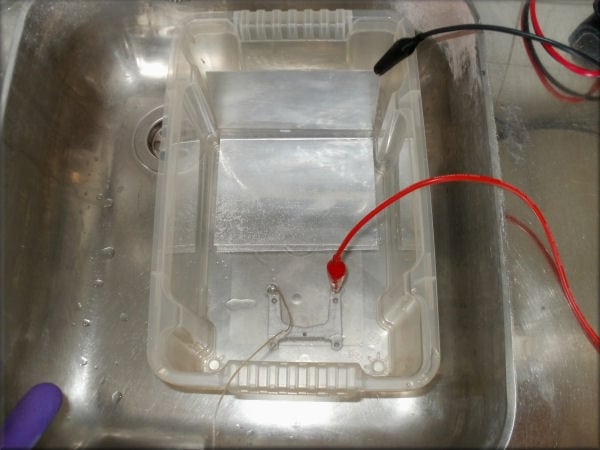
And a ring from the postman today! One of the very first TBG MkII undercowls for the FRP chassis. 
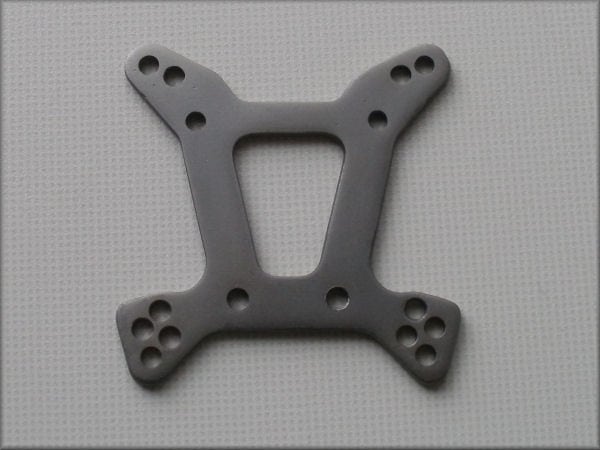
Kinda cool to think I had a tiny role in them changing the design. 
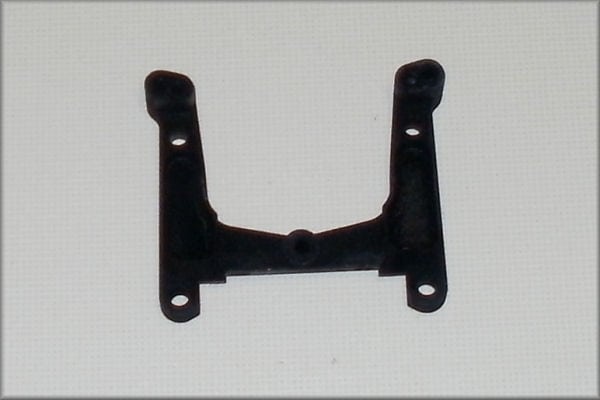
New version is without the dimples after I mailed them about having alignment problems for the screws. Gotta say I'm slightly impressed with the quality of the new item. Looks great and feels very sturdy. I'll have to compare but I think they even used a thicker material this time. The lines (so you know where to cut) seem to be more visible too... Another cudos to TBG - besides sending me this specimen at shipment cost. Edit - the former design with the dimples : |
|
Please Log in to join the conversation.
Last edit: by Edou.
|