TOPIC:
My Wild Willy/Willy's Wheeler/Honda City Turbo Builds 12 years 4 months ago #5176
|
|
Please Log in to join the conversation. |


My Wild Willy/Willy's Wheeler/Honda City Turbo Builds 12 years 4 months ago #5179
|
|
Please Log in to join the conversation. |
")
My Wild Willy/Willy's Wheeler/Honda City Turbo Builds 12 years 3 months ago #5751
|
|
Please Log in to join the conversation. |

My Wild Willy/Willy's Wheeler/Honda City Turbo Builds 12 years 3 months ago #5753
|
|
Please Log in to join the conversation. |
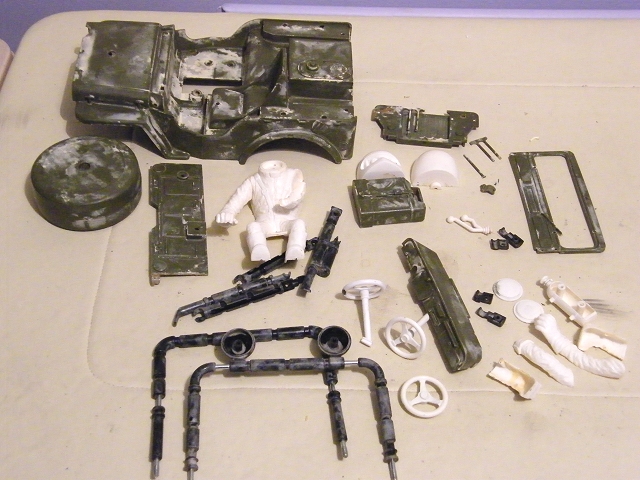
My Wild Willy/Willy's Wheeler/Honda City Turbo Builds 11 years 11 months ago #9761
|
|
Please Log in to join the conversation. |

My Wild Willy/Willy's Wheeler/Honda City Turbo Builds 11 years 11 months ago #9763
|
|
Please Log in to join the conversation. |

 but my #2 Cheetah will be red & I don't really want to paint two cars the exact same colour in a row, so unless I have any brainwaves in the mean time, I'm thinking US Navy - about the same colour as the WWII Vought Corsair F-4U like this Tamiya one I found on t'internet, but without the dirt:
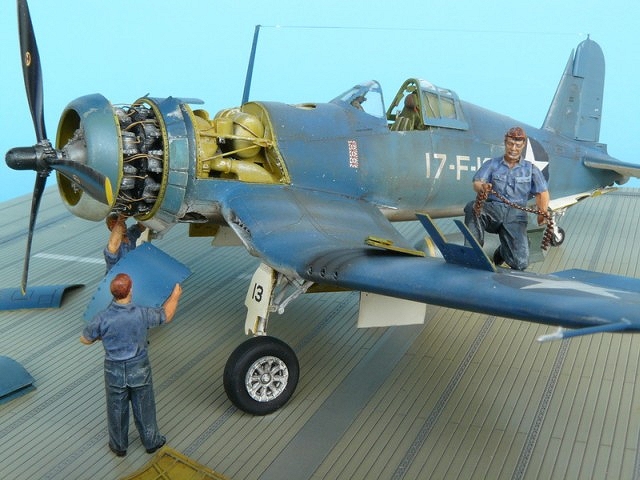


 )
)

My Wild Willy/Willy's Wheeler/Honda City Turbo Builds 11 years 11 months ago #9782
|
|
Please Log in to join the conversation. |

My Wild Willy/Willy's Wheeler/Honda City Turbo Builds 11 years 11 months ago #9783
|
|
Please Log in to join the conversation. |
Time to create page: 0.215 seconds