|
|
hello to all,
I have joined this forum because I bought in 1982 a Tamiya Toyota 4x4 Pickup from Beatties in the UK. This has been traveling around with me for the last 30 years and looking on Ebay original ones fetch good money. Well I was going to sell it and when I took it out of the original Beatties blue carry bag, it has been dropped and has a twisted frame. My thought now is to restore this model. I have joined to get info or help on parts. Before the model was damaged the only missing part was the front drive shaft. Cheers for now. |
|
Please Log in to join the conversation.
Last edit: by AndyAus.
|
Hello and welcome, the missing front drive shaft is easy to solve you can get the one from the rere bruiser or adapt one from a CC01. download the manual and take her apart (big chuncks for starters), from the picture it looks like you also have a problem with the front (left wheel?).
just show us a load of pictures and, any possible problem will turn in answers
The following user(s) Liked this: xbrit
|
|
Please Log in to join the conversation. |
I have taken it totally apart,(I still have the instruction sheet) straitened the chassis parts, but of coarse the aluminum is now marked so I have had them refinished in satin black.
The front wheel hub casting is damaged, is the front and rear the same? found one on Ebay. The Body is main problem, a chunk out of the front wing and it was rolled damaging the roof and drivers door. Second hand body? I still have the large 6v battery but have not checked it because the charger is from the UK. Can they be split and repacked? |
|
Please Log in to join the conversation.
Last edit: by AndyAus.
|
|
Welcome on board
badword no ... I won't claim it's an "easy fix", but I'd have no hesitation in taking on something like that - the damaged roof/side just needs sanding back, a new roof rail cut out of styrene sheet & gluing on, a bit of filler to finish, the broken corner can be replaced with bits of styrene to get the basic structure, using the other side as a template - I did something very similar here .
TBH I'm not clear on just what's inside the 4000mah 6v packs, I always thought it would be D cells, but it could be a load of Cs, Sub-Cs or something else ... whatever it is, the smaller 6v and 7.v2 packs don't split at all easily (I'm assuming the jumbo pack would be the same, or worse), the best way I've found is slicing them open with a razor saw after making sure they're completely discharged ( here ) ... but don't assume the battery is duff - if you "cycle" it several times (full charge, then a complete discharge) it may well be useable. |
Please Log in to join the conversation. |
The big 6v packs are just sub-Cs inside, it's basically 2x normal 6v packs in one case, wired in parallel to give the double capacity at the same voltage.
Good luck splitting the case, I've yet to find a good way of doing them (& laptop packs) cleanly enough that you can't tell someone's been inside! The cells are likely to be ok with a bit of cycling like Jonny said - flatten the pack completely (With an automotive headlamp bulb), then fast charge with a run-back type charger (Not a delta-peak cos it won't fully charge the pack, it might even refuse to START charging the pack!). Then, flatten the battery COMPLETELY again (Preferrably under high load, eg run it in the car, then finish it off with your bulb). Then fast charge it again. You'll probably have to do this more than 3 or 4 times, but you should see improvement each time you do it (Keep doing it until there's no improvement). Yes, front & rear wheel-holder hub thingies are the same, as are the separate middle bits. They're always brittle, the threads are always stripped. New ones are impossible to find. If you need the bearings out, don't force/hammer them (Cos the holders will disintegrate). Warm them up in very hot water & the bearings will just fall out. 
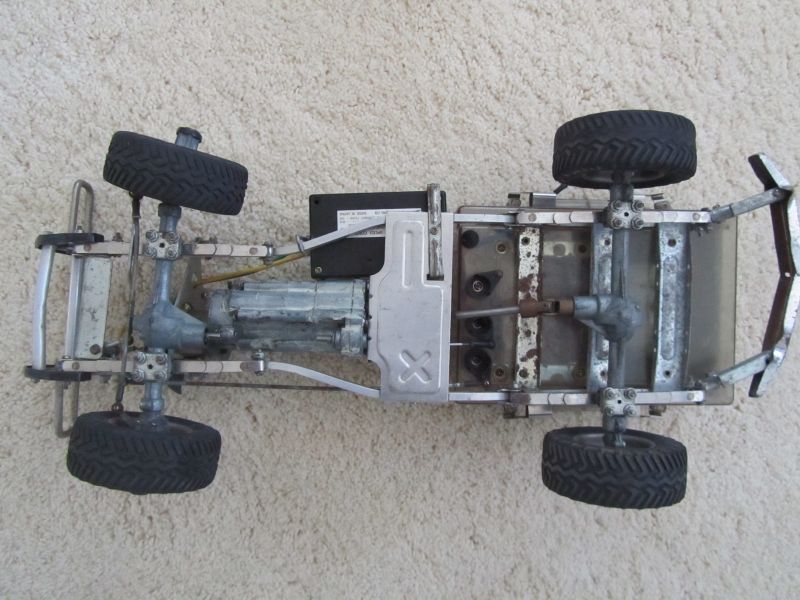
The UJs are different to modern ones (Modern ones have sliding/extending shafts), but they are the same as vintage Holiday Buggy, Sand Rover, Sand Scorcher, Ranger, Super Champ etc ones. Make sure your gearbox rear mounting rubber grommets are rubbery still - the gearbox NEEDS to be able to move easily in the chassis to allow for the varying effective length of the propshafts when the suspension moves (....cos the shafts don't extend/distend & something has to give). Check the bolt securing the 4wd transfer/drop gear is tight (Cap screw located at the back of the gearbox) - they come loose in use & will destroy the gear if they're run like it. UJ grubscrews also come loose & chew the shafts up. 
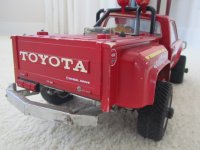
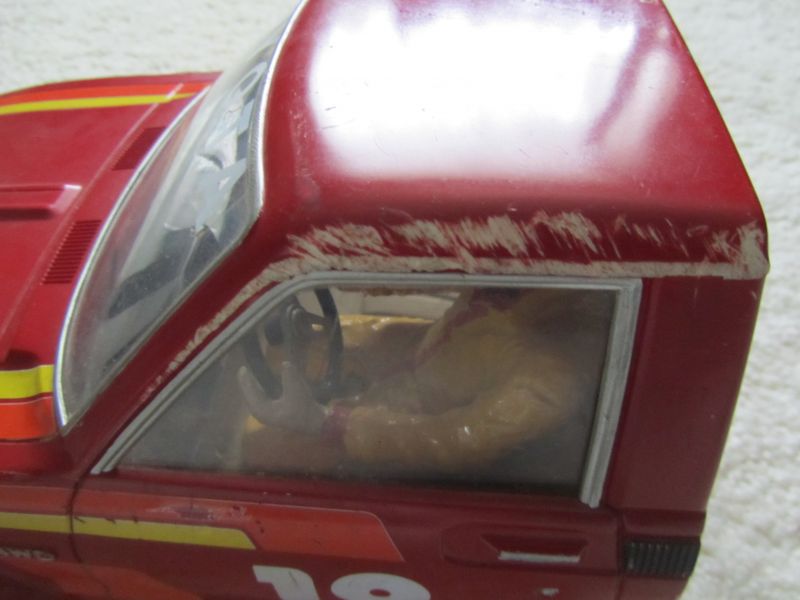
As far as I know, the front body is the same as the modern Highlift, but the Highlift has extra holes in it. Personally though, I'd try to fix the original body. 
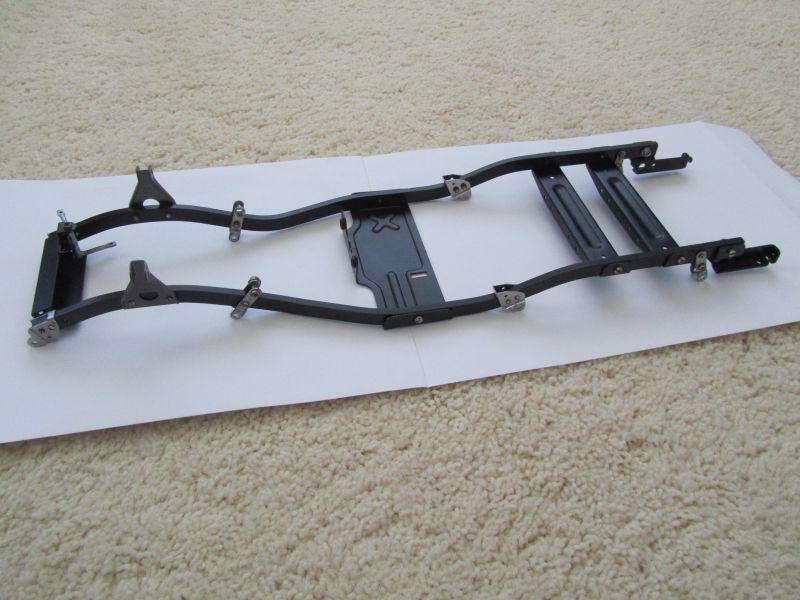
Bent chassis are normal, even when they haven't been dropped. Be careful straightening the rear bumper, they can split/break
Custom F2
...
Hilux crossmember drawing
...
F2 axle drawing
...
Quattro radio lid
...
Holiday Buggy motor bracket drawing
...
Quattro resto
...
HitnMiss engine
...
Wild Willy resto
...
Mardave Cobra resto
...
Thunder Dragon resto
...
Grasshopper resto
...
XR311 resto
...
Modded XR311
...
Carbon 25th scratch build
|
|
Please Log in to join the conversation. |
Thanks all for your input. When I get the chassis back I will photograph it. I will try and repair the body shell which will mean new decals, I have seen these for sale on a UK web site.
Thanks again, Cheers, |
|
Please Log in to join the conversation. |
|
Just a quick note...if you intend to sell it, then make sure you consider the benefits of using ONLY original parts. i.e. It may be easier to repair it using something from a more recent kit, but collectors are often diehards for originality.
Being able to write... "It's all 100% original from 1982" ...in the auction description, instead of... "It's all original, except for the blah and the blah which are from blah..." ...might mean quite a bit of extra money. cheers, H. www.rctoymemories.com - A nostalgia site about vintage and retro radio controlled cars & other toys, from Tamiya, Nikko, Kyosho, Radio Shack and many more.
|
Please Log in to join the conversation.
Last edit: by Hibernaculum.
|
Welcome Xbrit, remember when you have loaded your pic's to click the "insert" button which will add them full size to your post 
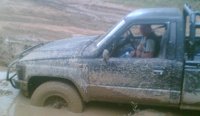
I have done this for your pic's so far. Great looking project i'm keen to see how it cleans up andy..
If you can't fix it with a hammer, you've got an electrical problem mate
|
|
Please Log in to join the conversation. |
|
I'd check they are still available and/or that the quality is ok before peeling the old ones off - Tamiya had a massive clampdown on sellers of repro decals, and generally the only ones available now are garbage |
Please Log in to join the conversation. |
|
|