Keyword
  • Page:
  • 1
  • 2

TOPIC:

My new basher - quick Blitzer rebuild 9 years 9 months ago #29657

Been a while since I did a resto & I recently decided to retire my HSP Bug Crusher, so I decided now may be a good time.
I hasten to add, if you're expecting something exciting or anything lie as cool as Jonny's RV, you'll probably be disappointed!

OK, lets get started.
This arrived in a box of nitro fuel covered stuff that I was silly enough to pay money for


First job, strip it for cleaning & discovery of nastiness


A closer look reveals nitro fuel in the chassis tub, filthy shocks with loads of play in the shafts, worn out dog bone driveshafts (One of which is bent), curbed rear wheels with split rear tyres (But barely any tread wear on front or rear tyres?!), front wheel bearings seized in the wheels with rust, & a bent front shock tower (Not really sure how/why).

BUT gears are in good order & most of the important screws are still there.
MSC looks poorly & I'll probably rebuild it at some point, but I'm planning to use an ESC to run it whilst in my ownership


Next job, clean all the EW off & see what else needs attention...
Cleaned bits

Please Log in to join the conversation.

My new basher - quick Blitzer rebuild 9 years 9 months ago #29658

I can't actually remember what I started on first, so we'll assume it was the dampers...
1st job, strip em


There wasn't much oil in them, & the reason for their wobbly shafts? - no pistons (Washers had been fitted instead).
As usual, the builder hadn't removed sprue remains, so that was another task as I went through the build too.
Anyway, I need some damper pistons, so out in the shed with me to make some


Now I have some damper pistons, I'll assemble the dampers.
At this point I discovered the springs probably weren't the originals - the front dampers are shorter than the rears but all 4x springs are the same length... doesn't matter, it's gonna be a basher so I'll just cut them to what looks like the right size (& tidy the ends up).
The more keen-eyed amongst you will also notice the lower eyes on the rears aren't the right ones (Thought train - that'll explain why the steering ones are missing)
Shocks done...


Next, I don't have a bumper, so I'll make one of those (Scaling pictures at the back of the manual to get dimensions/shape)


For some reason I didn't take any pics of the progress of chassis reassembly, I guess because it was uneventful & quick!
Anyway, at some point I noticed I was missing the motor cover plate so decided to go back out in the shed.
Thought I'd sort out the worn dogbones whilst I was out there -
Easy done, measure pins & find hard piano wire the same size (2mm) & cut 4x bits to length.
Find a bit of tube that's slightly bigger bore & longer than the pin, positioned over the pin, put it in a vice & press the old pin through the dogbone until flush with the ball. Then find a bit of hard wire slightly smaller than the pin, & use it to press out the remainder of the worn drive pin.
Press in the new pin using the same method (Position your tube in front of the ball hole so the pin has somewhere to go & not just crash into the opposite vice jaw).
If your new pin isn't a tight fit in the ball hole, give the pin a few taps with a hammer & punch to flatten the middle of the pin a bit before pressing it in.
So, motor cover plate & fixed dogbones....


Next shed job - sort out sloppy steering knuckles.
Conveniently, the kingpin holes had worn to exactly 3.2mm so it was an easy job to just press-fit some 1/8" brass tube & carefully redrill out to 3mm for the kingpins. Fixed!


When fitting dampers I realised the top eyes are fitted with brass bushes & that I only had 3x of them. So, back out into the shed & machine up a fourth bush. Made some steering track rods to whilst I was out there (Mounted with generic ball joints to a spare Tamiya servo save)

Please Log in to join the conversation.

My new basher - quick Blitzer rebuild 9 years 9 months ago #29659

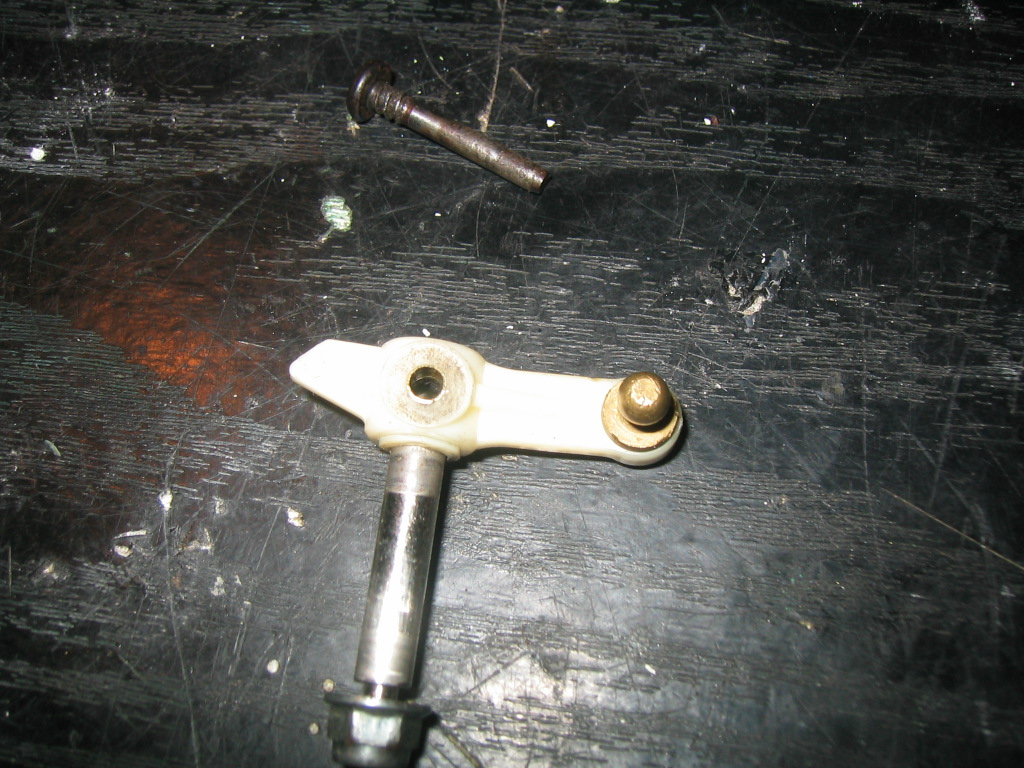
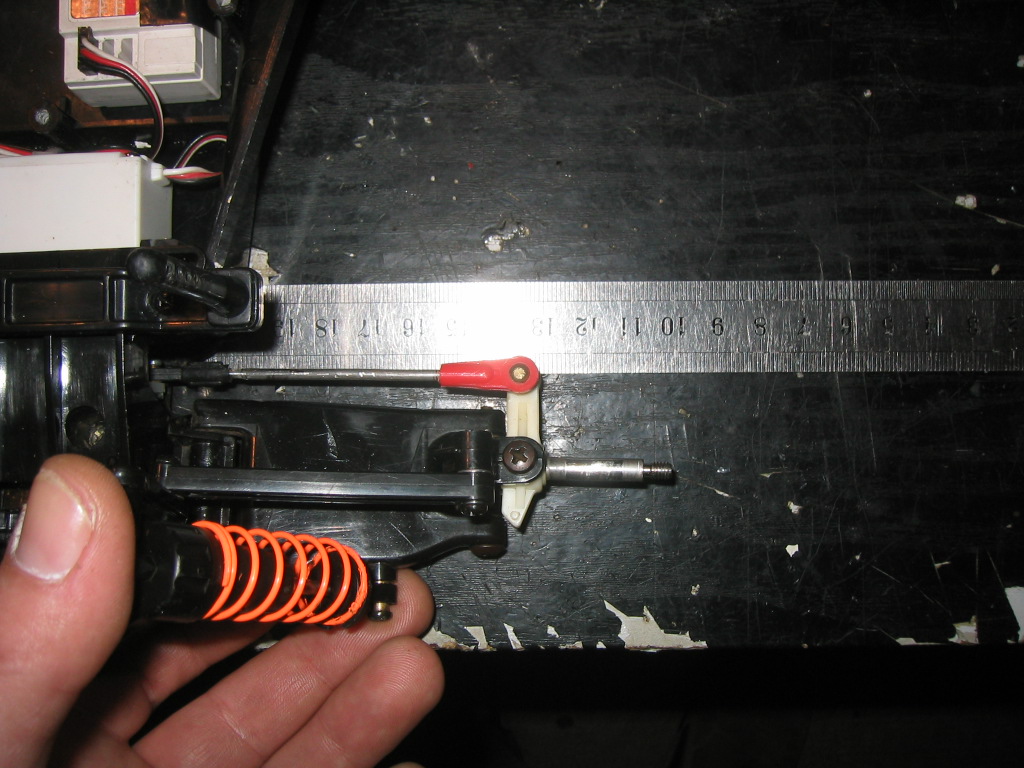
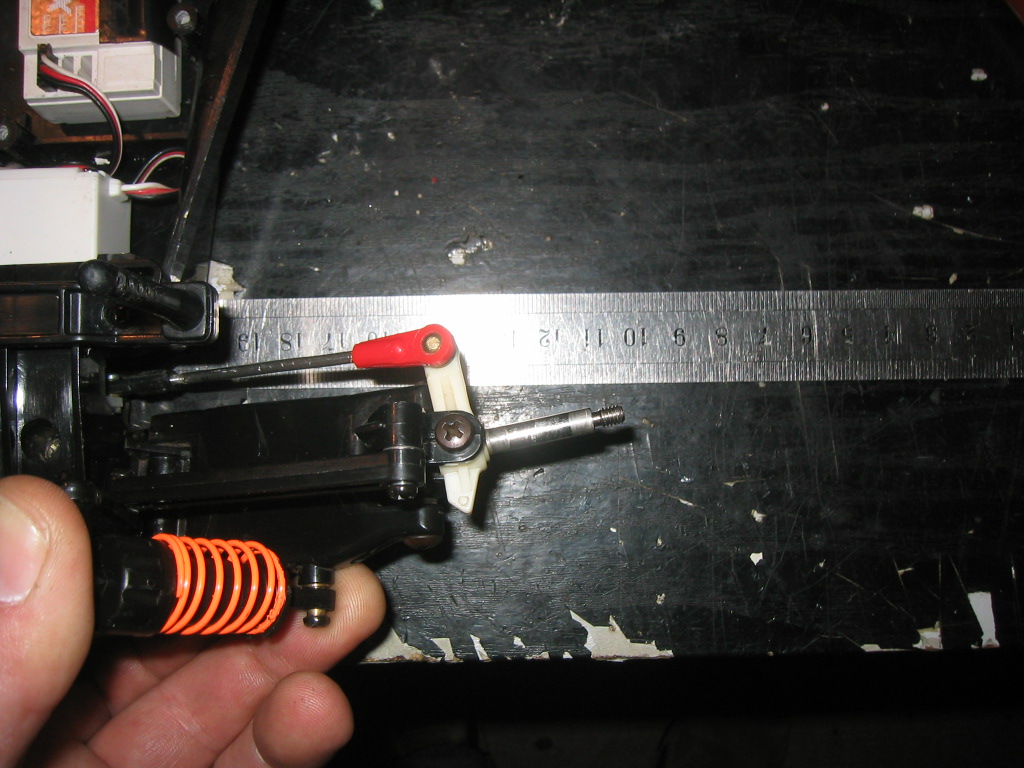
One for Jonny - hilarious bump-steer on this car too...
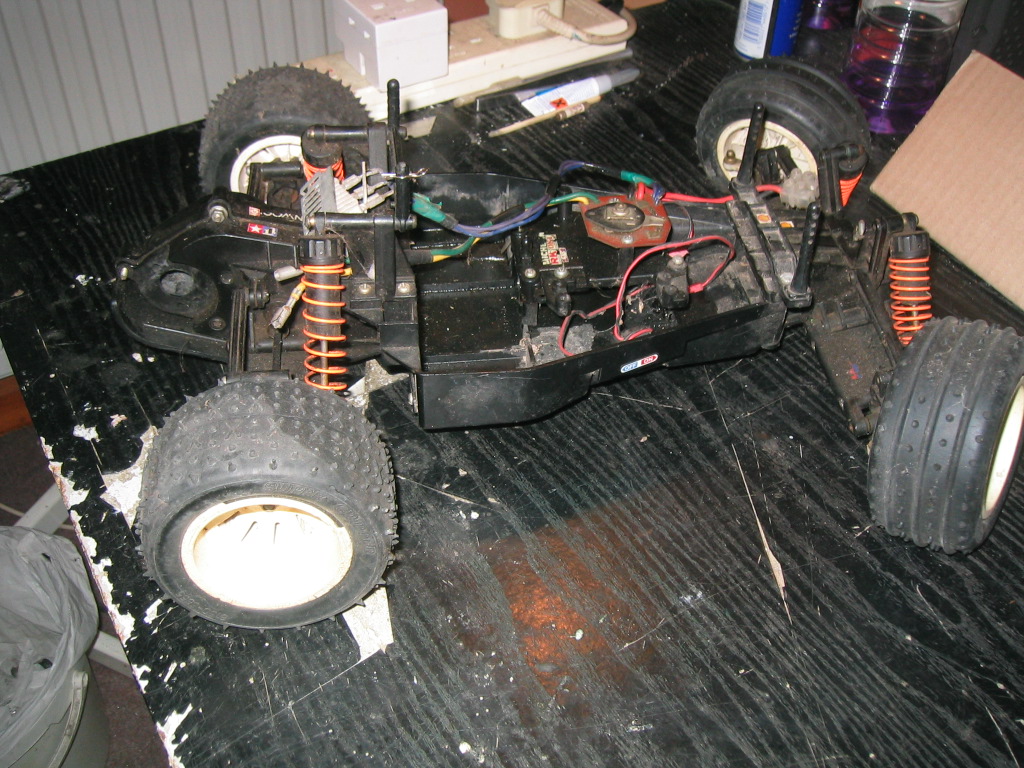
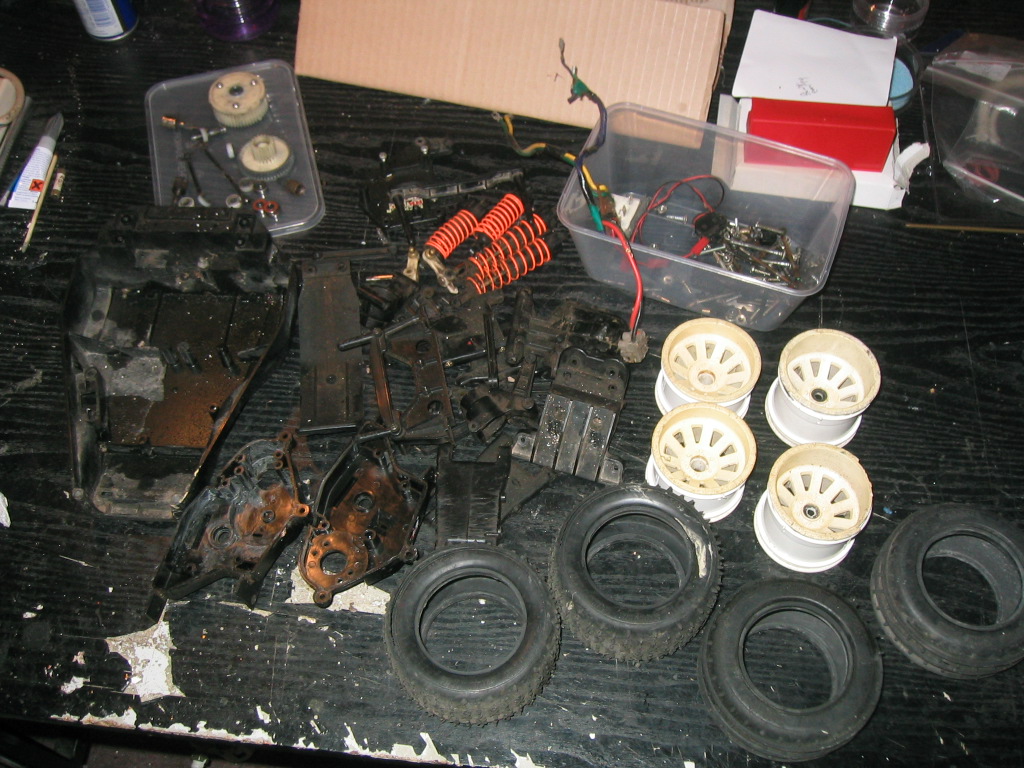
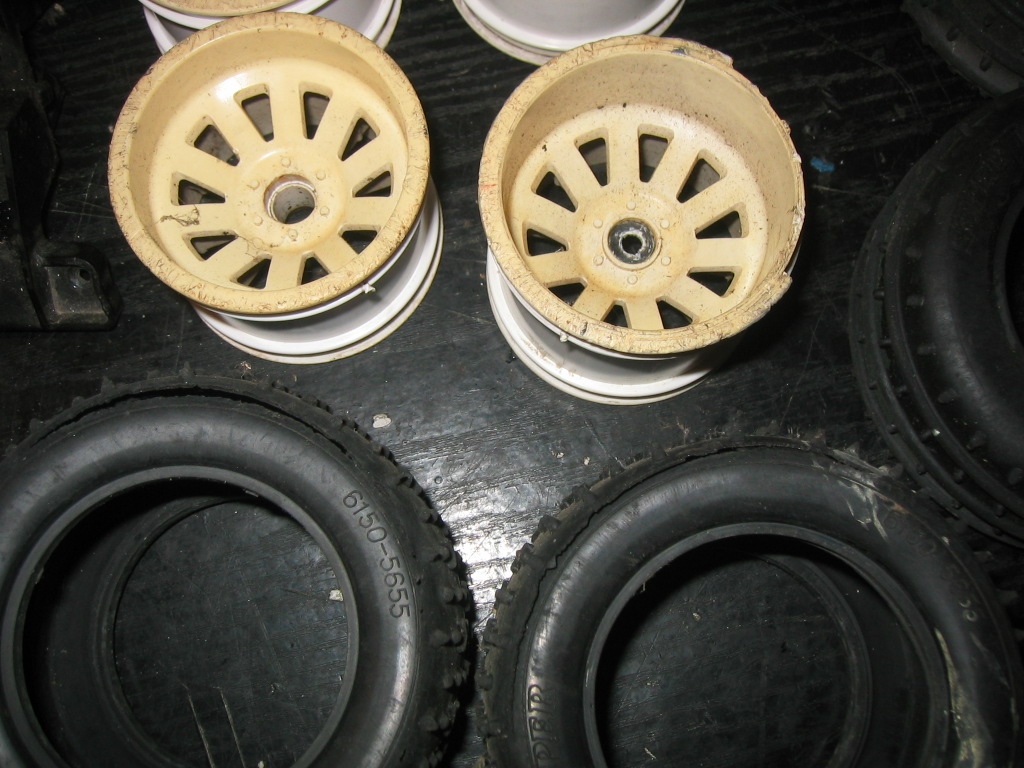


Need wheels next.
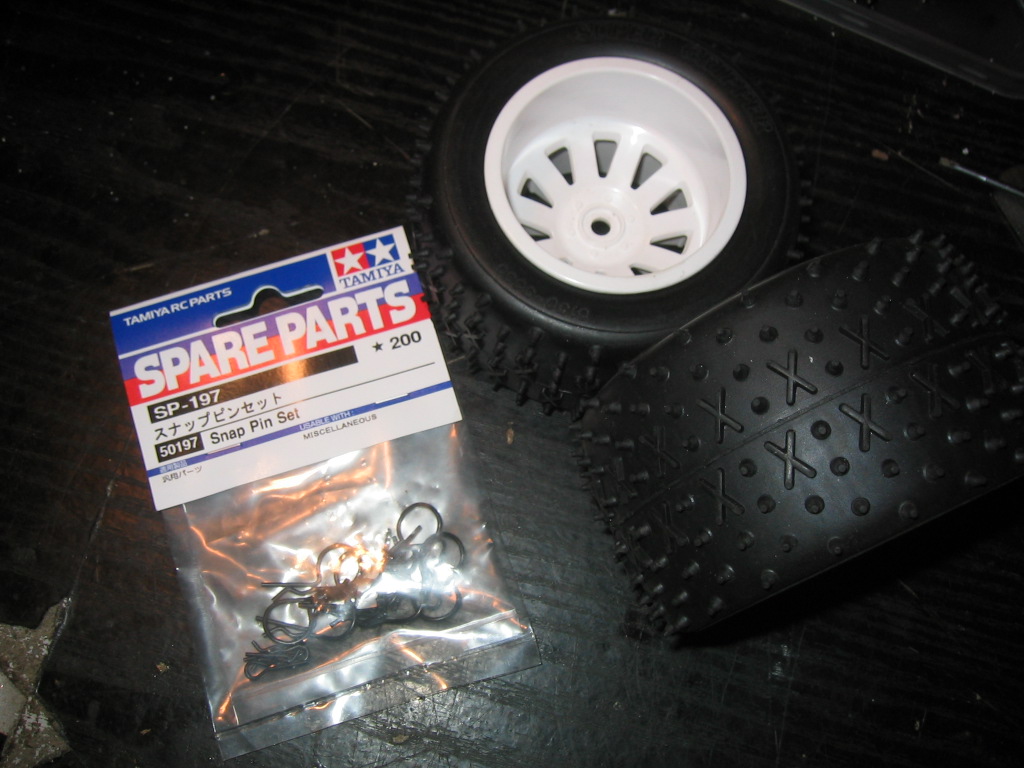
Now, I WAS going to fix the rear wheel rims (See my Willy resto for a spot of rimming how-to), but the tyres were also shot & Tamiya wanted me to remortgage my house to be able to own some new ones...
As luck would have it, my second look on Ebay presented someone selling a new set of rear wheels with tyres, so I sniped them for 12 quid (I think, something like that anyway).
Thought I'd better have some body pins too so bought a pack of the cheapest multipack I could find - nice surprise when they turned up as genuine Tamiya ones! (How often does that happen?!)


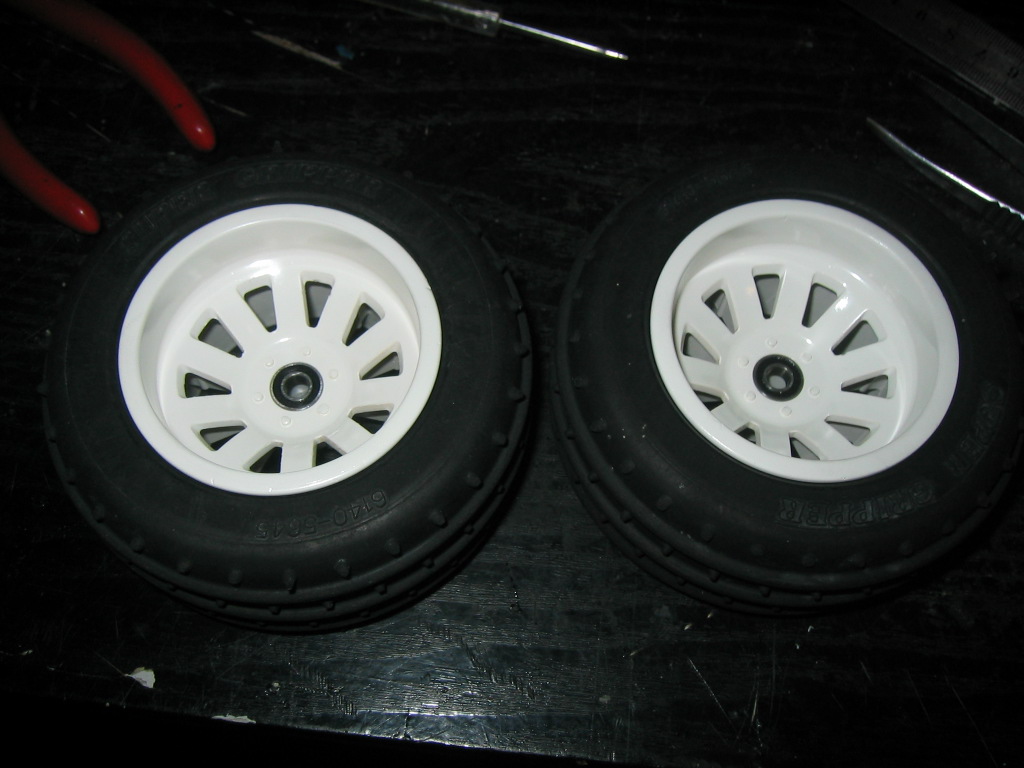
Front wheels looked ok, so they just got a coat of white paint to make them look as spangly as the rears


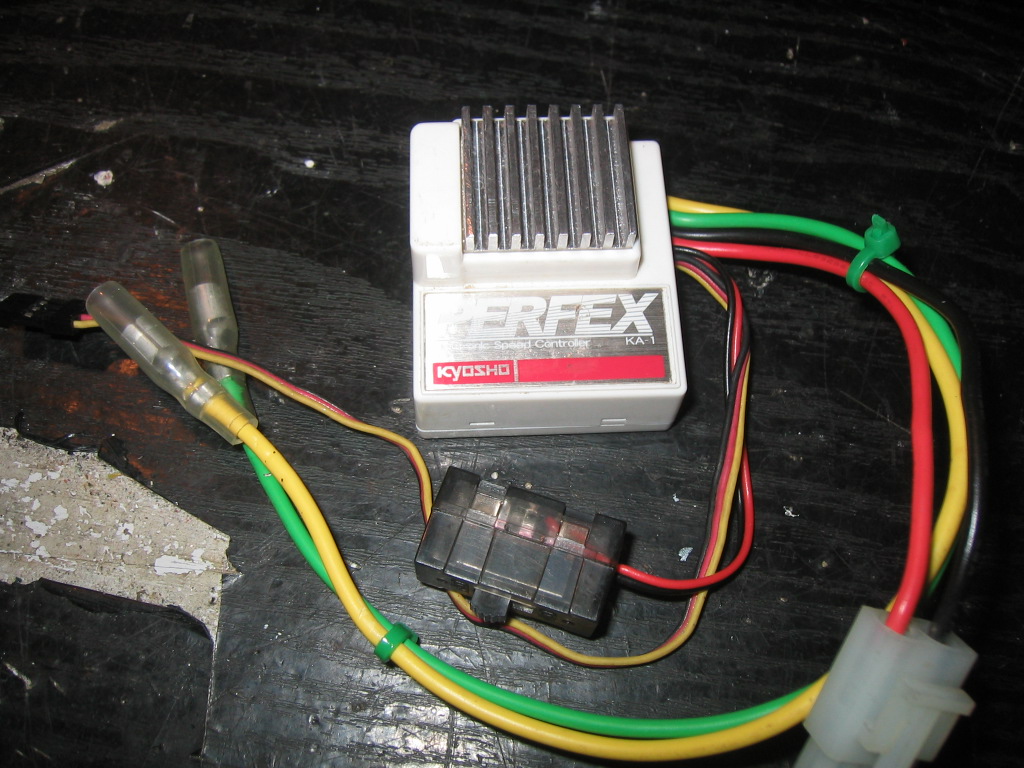
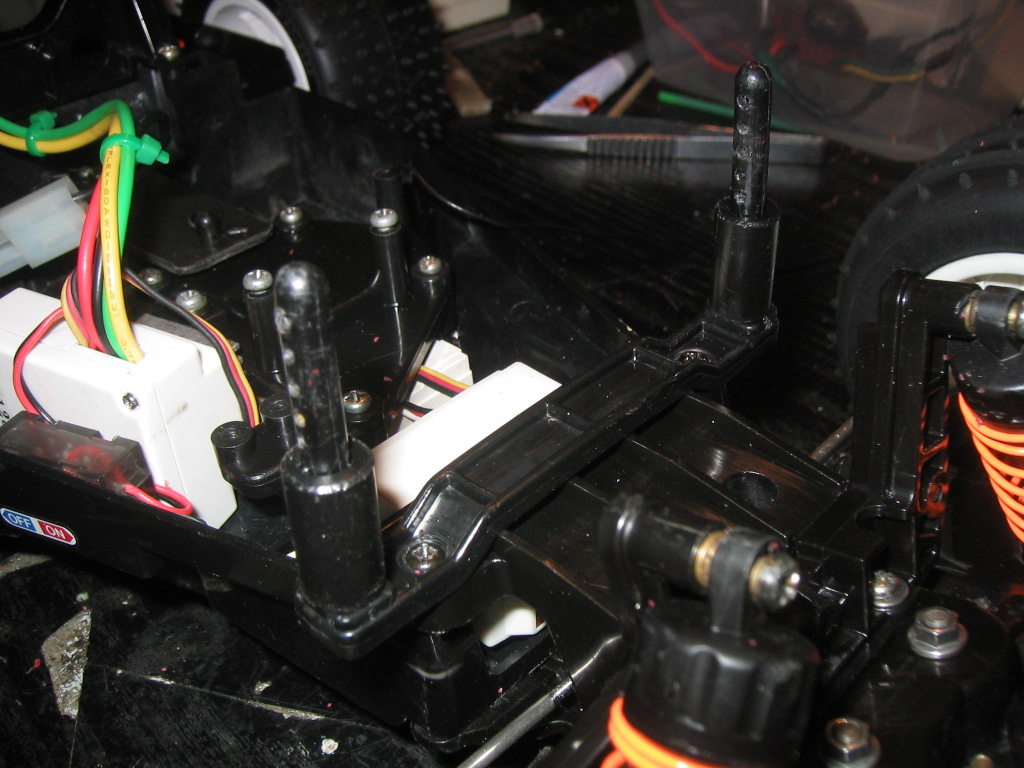
At this point I have a rolling chassis & have started electrifying it - swanky "Epic" canned frooty motor & I had an old set of white Kyosho radio bits kicking about, so they went in too.
Unfortunately, the ESC was bummed....
I didn't really want to put a mismatched ESC in, so I thought I might be able to cram the guts of a modern cheapy one into the white Kyosho case, looked easily do-able (Turned out it wasn't, by 1mm too high...).
So, bought said cheapy 8 quid ESC & started hacking.
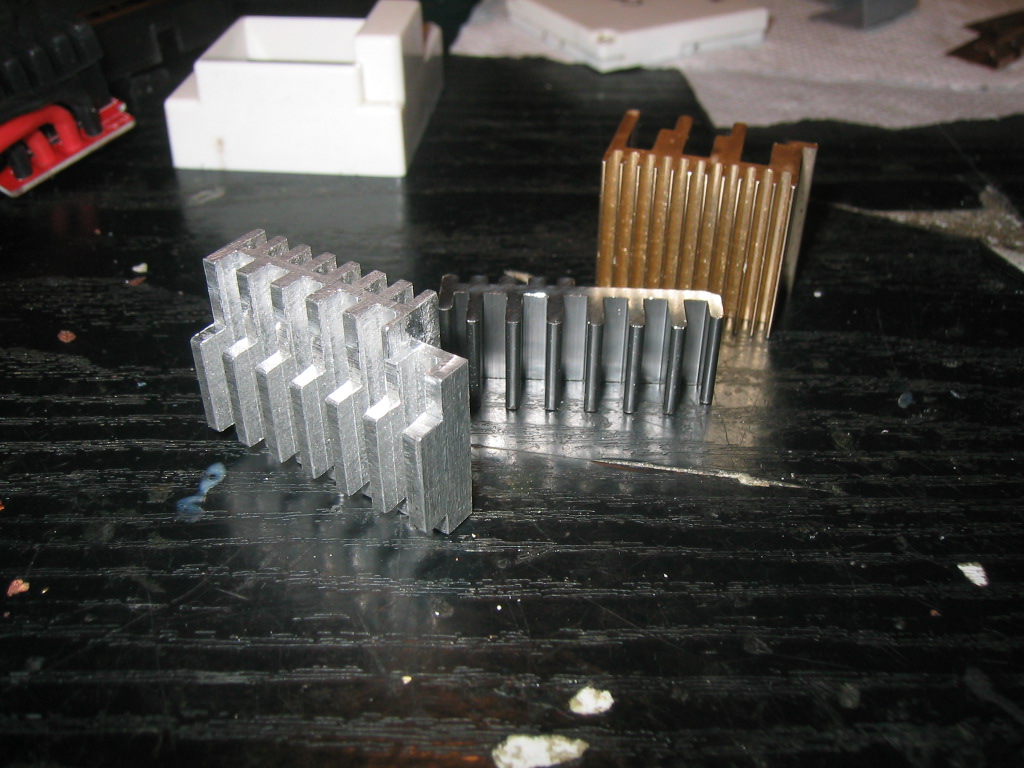
Wasn't having any of it, so I ended up having to MAKE a special heatsink for it to get it to all fit together! (Home machined ally one is sat next to gold & silver originals - a work of art you must agree)


Hacked ESC assembled & working


Now for a body.
Original plan was to use a lexan pickup body cos I have one kicking about, but it turns out that the Blitzer chassis is designed to take a body with a long bonnet, due to the relative position of the front mounts to the front wheels. Do you think I could find a suitable alternative? Nope...
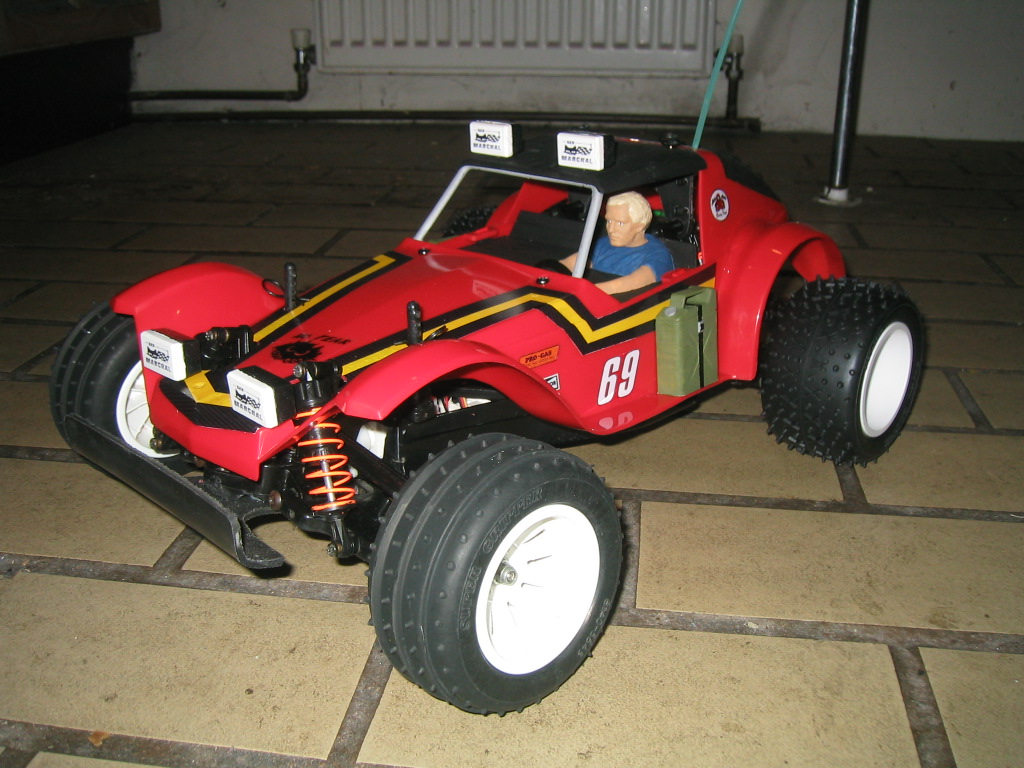
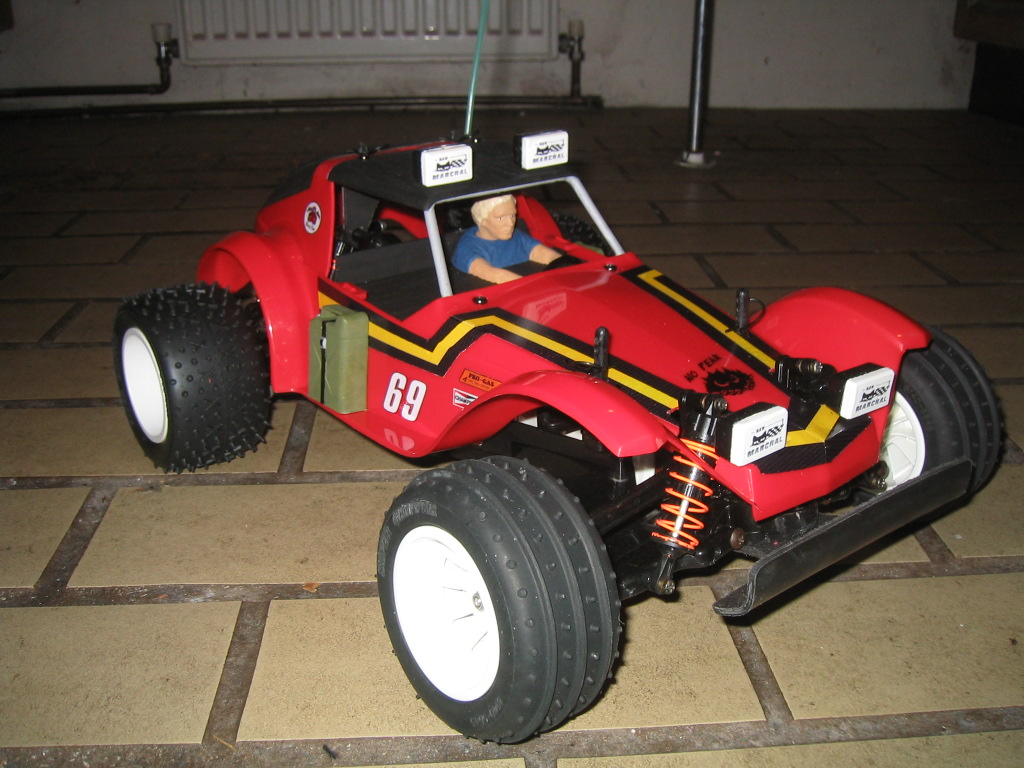
Didn't want a beetle body, commoners do that (And I don't like beetles). Maybe a Holiday Buggy shell would fit? Just so happens I have one I can try - fits lovely, just need to drill new body post holes (I should know better than to make statements like that)
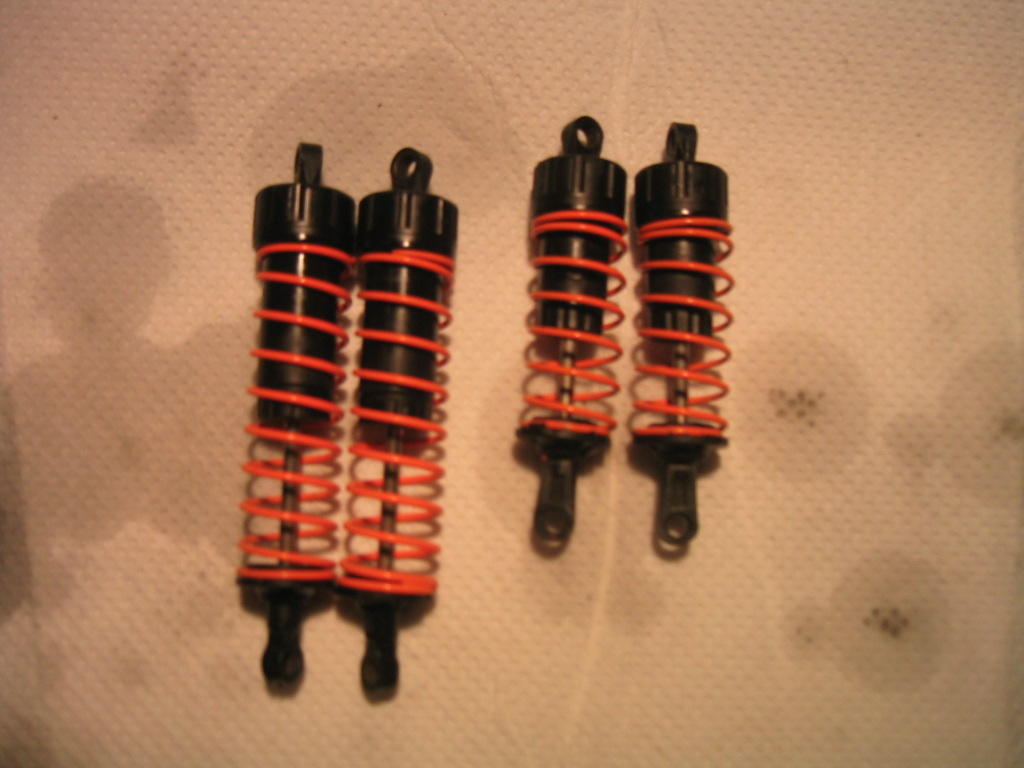
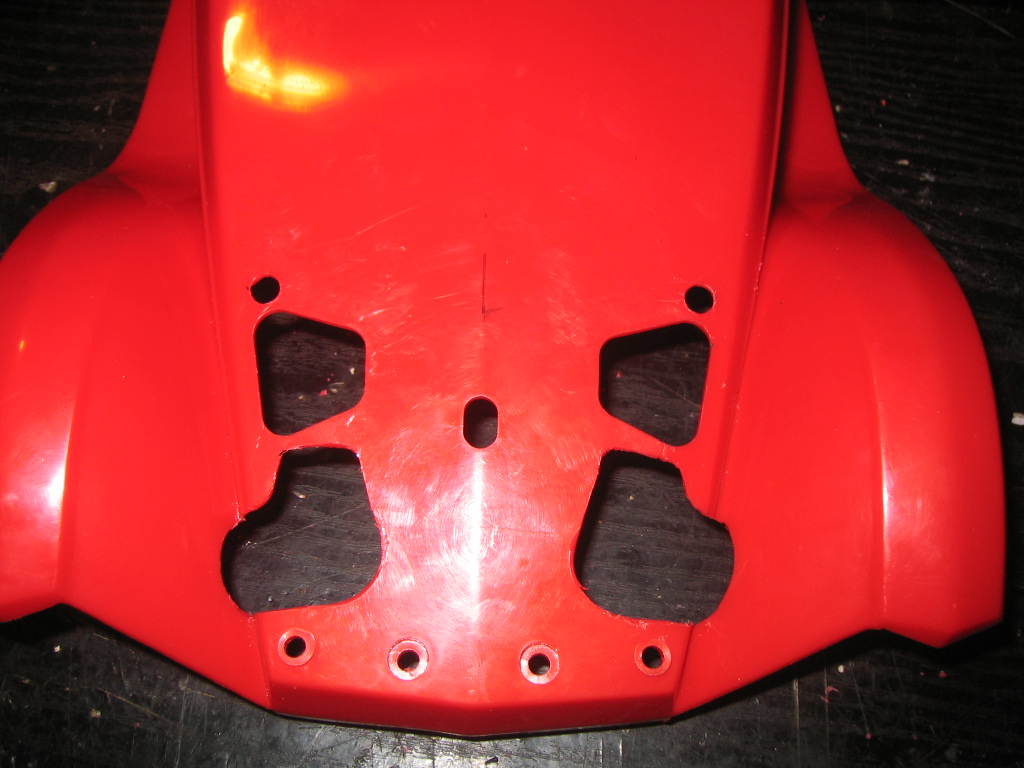
Bought a new red Holiday Buggy shell - the big holes will cause me grief, I'd hoped they'd line up with the Blitzer front shocks but they don't.
1st body job then, cut big holes in it, next to the big holes that are already there (Took a lot of bringing myself to do it after the extortionate outlay for it)


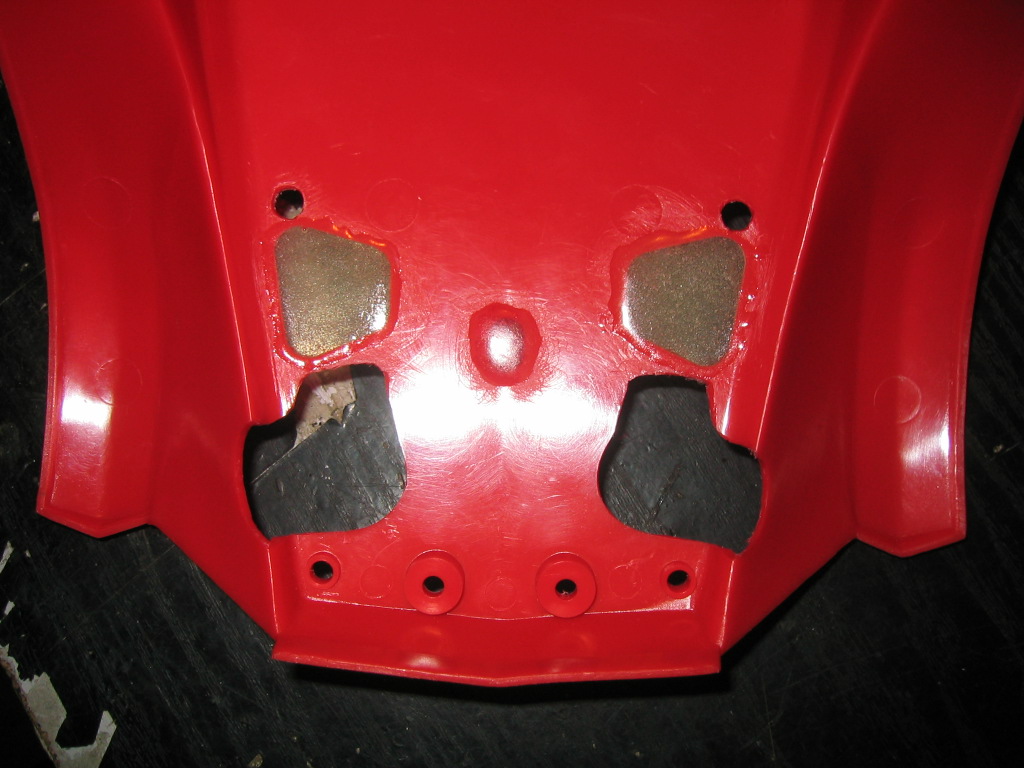
Now to bung up the holes I don't want... oh yeah, nothing sticks to polyethylene does it...
Couldn't find any suitably coloured poly sheet to weld into the holes, tried evry filler & glue under the sun, nothing worked.
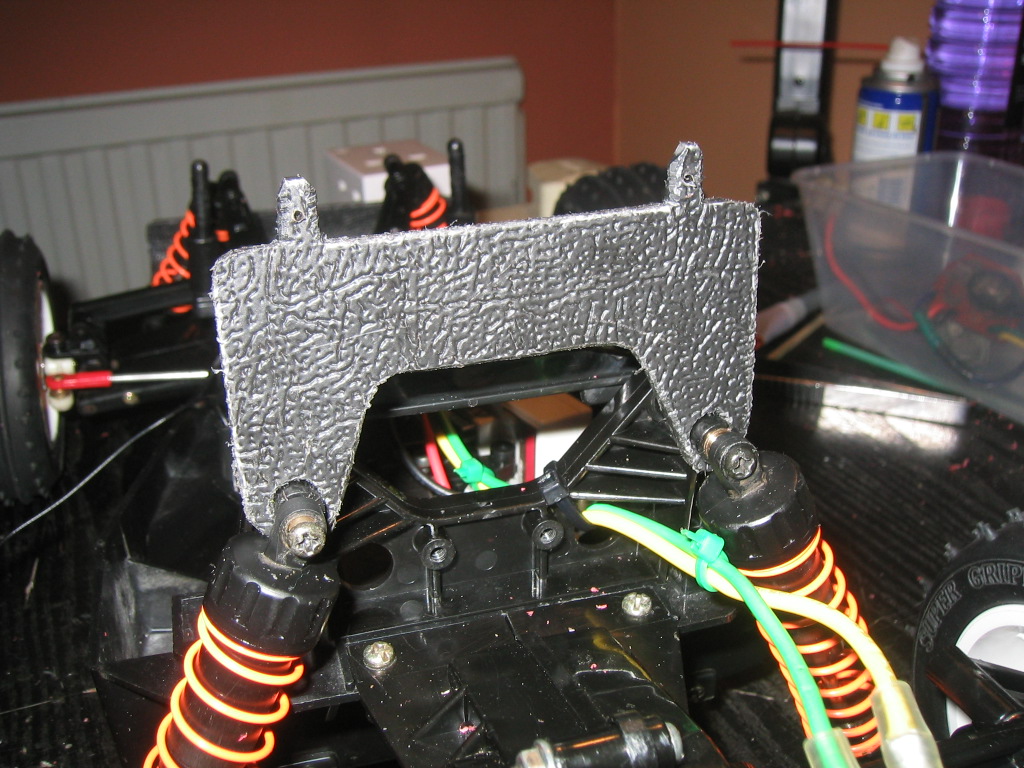
Eventually, I came to the conclusion that although I didn't want to be putting stickers on it, it would probably be the only way to cover the holes up.
First I roughed-up the hole edges & a small area around them underneath with 80-grit paper, then taped over the holes top-side. Then I filled the holes with slow-set epoxy & overlapped it onto the abraded areas in a hope that might help keep it there until the stickers were on.
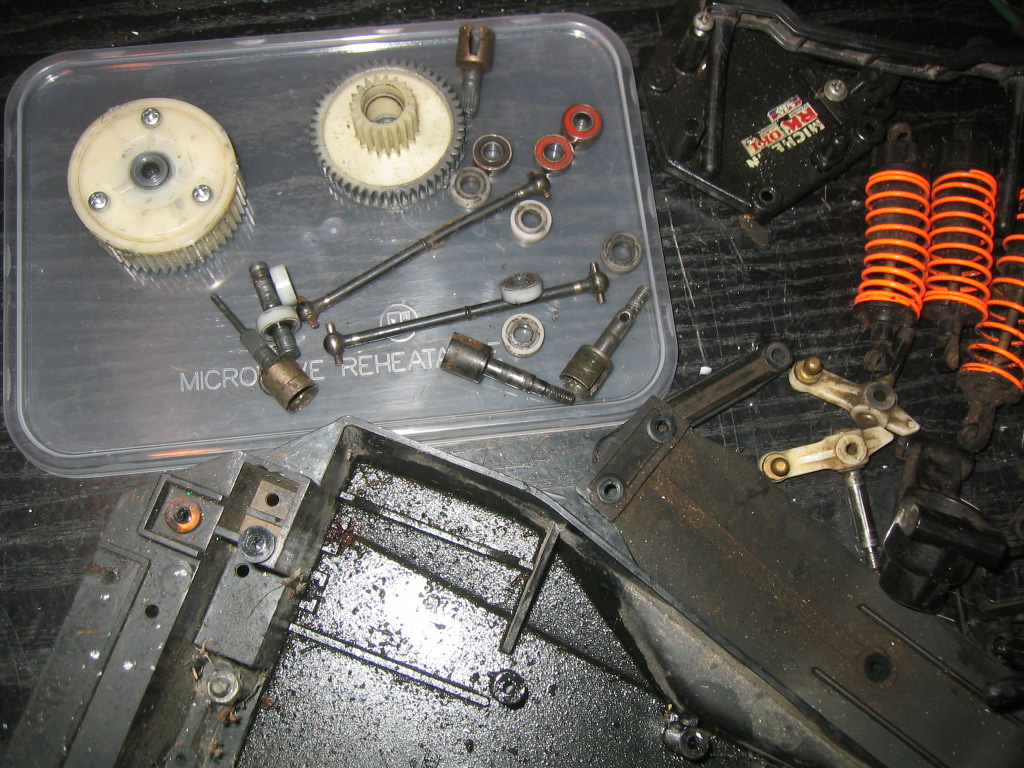
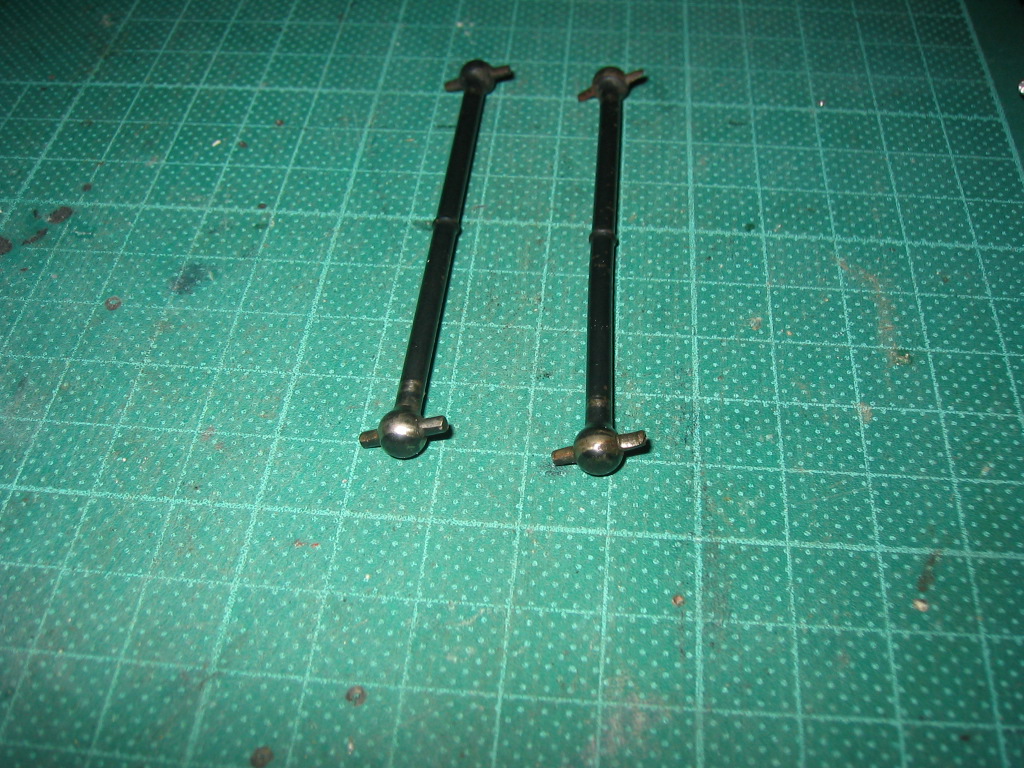
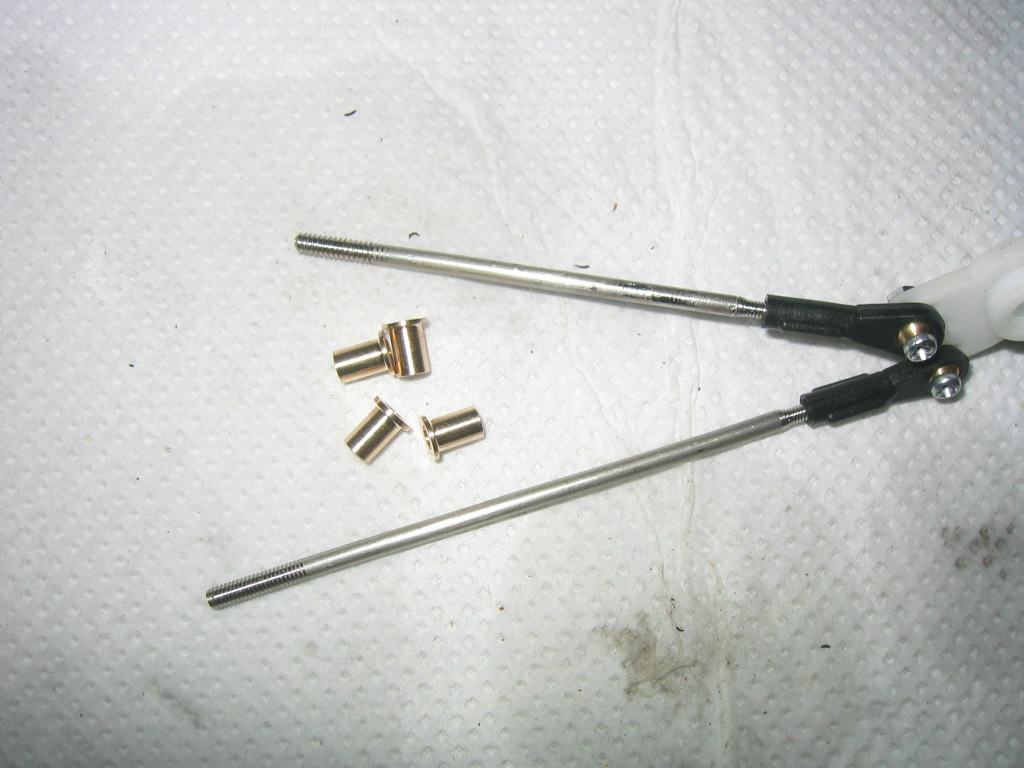
The following user(s) Liked this: Jonny Retro

Please Log in to join the conversation.

My new basher - quick Blitzer rebuild 9 years 9 months ago #29660

Missed a bit...Straightened out the front shock tower using a heatgun & shed-magic before fitting it, but I don't seem to have a pic of it (Could've sworn I did...)

Now to "Just re-drill" body mounts...
Fronts are barely clear of the big holes in the body, but they should be ok. Not going to risk setting the body height using body pins though, so I machined up some black polyethylene stepped sleeves to fit over the front body posts, for the body to sit on at the right height


Blitzer rear mounts don't line up with anything on the Holiday Buggy shell, so as much as I didn't want to, I had to make new rear mounts from scratch (3mm black polypropylene sheet)


A quick tantelising look at the completed rolling chassis.
I have to say it went together nicely, mostly simply functional & without Tamiya oddities, except the weird over-the-top lumps of plastic that make up the front end.
Pretty much a TL01 equivalent in terms of functionality/simplicity/build-ease


I drew up some new decals based on Holiday Buggy ones, but slightly wider to cover the large holes in the body, & slightly longer to go further down the sides of the body than the originals.
I filled up my decal sheet with a variety of cribbed sponser logos from other decal sheets, then printed them on sticky white vinyl.
Nope, they weren't gonna stay stuck either...
So, binned them & re-printed on white waterslide paper instead - that went much better!

& TADA! Done. Just need to thrash & break it now!


The following user(s) Liked this: Edou

Please Log in to join the conversation.

My new basher - quick Blitzer rebuild 9 years 9 months ago #29661

Nice work - especially on the ESC :y:

Please Log in to join the conversation.

My new basher - quick Blitzer rebuild 9 years 9 months ago #29664

Very cool buggy mate B) like the details on rejuvenating the drive shafts too, piano wire eh :)
If you can't fix it with a hammer, you've got an electrical problem mate :)
Attachments:

Please Log in to join the conversation.

Last edit: by AndyAus.

My new basher - quick Blitzer rebuild 9 years 9 months ago #29672

Nice going there, looks the youknowwhat! B) :y:
Can't you connect the tie rod on the lower end of the knuckle to reduce bump steer by the way?

Please Log in to join the conversation.

Last edit: by Edou.

My new basher - quick Blitzer rebuild 9 years 9 months ago #29674

Cheers guys!
Sorry it wasn't that exciting!

I have to say, I think that body suits it well, can't wait for some free time to take it out now.

Edou - nope they're the poxy new fangled type where the balls are moulded into the arms (They don't unscrew) - caused me grief trying to find rod ends to fit them too.
Forgot to mention, the steering rods are "special", M3 at one end, M2 at the other end

Please Log in to join the conversation.

My new basher - quick Blitzer rebuild 9 years 9 months ago #29677

Edou - nope they're the poxy new fangled type where the balls are moulded into the arms (They don't unscrew)

If you swap the knuckles left to right, would that put the balls on the bottom?

Please Log in to join the conversation.

My new basher - quick Blitzer rebuild 9 years 9 months ago #29682

Excellent work ! :y: :y:
Proud owner of the Bruiser Family

Please Log in to join the conversation.

  • Page:
  • 1
  • 2
Moderators: caprinutstingray-63AndyAus
Time to create page: 0.218 seconds
Cookies are required to make this site work. If you continue to use this site you permit us to use cookies.