TOPIC:
Vintage Manta Ray customisation quest 12 years 2 months ago #8084
|
Ah yes, "Right circle, left circle"
|
|
Please Log in to join the conversation. |
Vintage Manta Ray customisation quest 12 years 2 months ago #8093
|
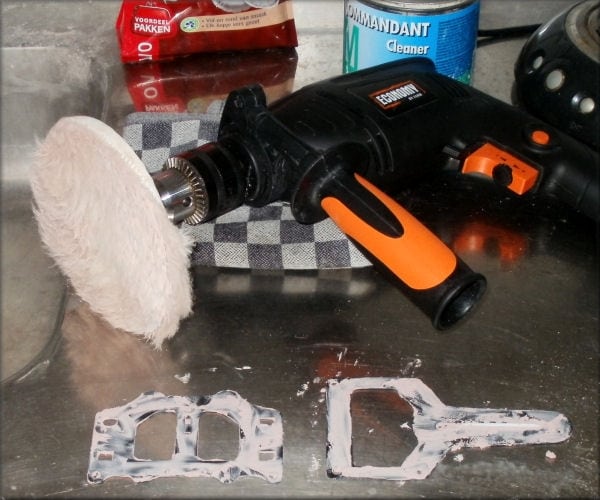
Man, that was a lot of work. But it's starting to look like it should now...
I counted the amount of sandpaper - leading to the conclusion that I took off eight layers on each side. And that is only the first part of the job, with the crudest sheets... Finer sanding has also been done - 280 wet and 600 wet. Maybe do one more with 1000. After that it's polishing time! |
|
|
Please Log in to join the conversation.
Last edit: by Edou.
|
Vintage Manta Ray customisation quest 12 years 2 months ago #8094
|
|
|
Please Log in to join the conversation. |
Vintage Manta Ray customisation quest 12 years 2 months ago #8099
|
That's more like it... I purposely used the flash 'cause FRP usually looks weak, even when photographed without.
Just gotta do the sides on the rear of the undercowl : Vintage FRP can have a glassy white look on the surface, which triggers my polishing instict... Like on this picture, a few overhauls ago : Looks so much better when it's really black... |
|
|
Please Log in to join the conversation.
Last edit: by Edou.
|
Vintage Manta Ray customisation quest 12 years 2 months ago #8139
|
My Bigpig body was like that - width was't really a problem but it's too short, meaning the roof doesn't sit flat I'm sure the "shrinking" comes from making their vacform plugs directly from the inside of Tamiya shells & not putting an extra bit of thickness on, like you're supposed to. |
|
Please Log in to join the conversation. |
Vintage Manta Ray customisation quest 12 years 2 months ago #8140
|
I'm gonna run this one anyway so I'll figure something out...
But it's a bit disappointing to (probably) have to make two extra holes. Gotta say I like Tamiya lexan a lot better. That's always a satisfying job to do. This is giving me all sorts of trouble. And a compromise on the result. |
|
|
Please Log in to join the conversation. |
Vintage Manta Ray customisation quest 12 years 1 month ago #8317
|
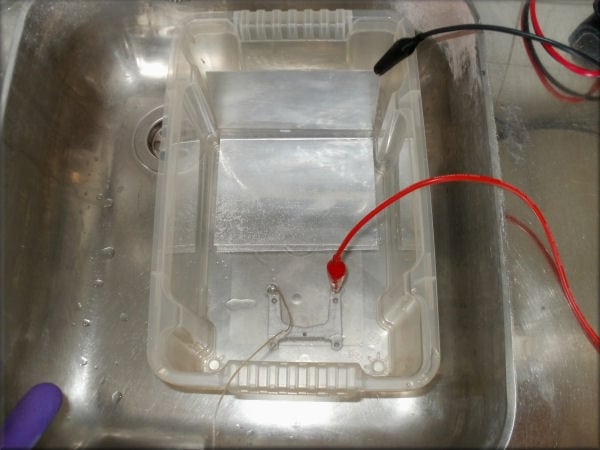
Got my own anodising process going for colouring the aluminium shock towers on the upcoming Manta Ray build.
All the spare parts will lead to another complete chassis... I need to get some proper dye but the inkish stuff I used this time also works. Be it light and a bit purple. But at least it's a result! The one for the rear is in the acid bath right now... |
|
|
Please Log in to join the conversation.
Last edit: by Edou.
|
Time to create page: 0.167 seconds


