Keyword

TOPIC:

Vintage Manta Ray customisation quest 11 years 7 months ago #12988

  • Edou
  • Edou's Avatar Topic Author
  • Offline
  • Hopping Mad
  • Hopping Mad
  • Posts: 6135
  • Likes received: 483
Thanks, Spit. Maybe I could bring it around some time. This should do fine on almost any terrain. :)

Speaking of dumping stuff in chemicals without thinking much about it (like we did earlier)...
I did that with some parts of the shocks as well.
The Yeah Racings work very well but the silver details on them look toyish and cheap.
I even thought they were made of plastic! But they are alloy indeed...
A dip in caustic soda (and not polishing) gives them a nice dirty look that'll fit well with the Humvee :


Back on the gears - I didn't really have enough metal shielded 850 bearings for inside the gearboxes.
So the prop joints got another blue (rubber shielded) detail :


Leaving the rear gearbox open for now so I can best align the motor pinion to the spur gear :


The kind of mess I like on my desk :


:)

Btw - I think I've had that Swiss army knife longer than my Grasshopper.
Has been convenient about a million times.
Attachments:

Please Log in to join the conversation.

Last edit: by Edou.

Vintage Manta Ray customisation quest 11 years 7 months ago #13004

  • Edou
  • Edou's Avatar Topic Author
  • Offline
  • Hopping Mad
  • Hopping Mad
  • Posts: 6135
  • Likes received: 483
A good beginning today turned into a small RC catastrophe... :sick:
First I switched the motor mount and wiring :


16T steel pinion :


Couple of volts to see if it runs the right way :


And then trouble started - with the pinion not lining up :


Not in the same plain as the spur at all :


Should be more like this but then it's very high on the motor axle :

Please Log in to join the conversation.

Last edit: by Edou.

Vintage Manta Ray customisation quest 11 years 7 months ago #13005

  • Edou
  • Edou's Avatar Topic Author
  • Offline
  • Hopping Mad
  • Hopping Mad
  • Posts: 6135
  • Likes received: 483
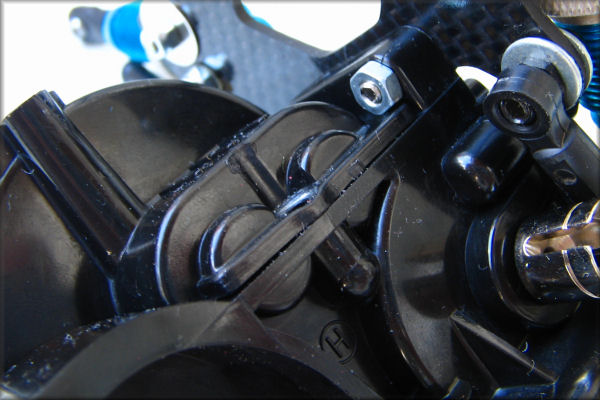
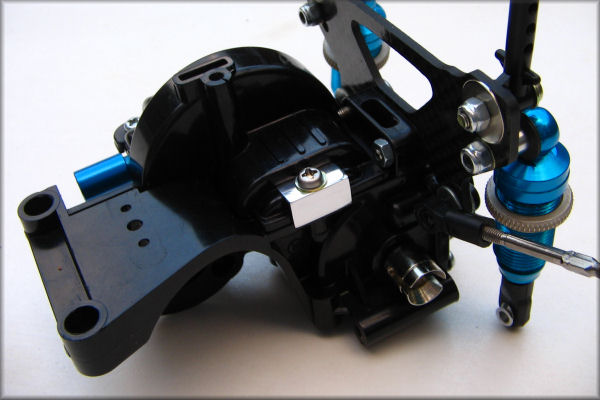
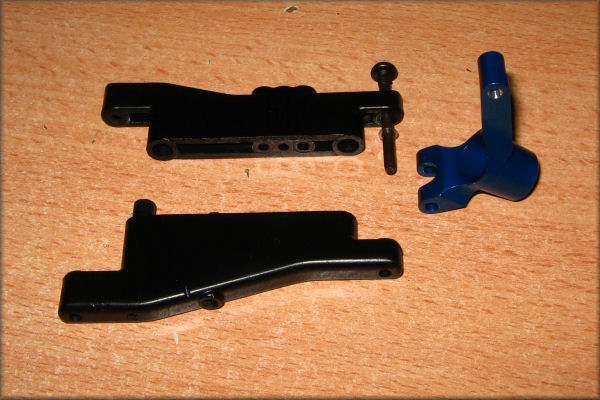
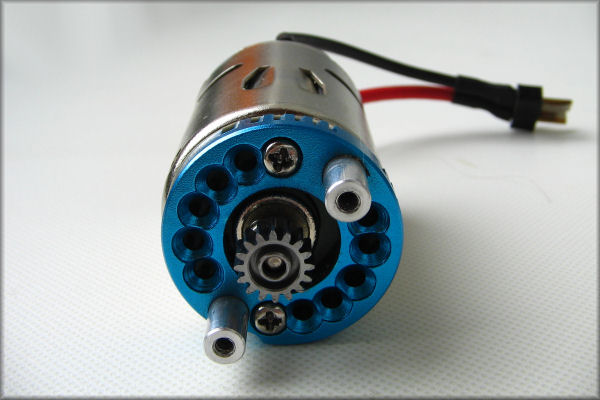
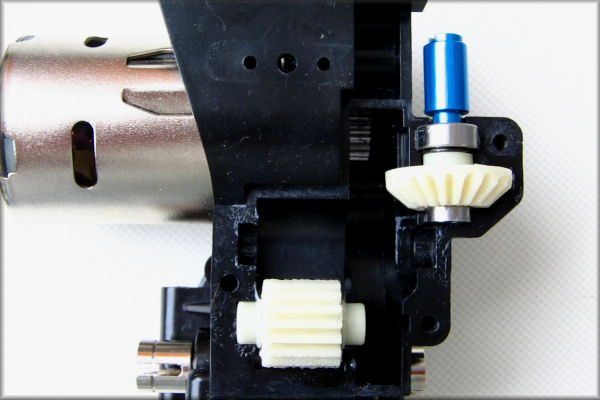
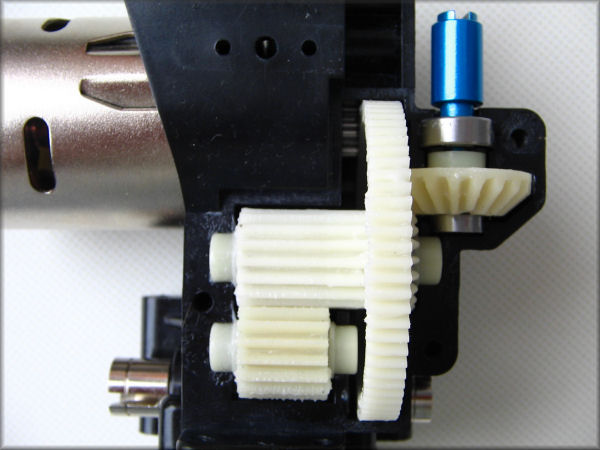
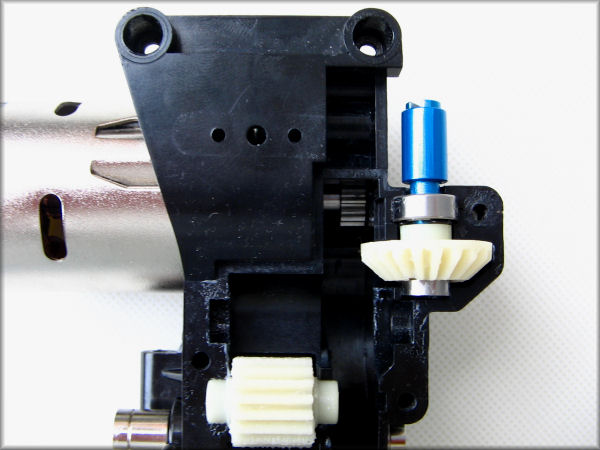
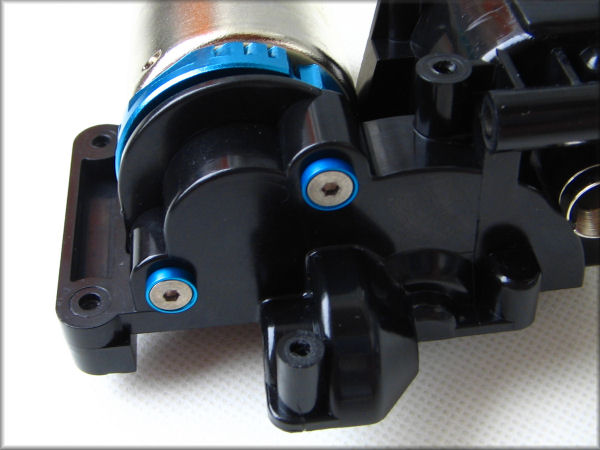
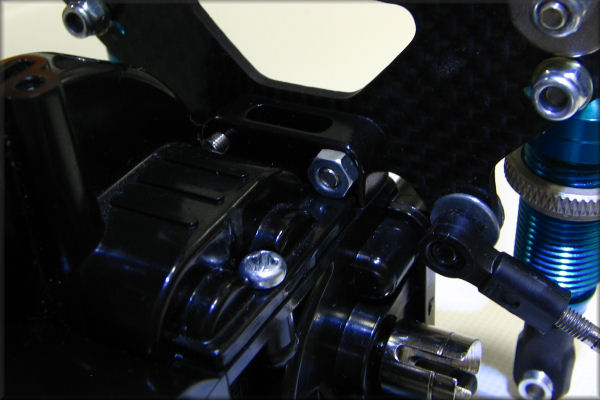
Cause - the screws that bolt down the mount to the motor are not countersunk and stick out of the aluminium. :angry:
Creating a gap in between the motor and gearbox when it is fitted. How very lame of GPM...
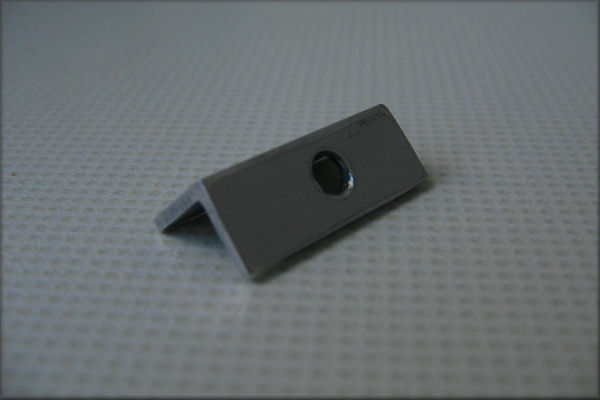
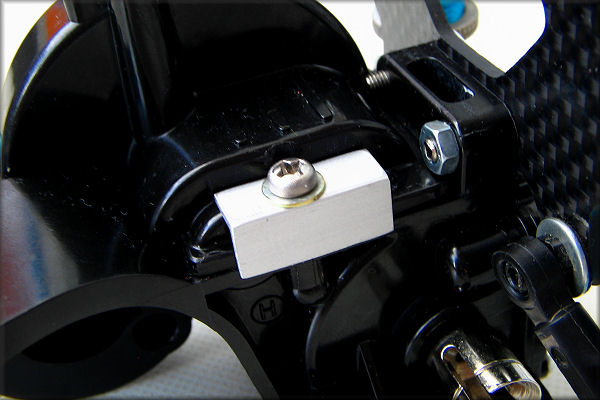
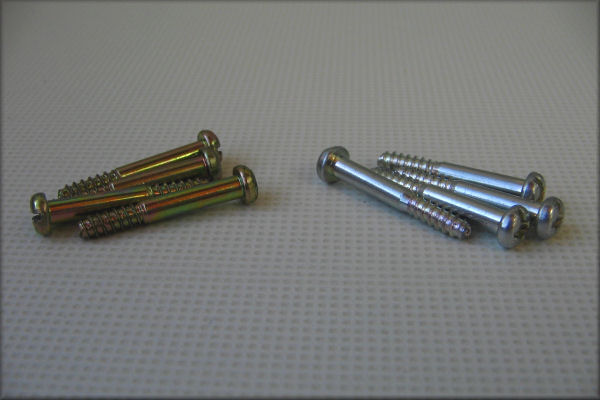
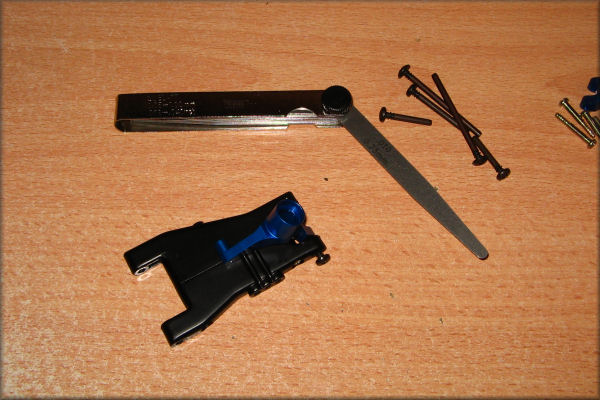
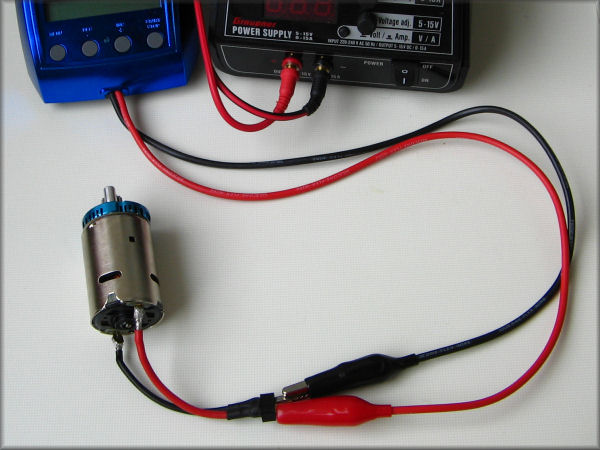
I've seen this before and solved it on the buggy with alternative screws :


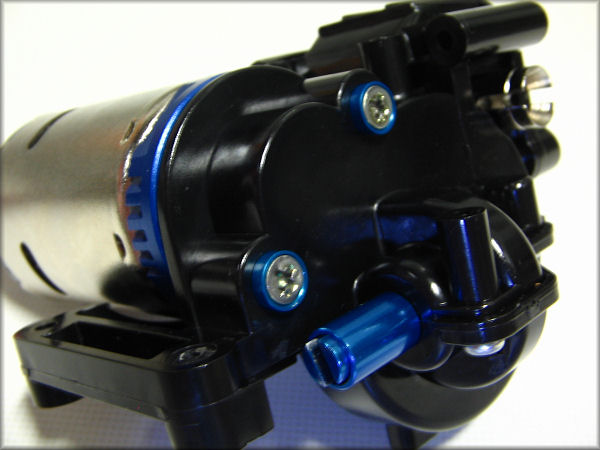
Should be alright then one would think...
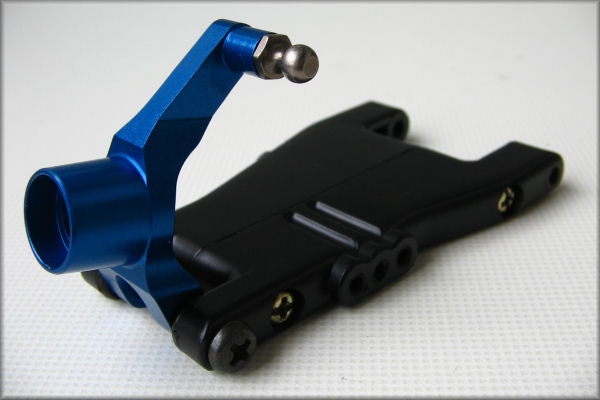
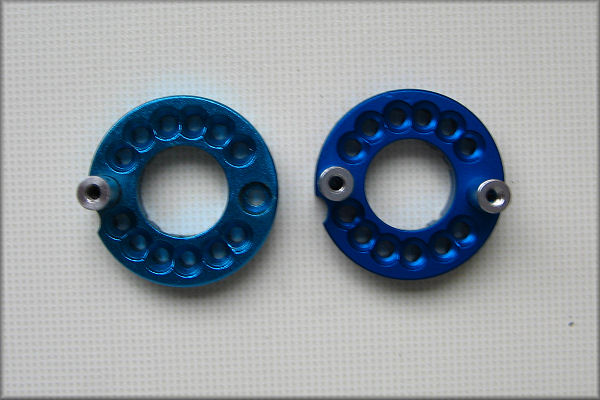
Topped it off with some blue washers and titanium :


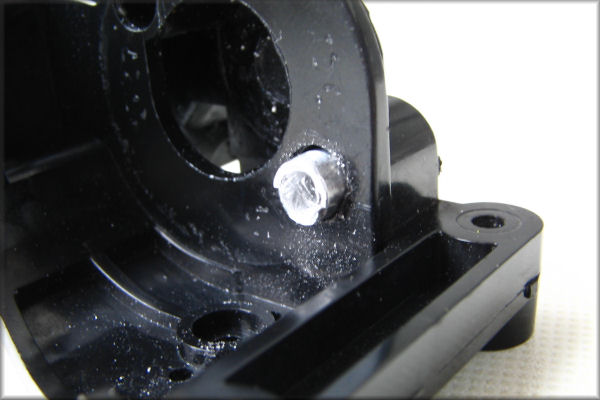
Not a good decision... :cry:
Apparently I had not thread locked the pins that go on the mount.
I killed one of the screws and could not get it out anymore - the pin had come loose on the side of the motor.
Leaving it in the gearbox with a very tight bit of titanium...
Despite subtle attempts to get them to separate, I had to resort to more radical measures.
Of course when you want it to come apart, those badword hex heads won't cooperate.
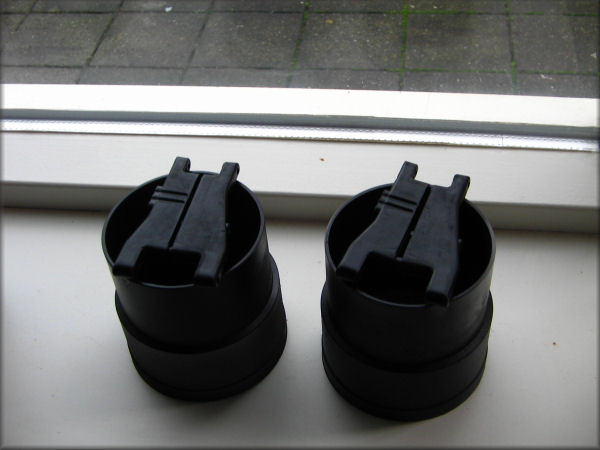
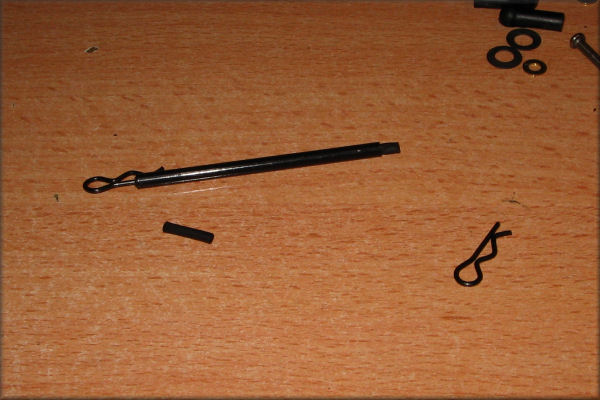
Never getting any more of these, they're too vulnerable (when you don't want it) :


On the other side it almost worked but then my drill broke.
And I had to torture the pin for it :


Instead of throwing the whole thing into the sea, I put it away and grabbed another motor mount and gearbox.
Maybe I'll have a look at it later...
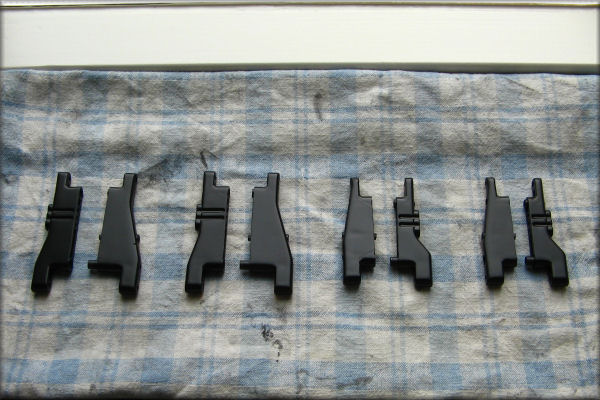
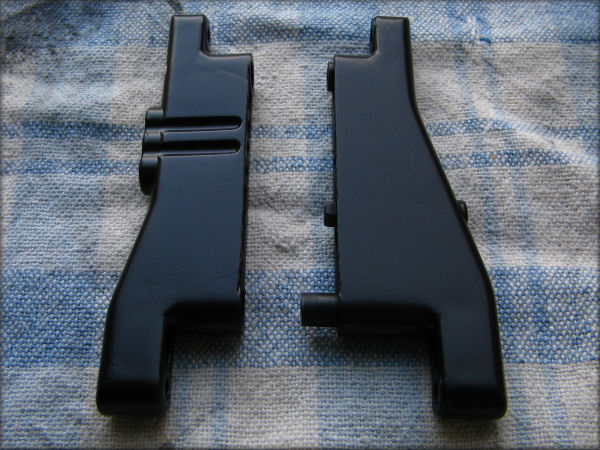
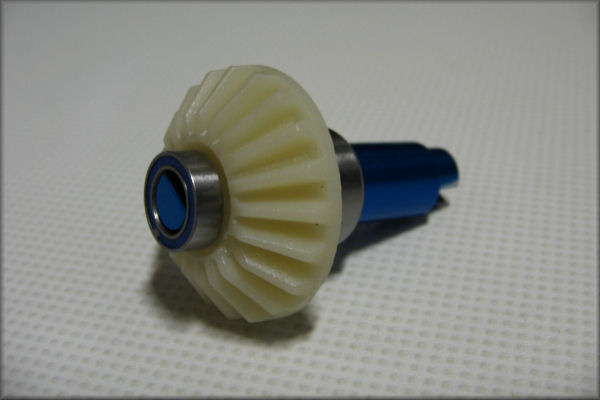
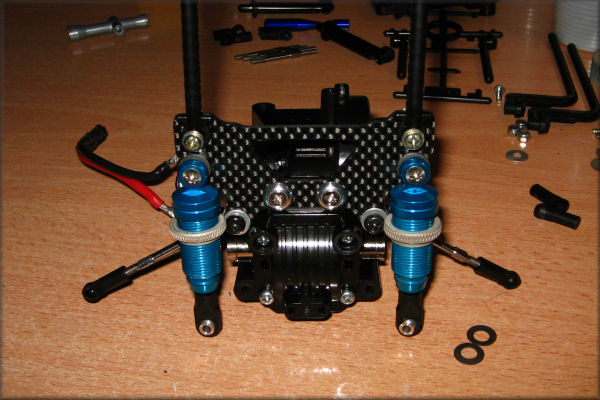
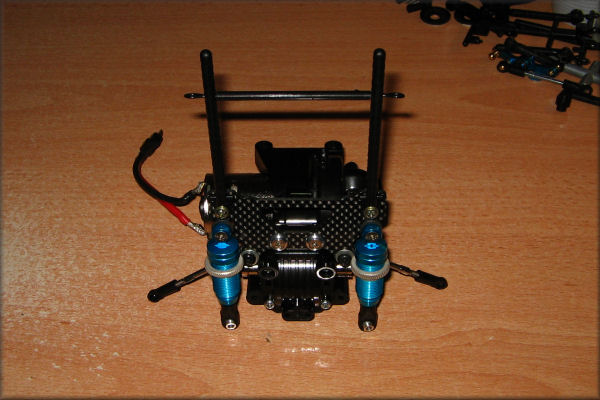
Gearboxes are now finished at least - with normal screws that also need replacing.
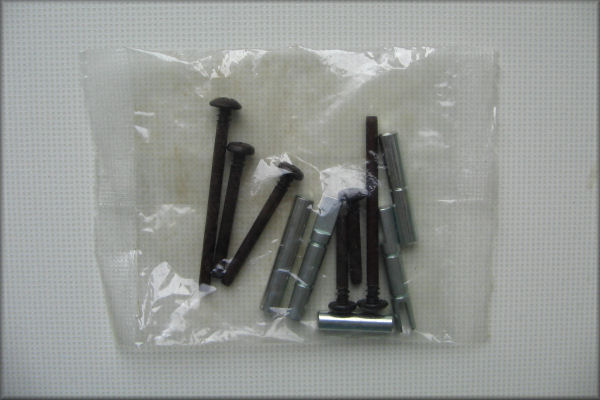
Lots of them in the house but mostly self tappers.


To be continued...

Please Log in to join the conversation.

Last edit: by Edou.

Vintage Manta Ray customisation quest 11 years 7 months ago #13071

  • Edou
  • Edou's Avatar Topic Author
  • Offline
  • Hopping Mad
  • Hopping Mad
  • Posts: 6135
  • Likes received: 483
Next time (let's hope there isn't) I'll put something like this aside before I get destructive on it. :evil: :whistle:


But the gearboxes were finished so it's time for the shock towers and other suspension parts.
Apparently I've only been using 3x38mm turnbuckles :


For this mod (buggy arms and on road shock towers) rear camber rods come to a total of 60mm and the front 53mm.
So a couple that are slightly shorter for the latter would be appropriate.
Just to get more residual thread on the rods though since in itself the length works fine.
Also replaced some regular adjusters for low friction ones...

Instead of the Hummer body posts I'll use the ones from the Cayenne tree on the rear.
With these I can give the body more height :


Rosette washers, some titanium and deanodised shock parts on the carbon GPM shock tower :


And I used a couple of spring discs on each shock to shim them out...
Extra nut on the other side to keep the gearcover down :


And I thought I'd make a bridge between the body posts for more constructive coherence and better support of the shell.
For that I cut off 62mm from a B parts tree and hollowed that out a bit with a hand drill so I could stick the body clip in.
I inserted some bits of heatshrink so they will have a more snuggly fit :


Works nicely - I could even do a more permanent fix with M2 screws later...


:)

Please Log in to join the conversation.

Last edit: by Edou.

Vintage Manta Ray customisation quest 11 years 7 months ago #13169

  • Edou
  • Edou's Avatar Topic Author
  • Offline
  • Hopping Mad
  • Hopping Mad
  • Posts: 6135
  • Likes received: 483
With a more patient state of mind and lots of fiddling, I managed to get the motor mount pin out :


I'll have to make another... I think this one will be recycled as a spacer. :whistle:
Also gonna try to clean up the washer and use it on a basher.

Not even the titanium will be thrown away! :huh:
That'll serve as a connection point for anodising.
Only aluminium or titanium can be used in the acid bath...

Gearbox has been slightly damaged but is basically still good. :)

Moving on - I have a pretty cool plan (hope my idea works out) for making carbon rods as body post crossmembers. B)
More on that soon...
Attachments:

Please Log in to join the conversation.

Last edit: by Edou.

Vintage Manta Ray customisation quest 11 years 7 months ago #13226

  • Edou
  • Edou's Avatar Topic Author
  • Offline
  • Hopping Mad
  • Hopping Mad
  • Posts: 6135
  • Likes received: 483
Can't get too much done at the moment. Waiting on some small parts - and for the rain to stop. :S
I've refurbished the gearbox I had trouble with though and rererebuilt it for the Humvee.
Also sanded the suspension arms (that and the gearbox came off the car in post #1 btw) and gave them a bit of paint :


Did that in between showers... hope today it will be a bit dry outside too.
Attachments:

Please Log in to join the conversation.

Last edit: by Edou.

Vintage Manta Ray customisation quest 11 years 6 months ago #13274

  • Edou
  • Edou's Avatar Topic Author
  • Offline
  • Hopping Mad
  • Hopping Mad
  • Posts: 6135
  • Likes received: 483
Ooow, nice mod! It's been done before - a solution for a flaw in the rear gearbox. :cheer:
A single screw should keep down all the force from the idler gear beneath it...
On a spot that's already vulnerable for deformation :


Usually this will break at some point. With the effect of the gears lifting.
So I made a bridge from some alloy section, pushing down on the two bulges beside the weak spot :


But man, it's hard to make it straight by "free hand"...
So this was some practice - I'll try to make MkII much tidier.
And maybe even anodise it black.

:)
Attachments:

Please Log in to join the conversation.

Last edit: by Edou.

Vintage Manta Ray customisation quest 11 years 6 months ago #13279

  • Edou
  • Edou's Avatar Topic Author
  • Offline
  • Hopping Mad
  • Hopping Mad
  • Posts: 6135
  • Likes received: 483
With more effort the first attempt turned out pretty good after all. :cheer:
Some caustic soda, a bit of sanding and a polish...
Oh yeah, and I "transported" the hole for the screw to the middle. :lol:


Should be very effective. And saves me getting another gearbox. :)
Attachments:

Please Log in to join the conversation.

Vintage Manta Ray customisation quest 11 years 6 months ago #13393

  • Edou
  • Edou's Avatar Topic Author
  • Offline
  • Hopping Mad
  • Hopping Mad
  • Posts: 6135
  • Likes received: 483
Finished up painting the suspension arms - while the weather was still okay...
Used the last bit of matt black available :


Not too shabby up close :


Switching the Manta Ray screws for the suspension arms (left below) from the FRP car to this one.
That'll get new Top Force parts (right) later :


The other set of necessary screws will come from a Manta Ray shaft bag :


Shafts to replace them are going on the wish list...
Attachments:

Please Log in to join the conversation.

Last edit: by Edou.

Vintage Manta Ray customisation quest 11 years 6 months ago #13394

  • Edou
  • Edou's Avatar Topic Author
  • Offline
  • Hopping Mad
  • Hopping Mad
  • Posts: 6135
  • Likes received: 483
Assembling the rear... with a nice present from Asiatees! :woohoo:


First I'll semi-put it together to check the amount of unnecessary space with the feeler gauge :


That turned out to be about 0.25mm so I'm adding a 0.2mm shim.
Not following the normal course of the manual to be able to put that together more easily :


At the side of the gearbox, things were quite snuggly and did not need shimming.
The black plastic rear knuckle had a blue ball end. Now it'll be gunmetal :


And I'll be "borrowing" a set of rubber shielded bearings from the Grasshopper :


Adding another improvement - hardened dogbones instead of Manta Ray parts with the plastic joints :


:)

Please Log in to join the conversation.

Moderators: caprinutstingray-63AndyAus
Time to create page: 0.241 seconds
Cookies are required to make this site work. If you continue to use this site you permit us to use cookies.