Keyword

TOPIC:

Re: 58046 FAV build, I just cracked my NIB :-0 13 years 1 month ago #653

After months of delay, I hvae finally gotten into finishing the FAV build.

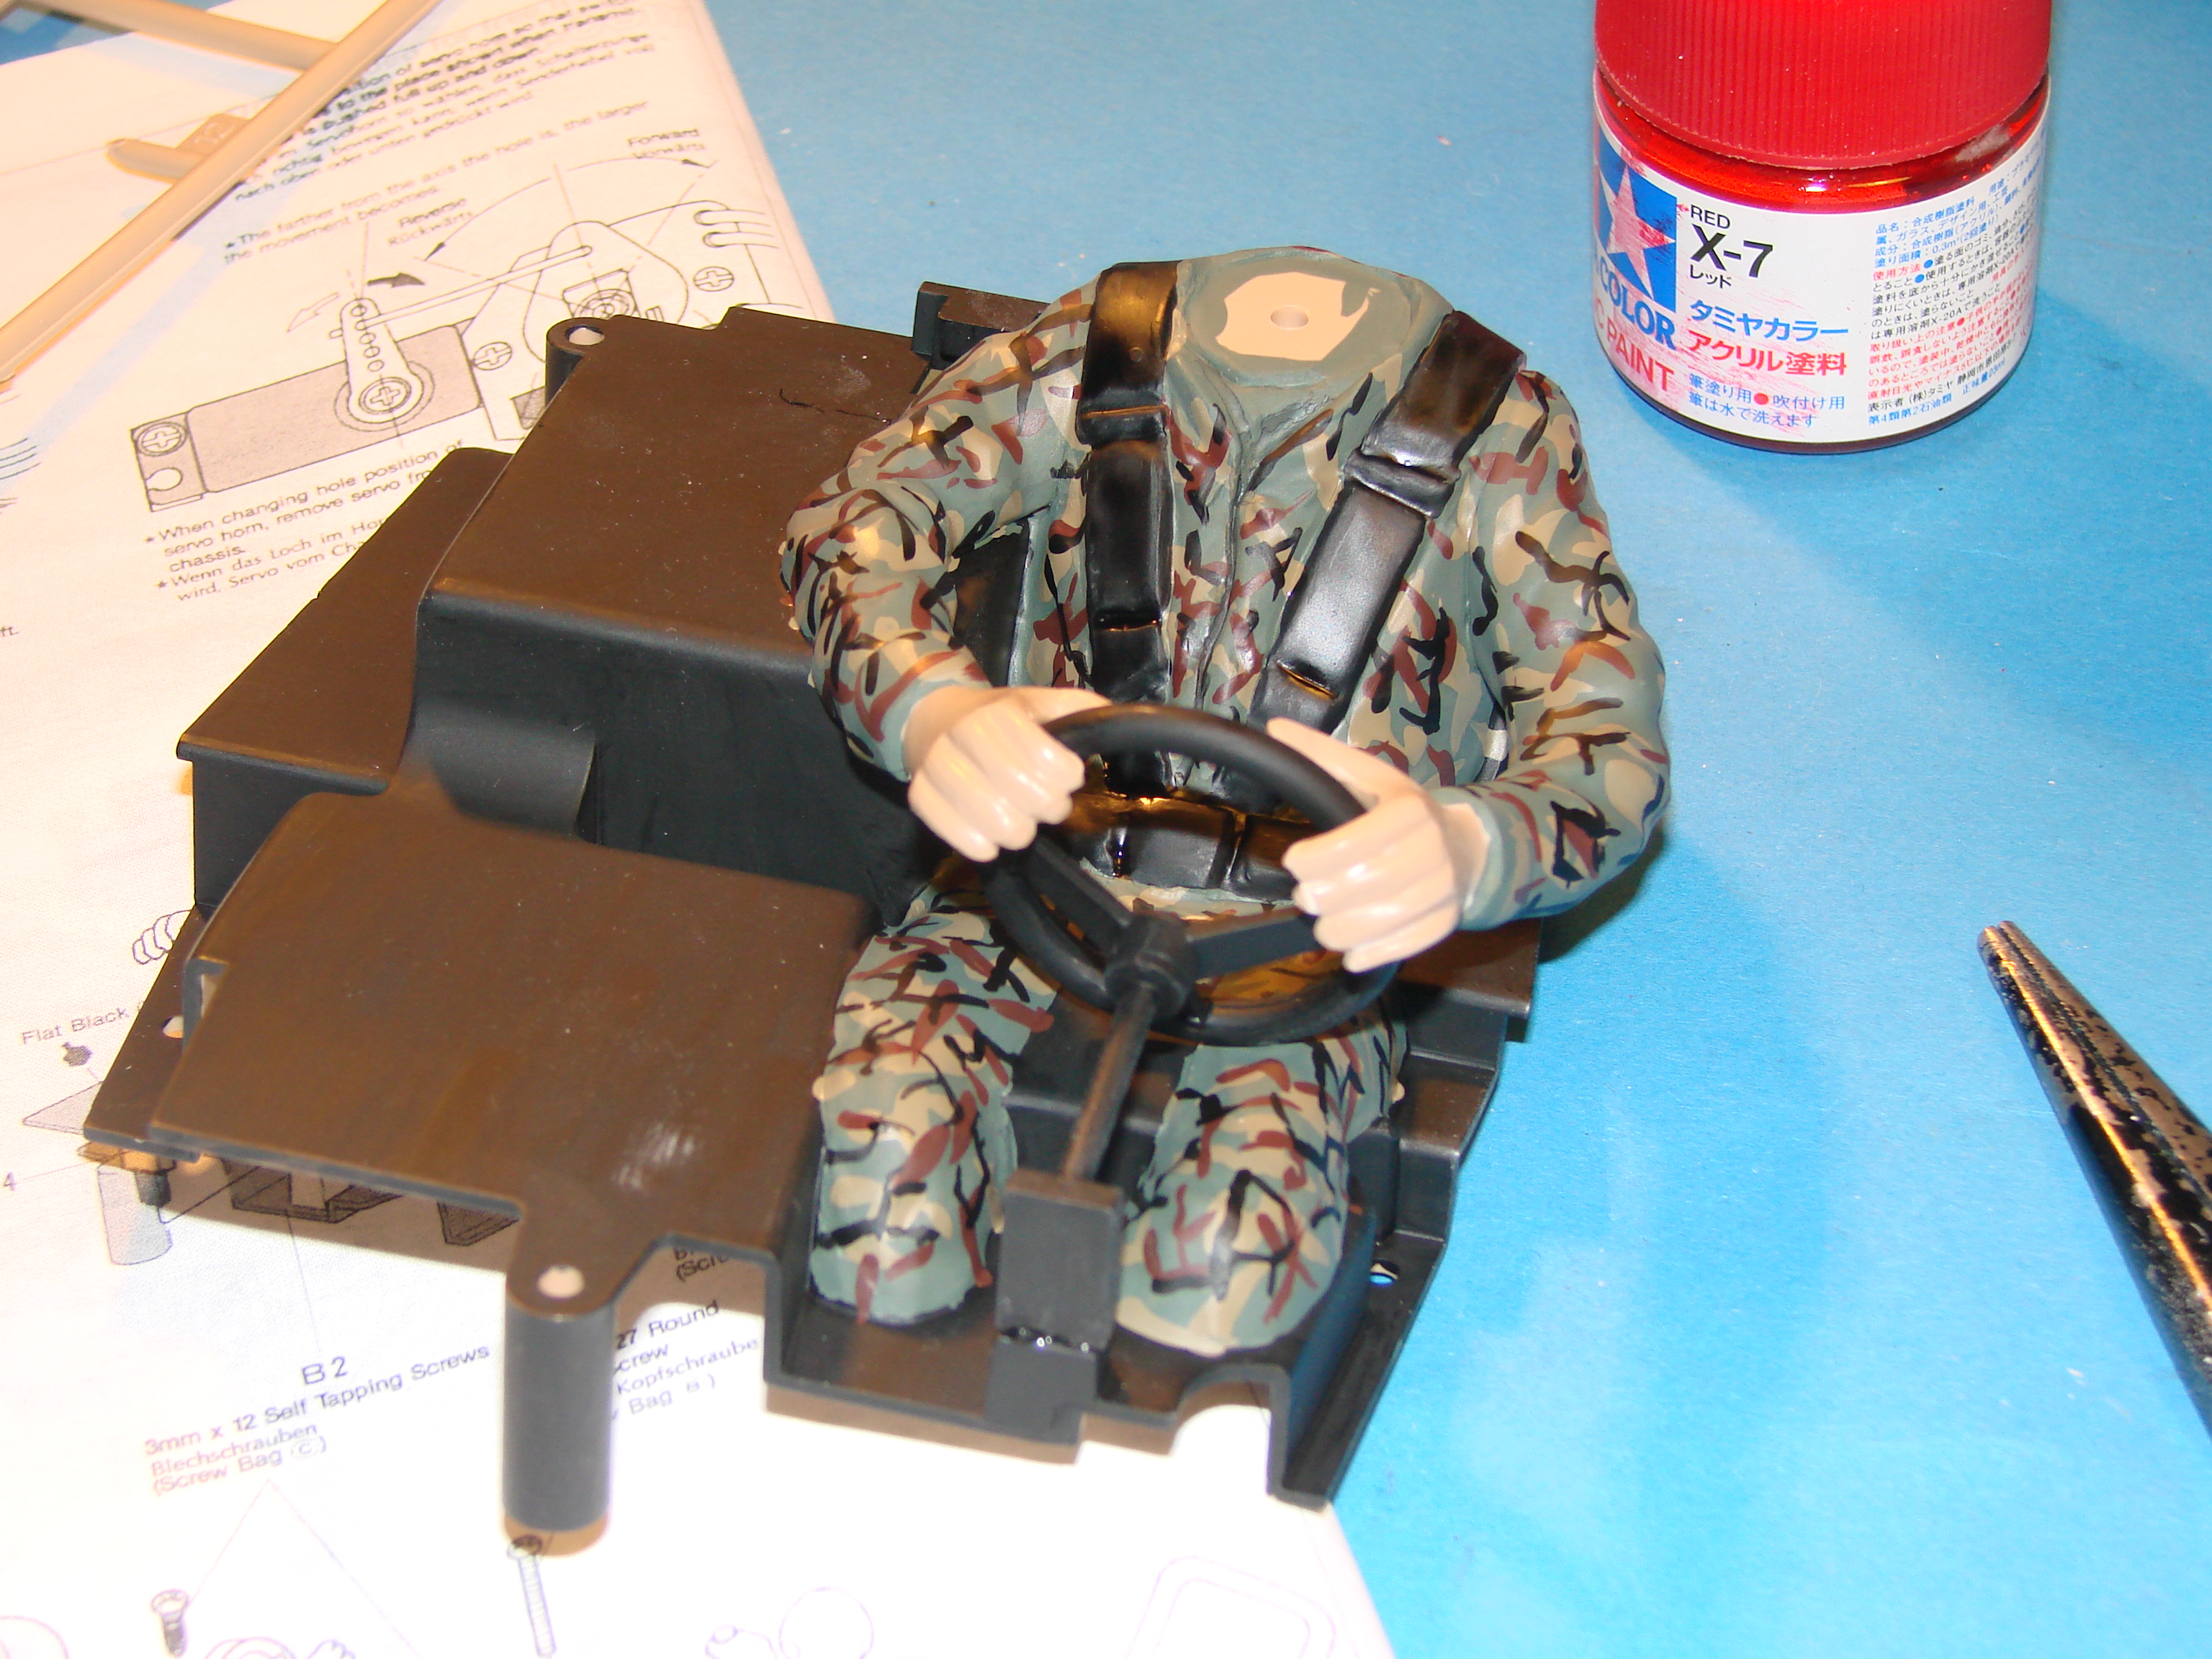
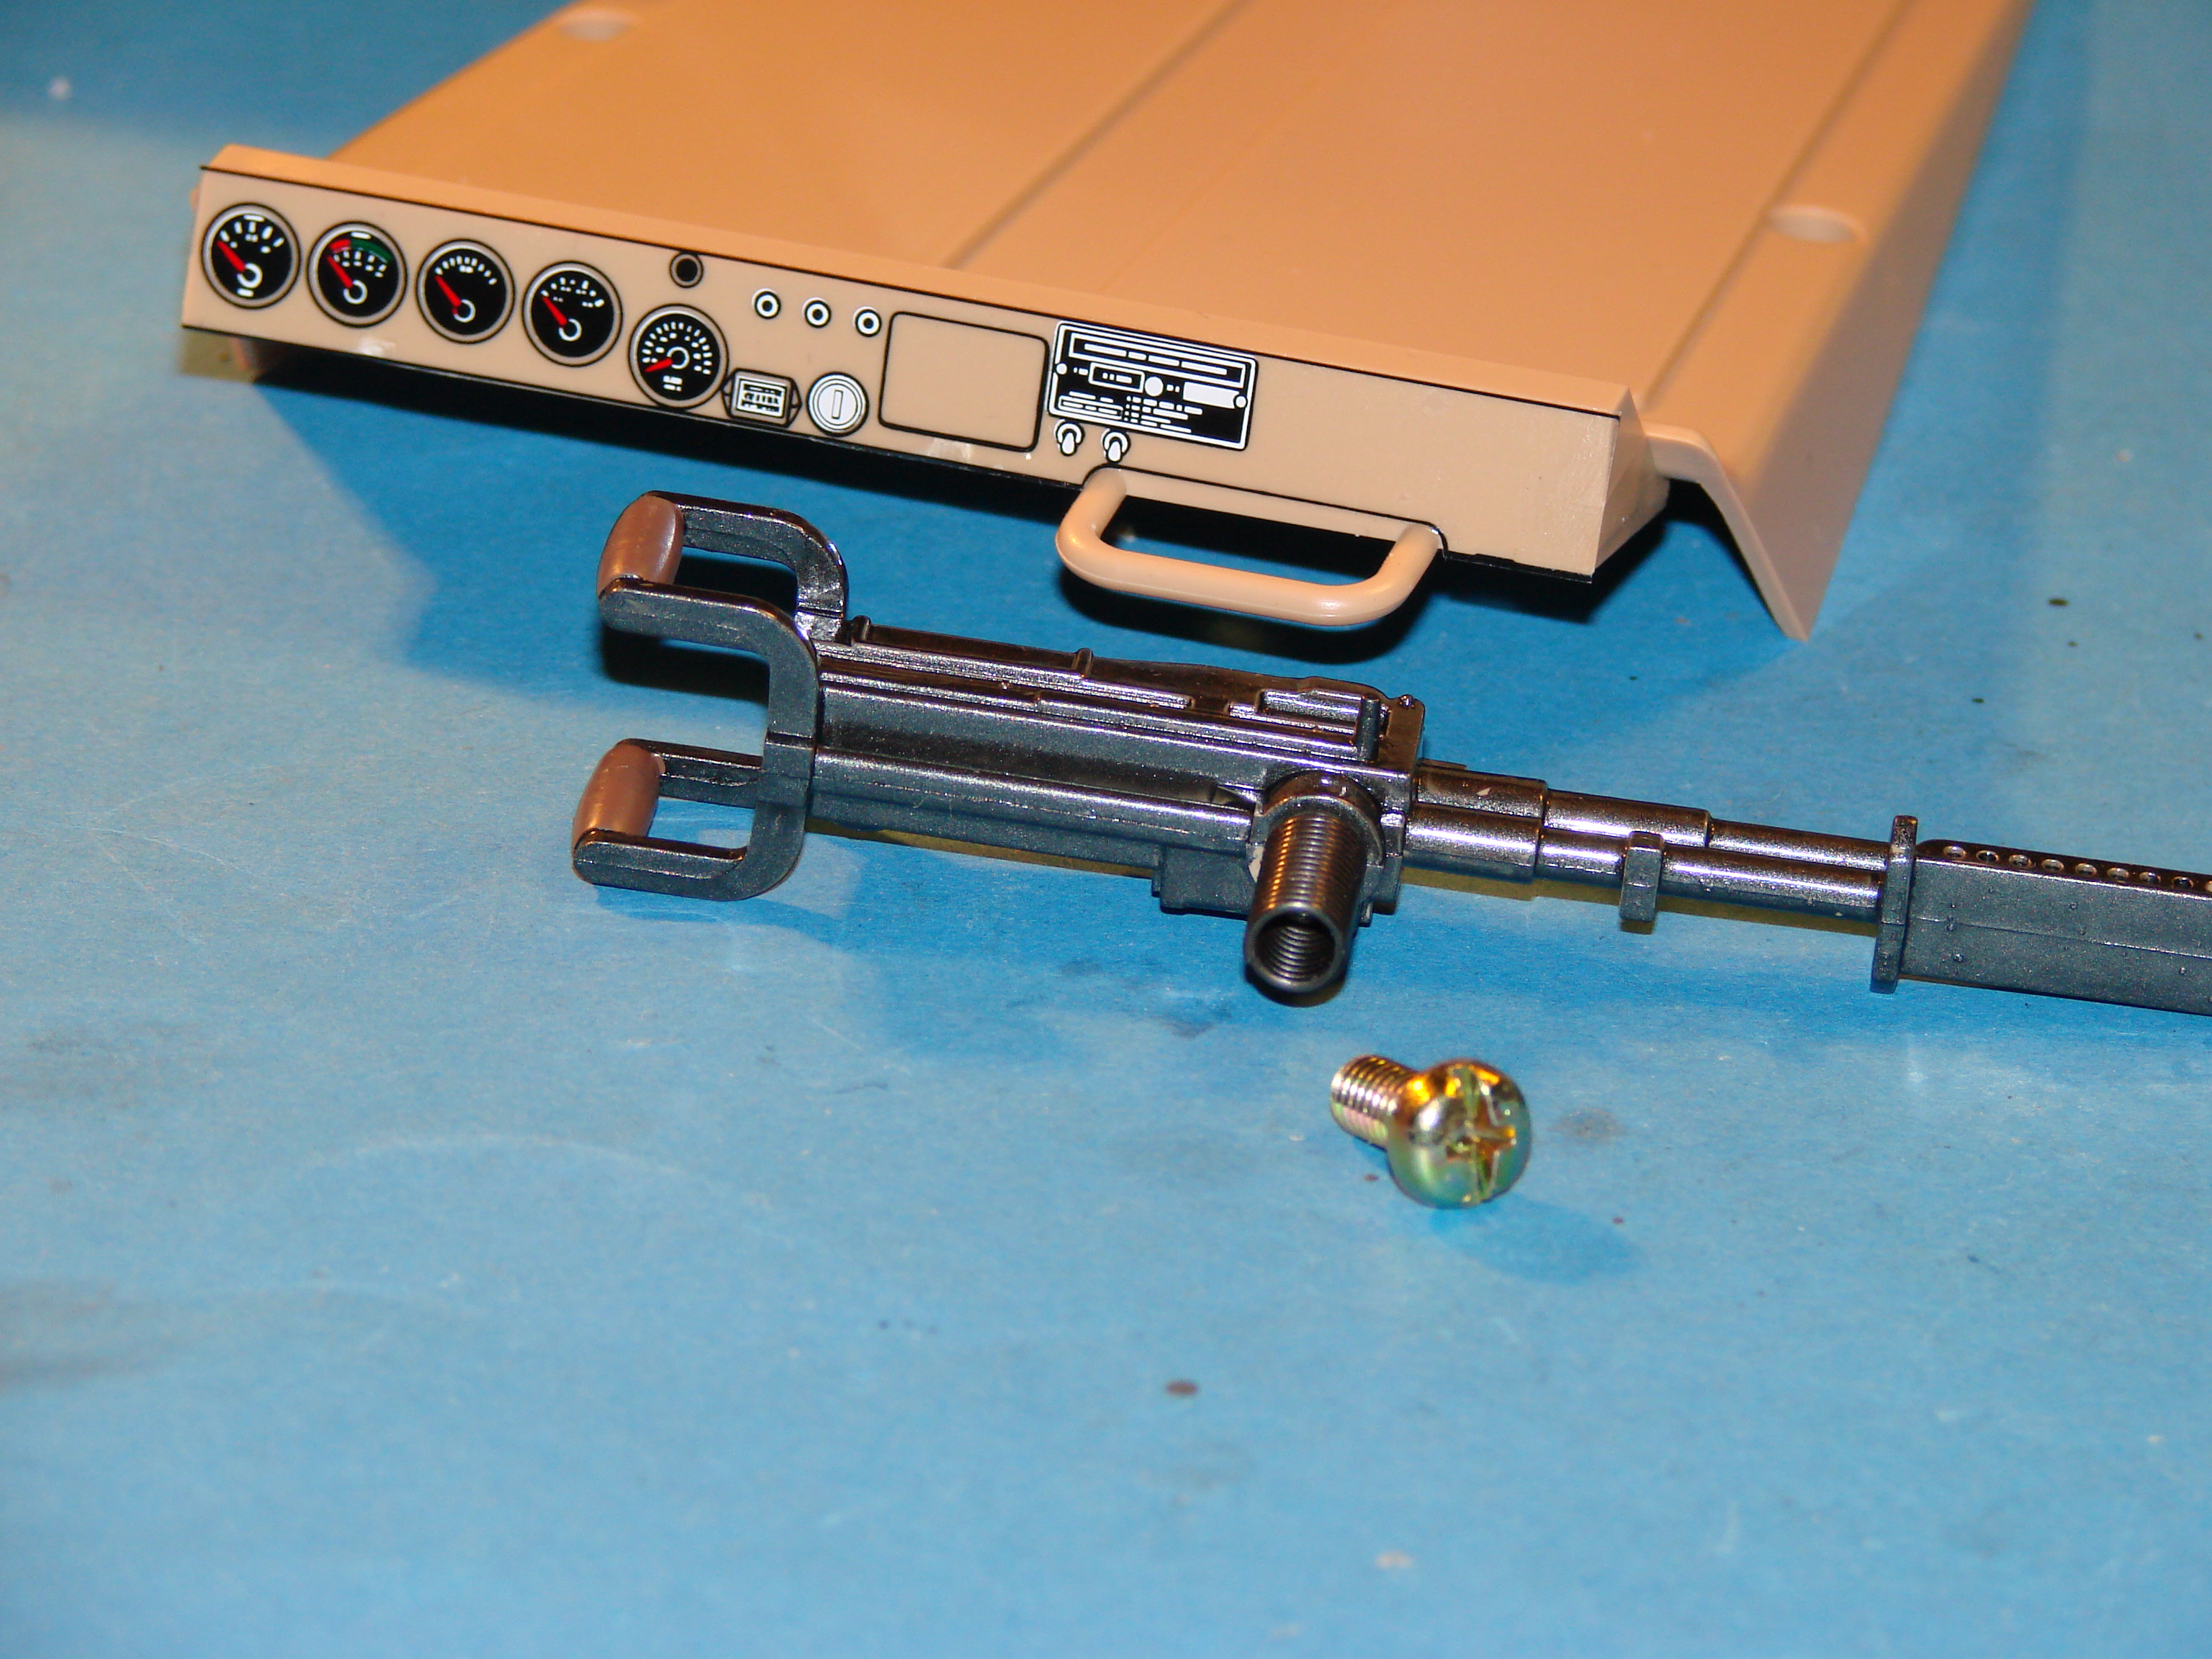
I'm still on painting the driver and interior, on item 16 in the manual:

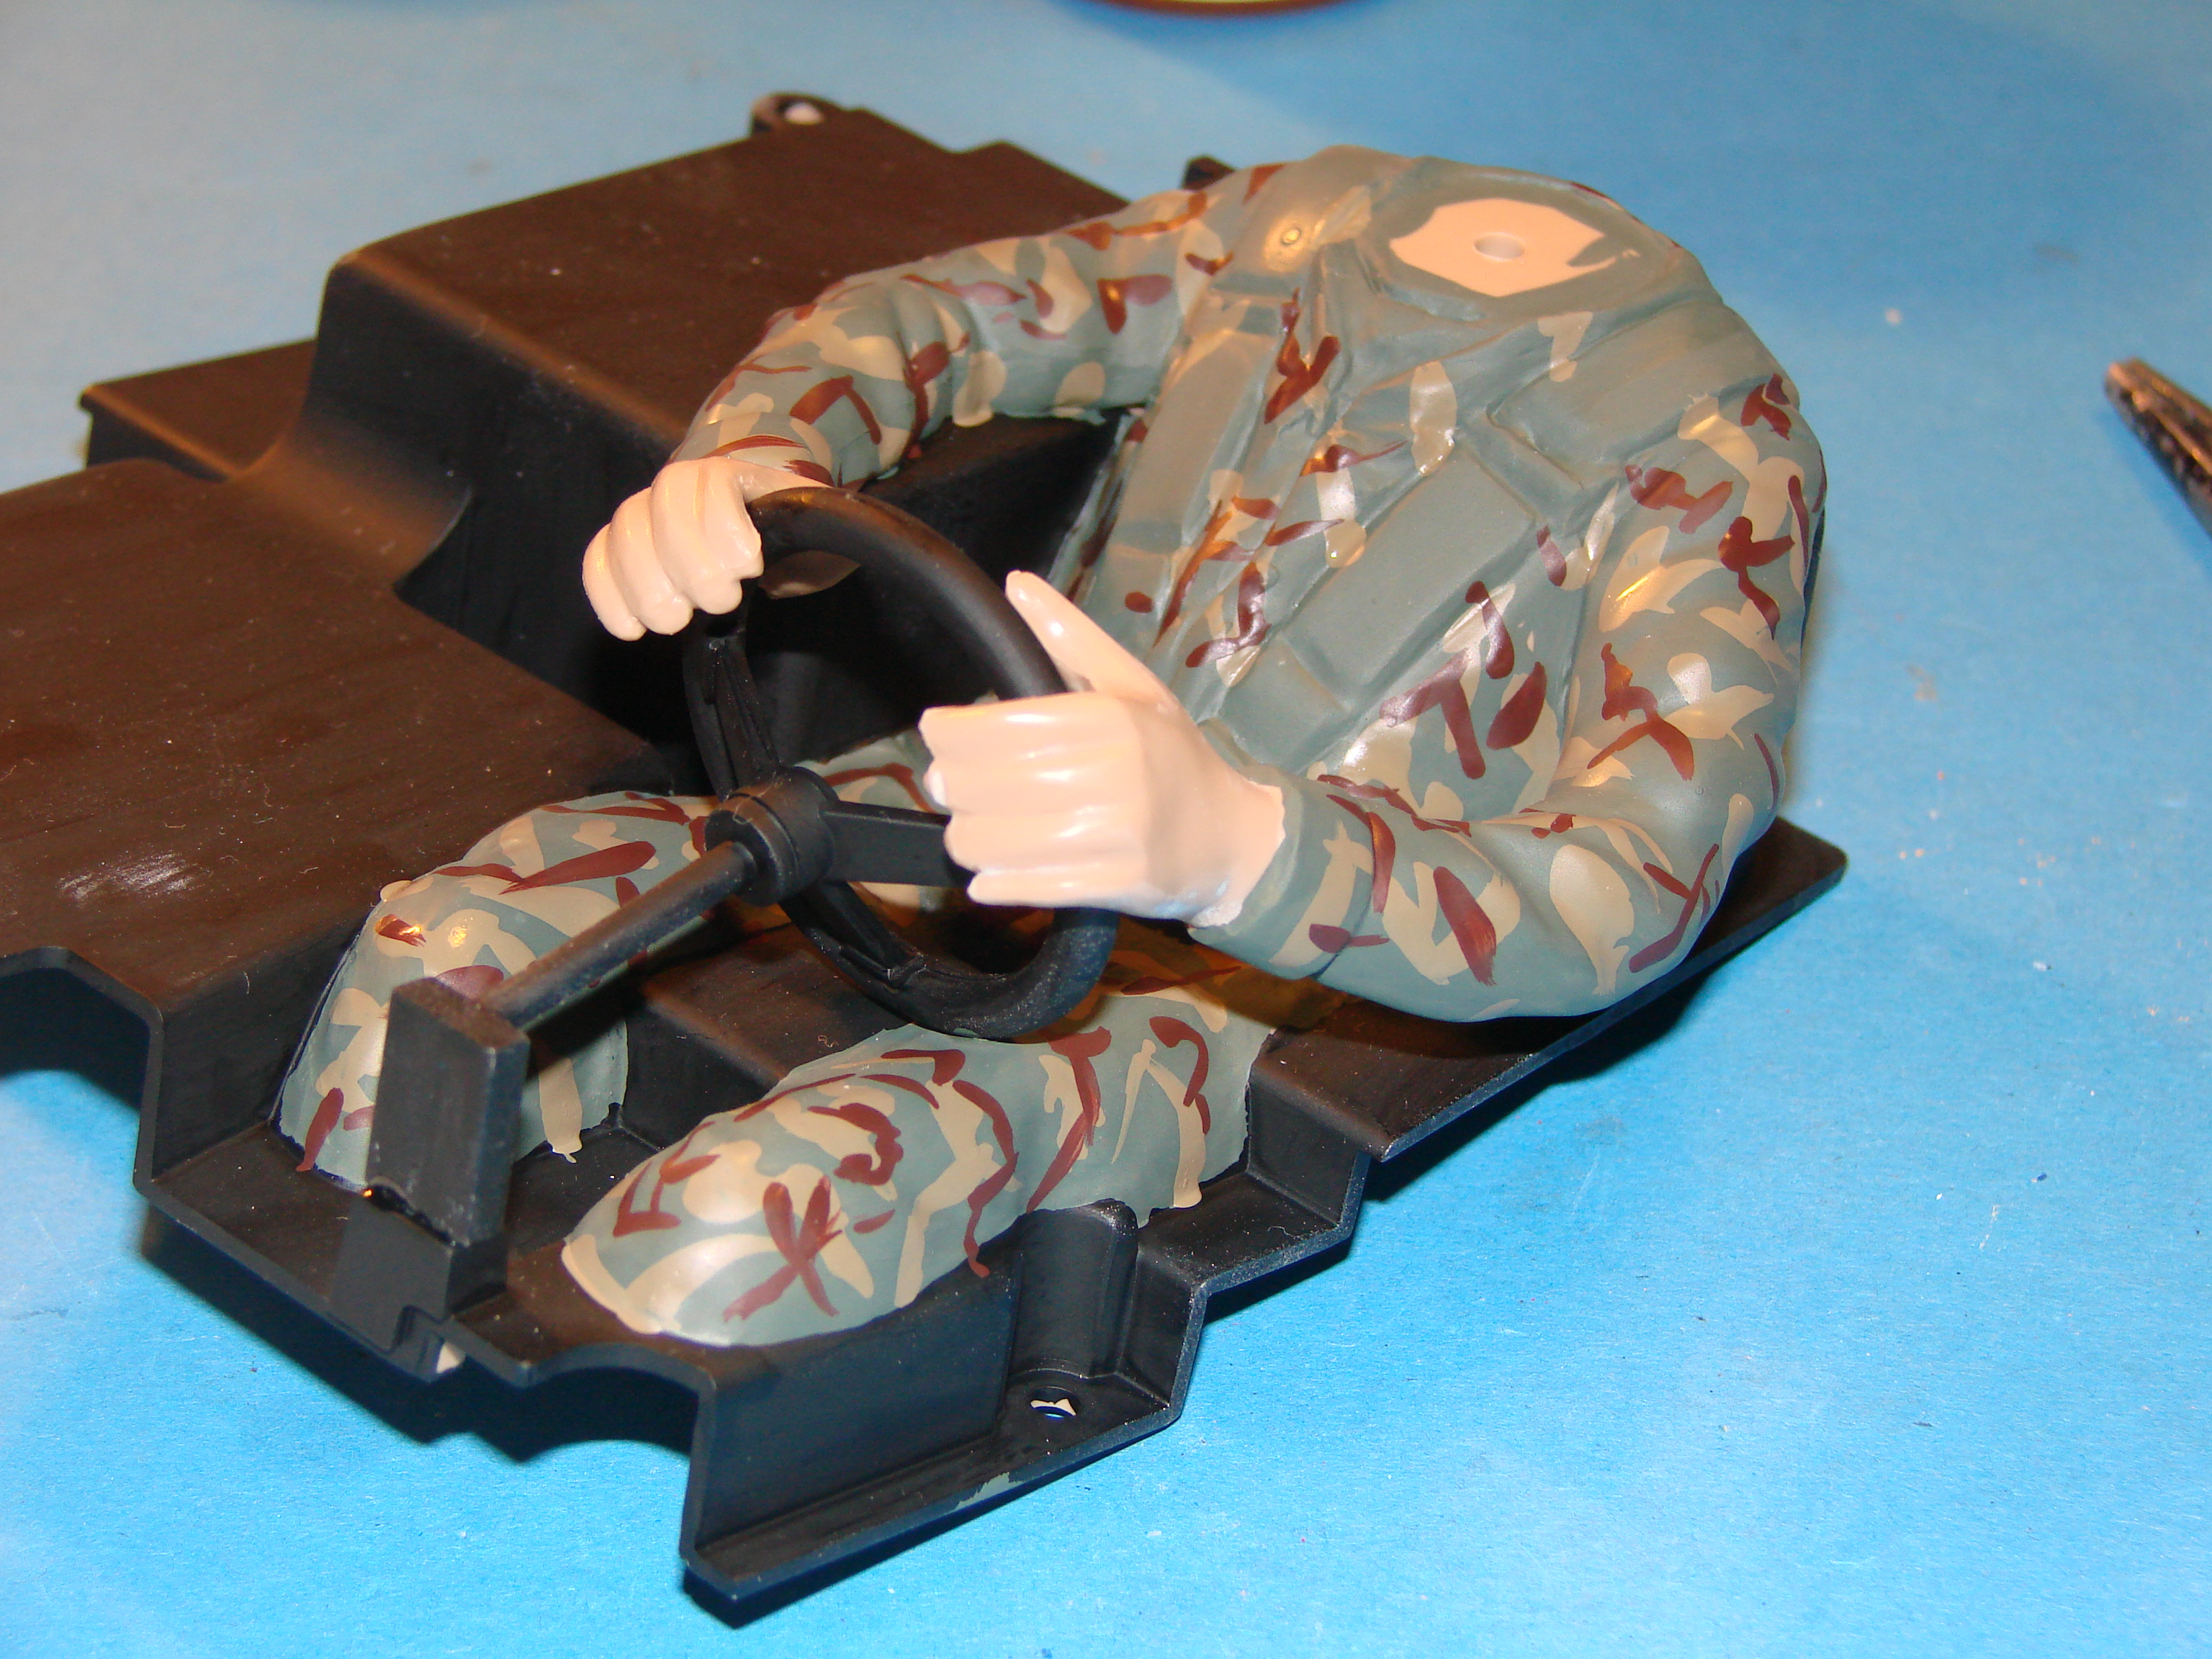
I decided to try my camo-pinting-skills, followig the example given in the manual. Here after using XF-9 Hull Red and XF-49 Khaki. (tha manual tells you to mix these colours, but skipped that part :P )


Then I added XF-1 Flat Black and tried to keep those "lines" thinner.


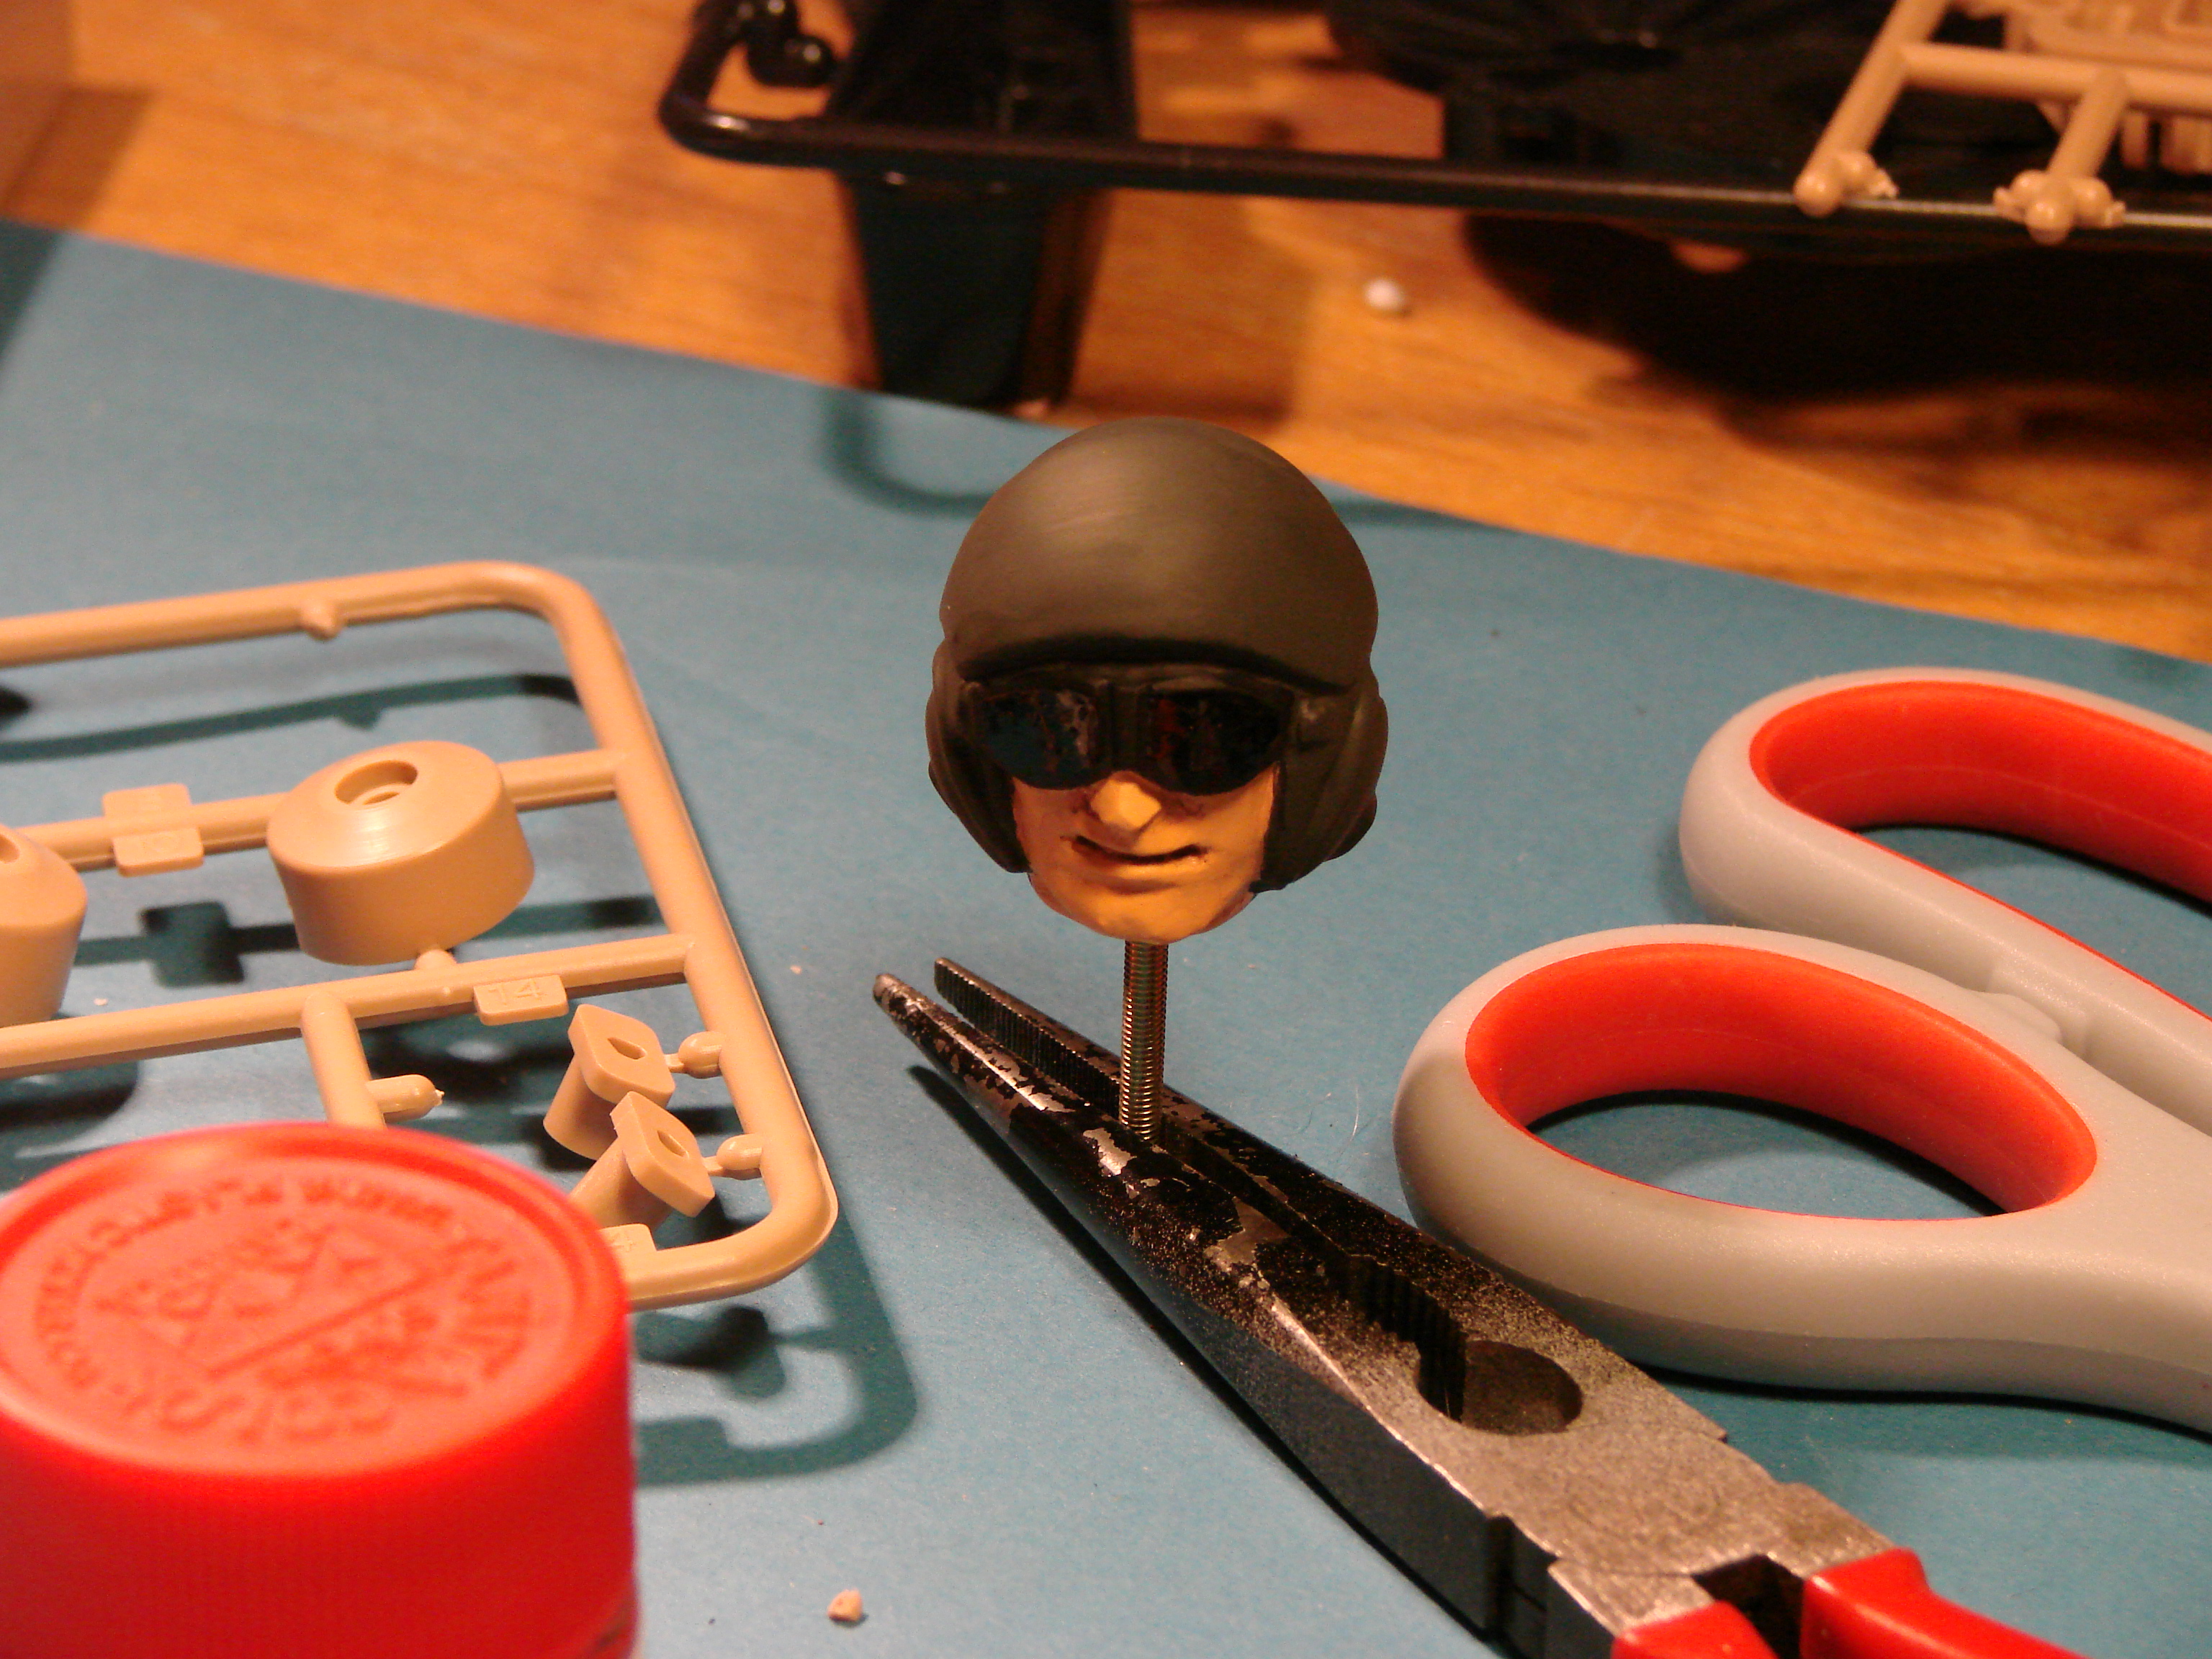
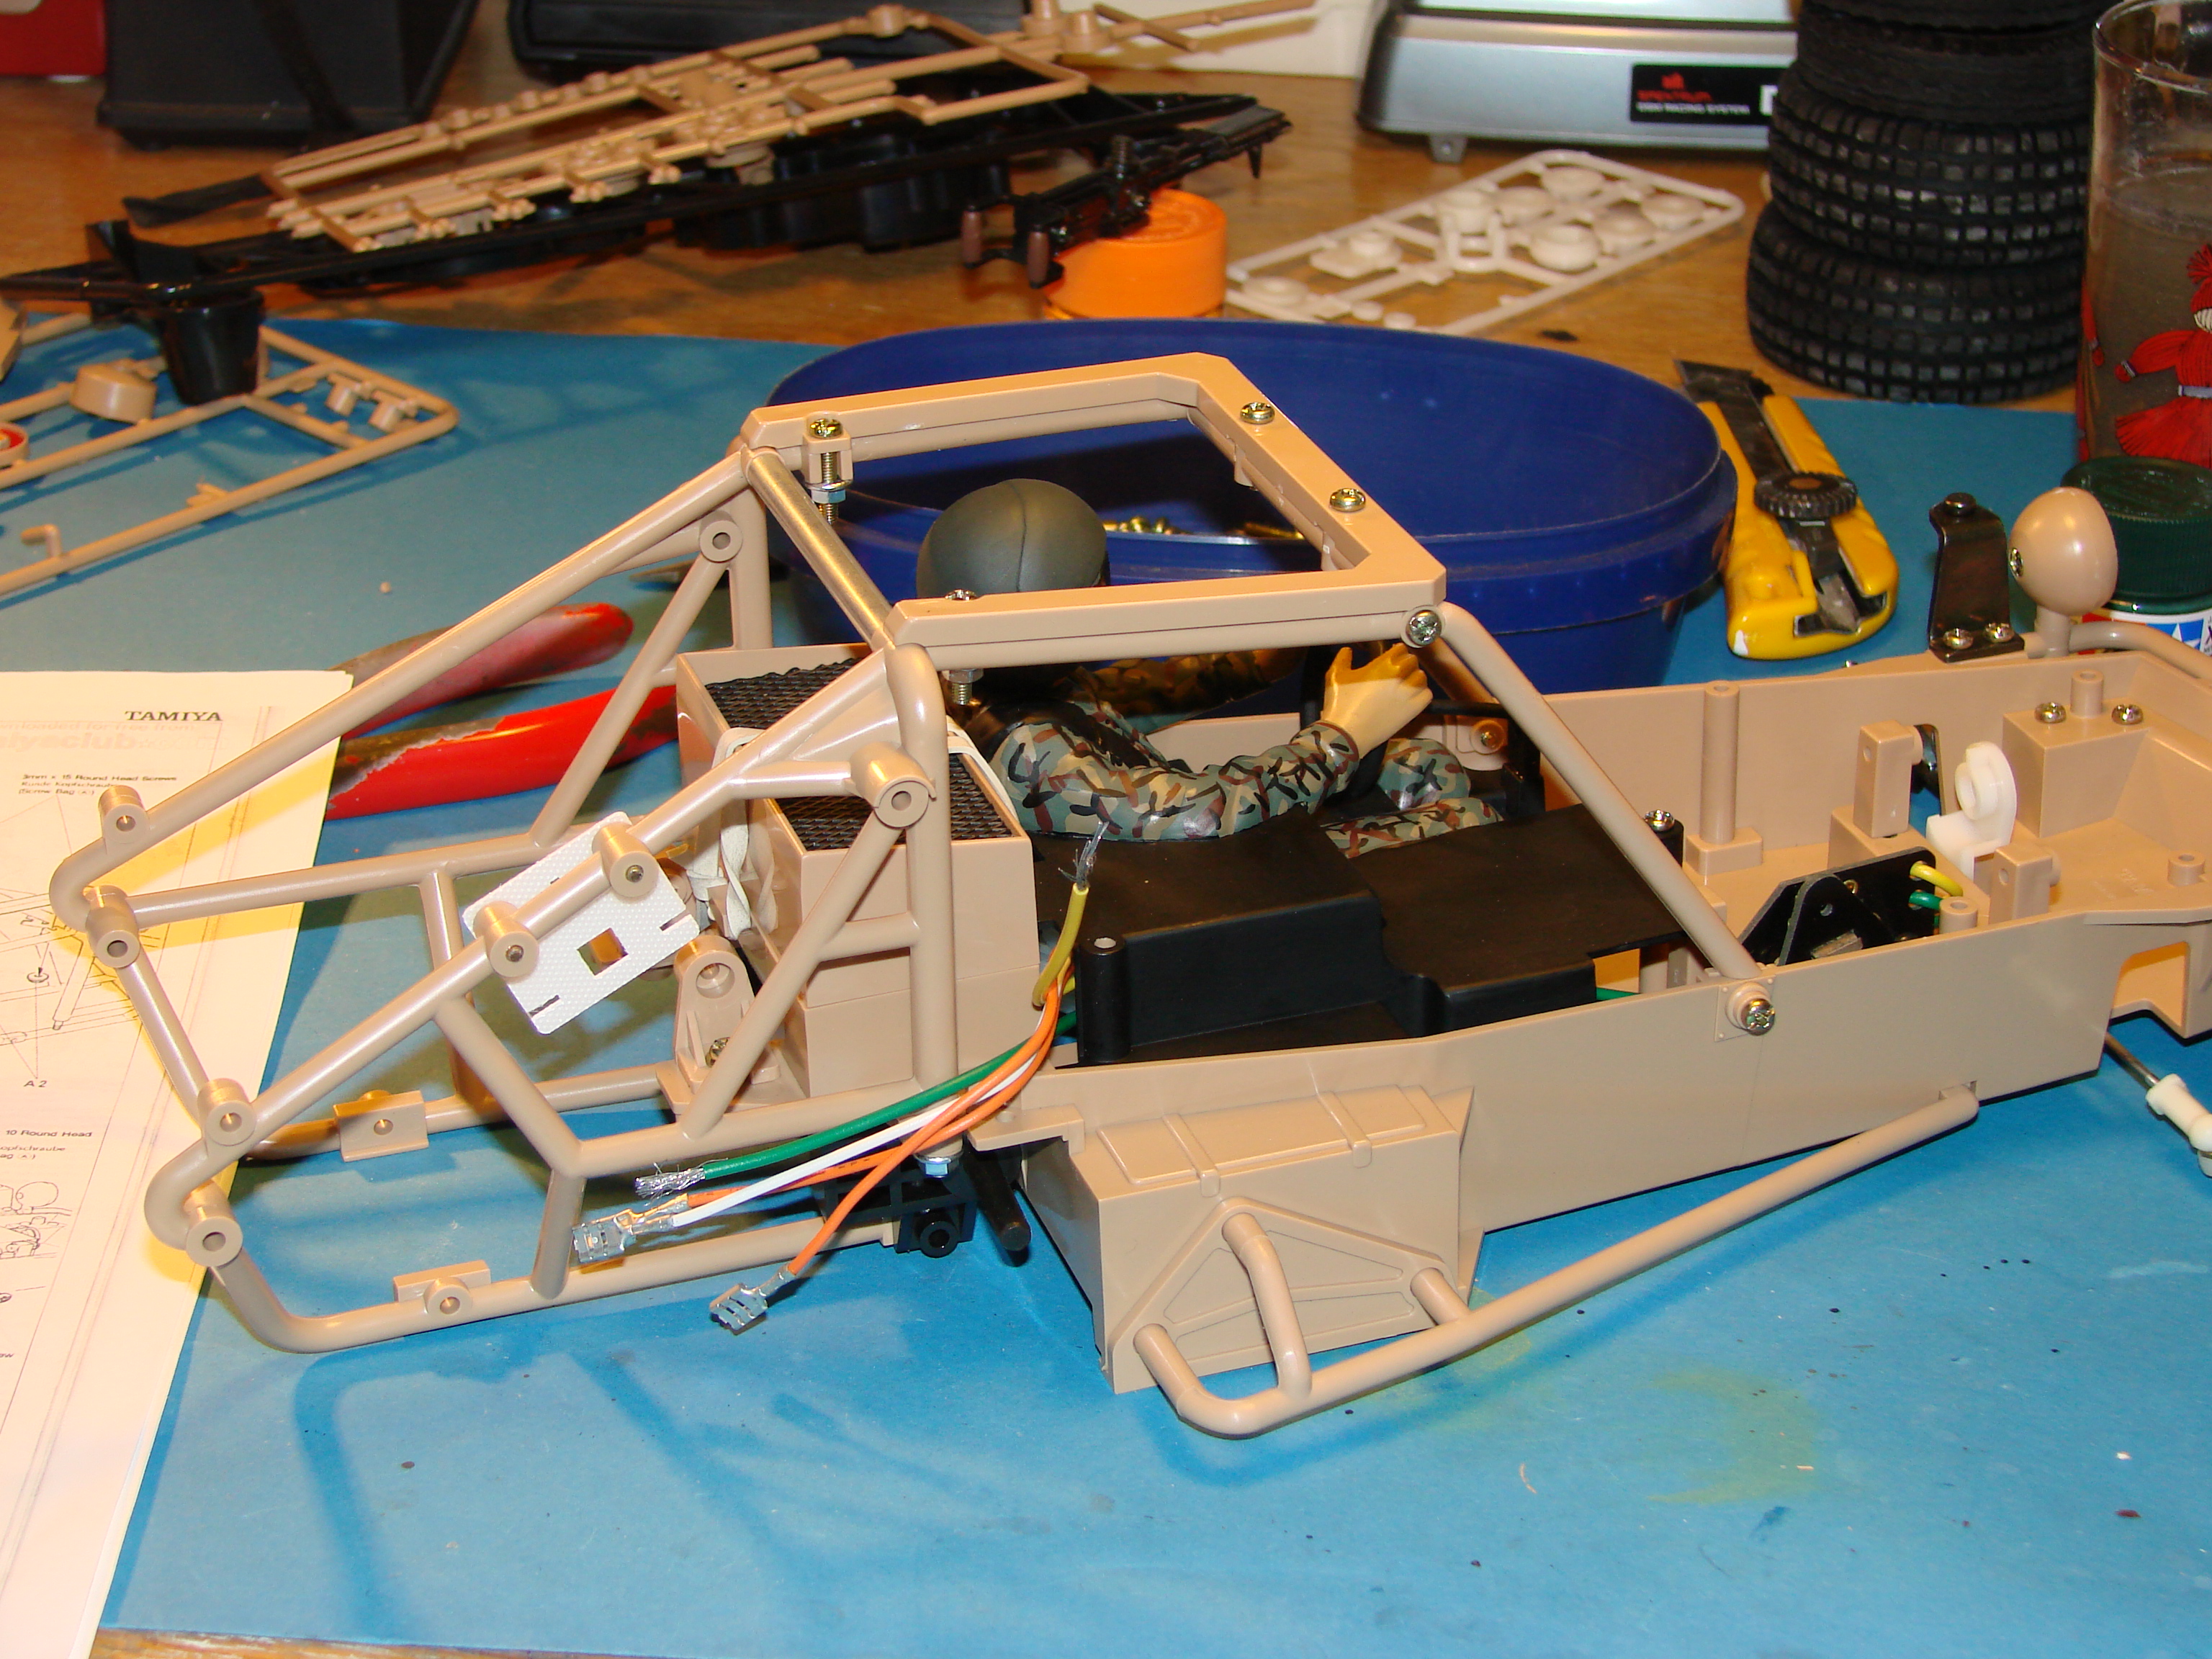
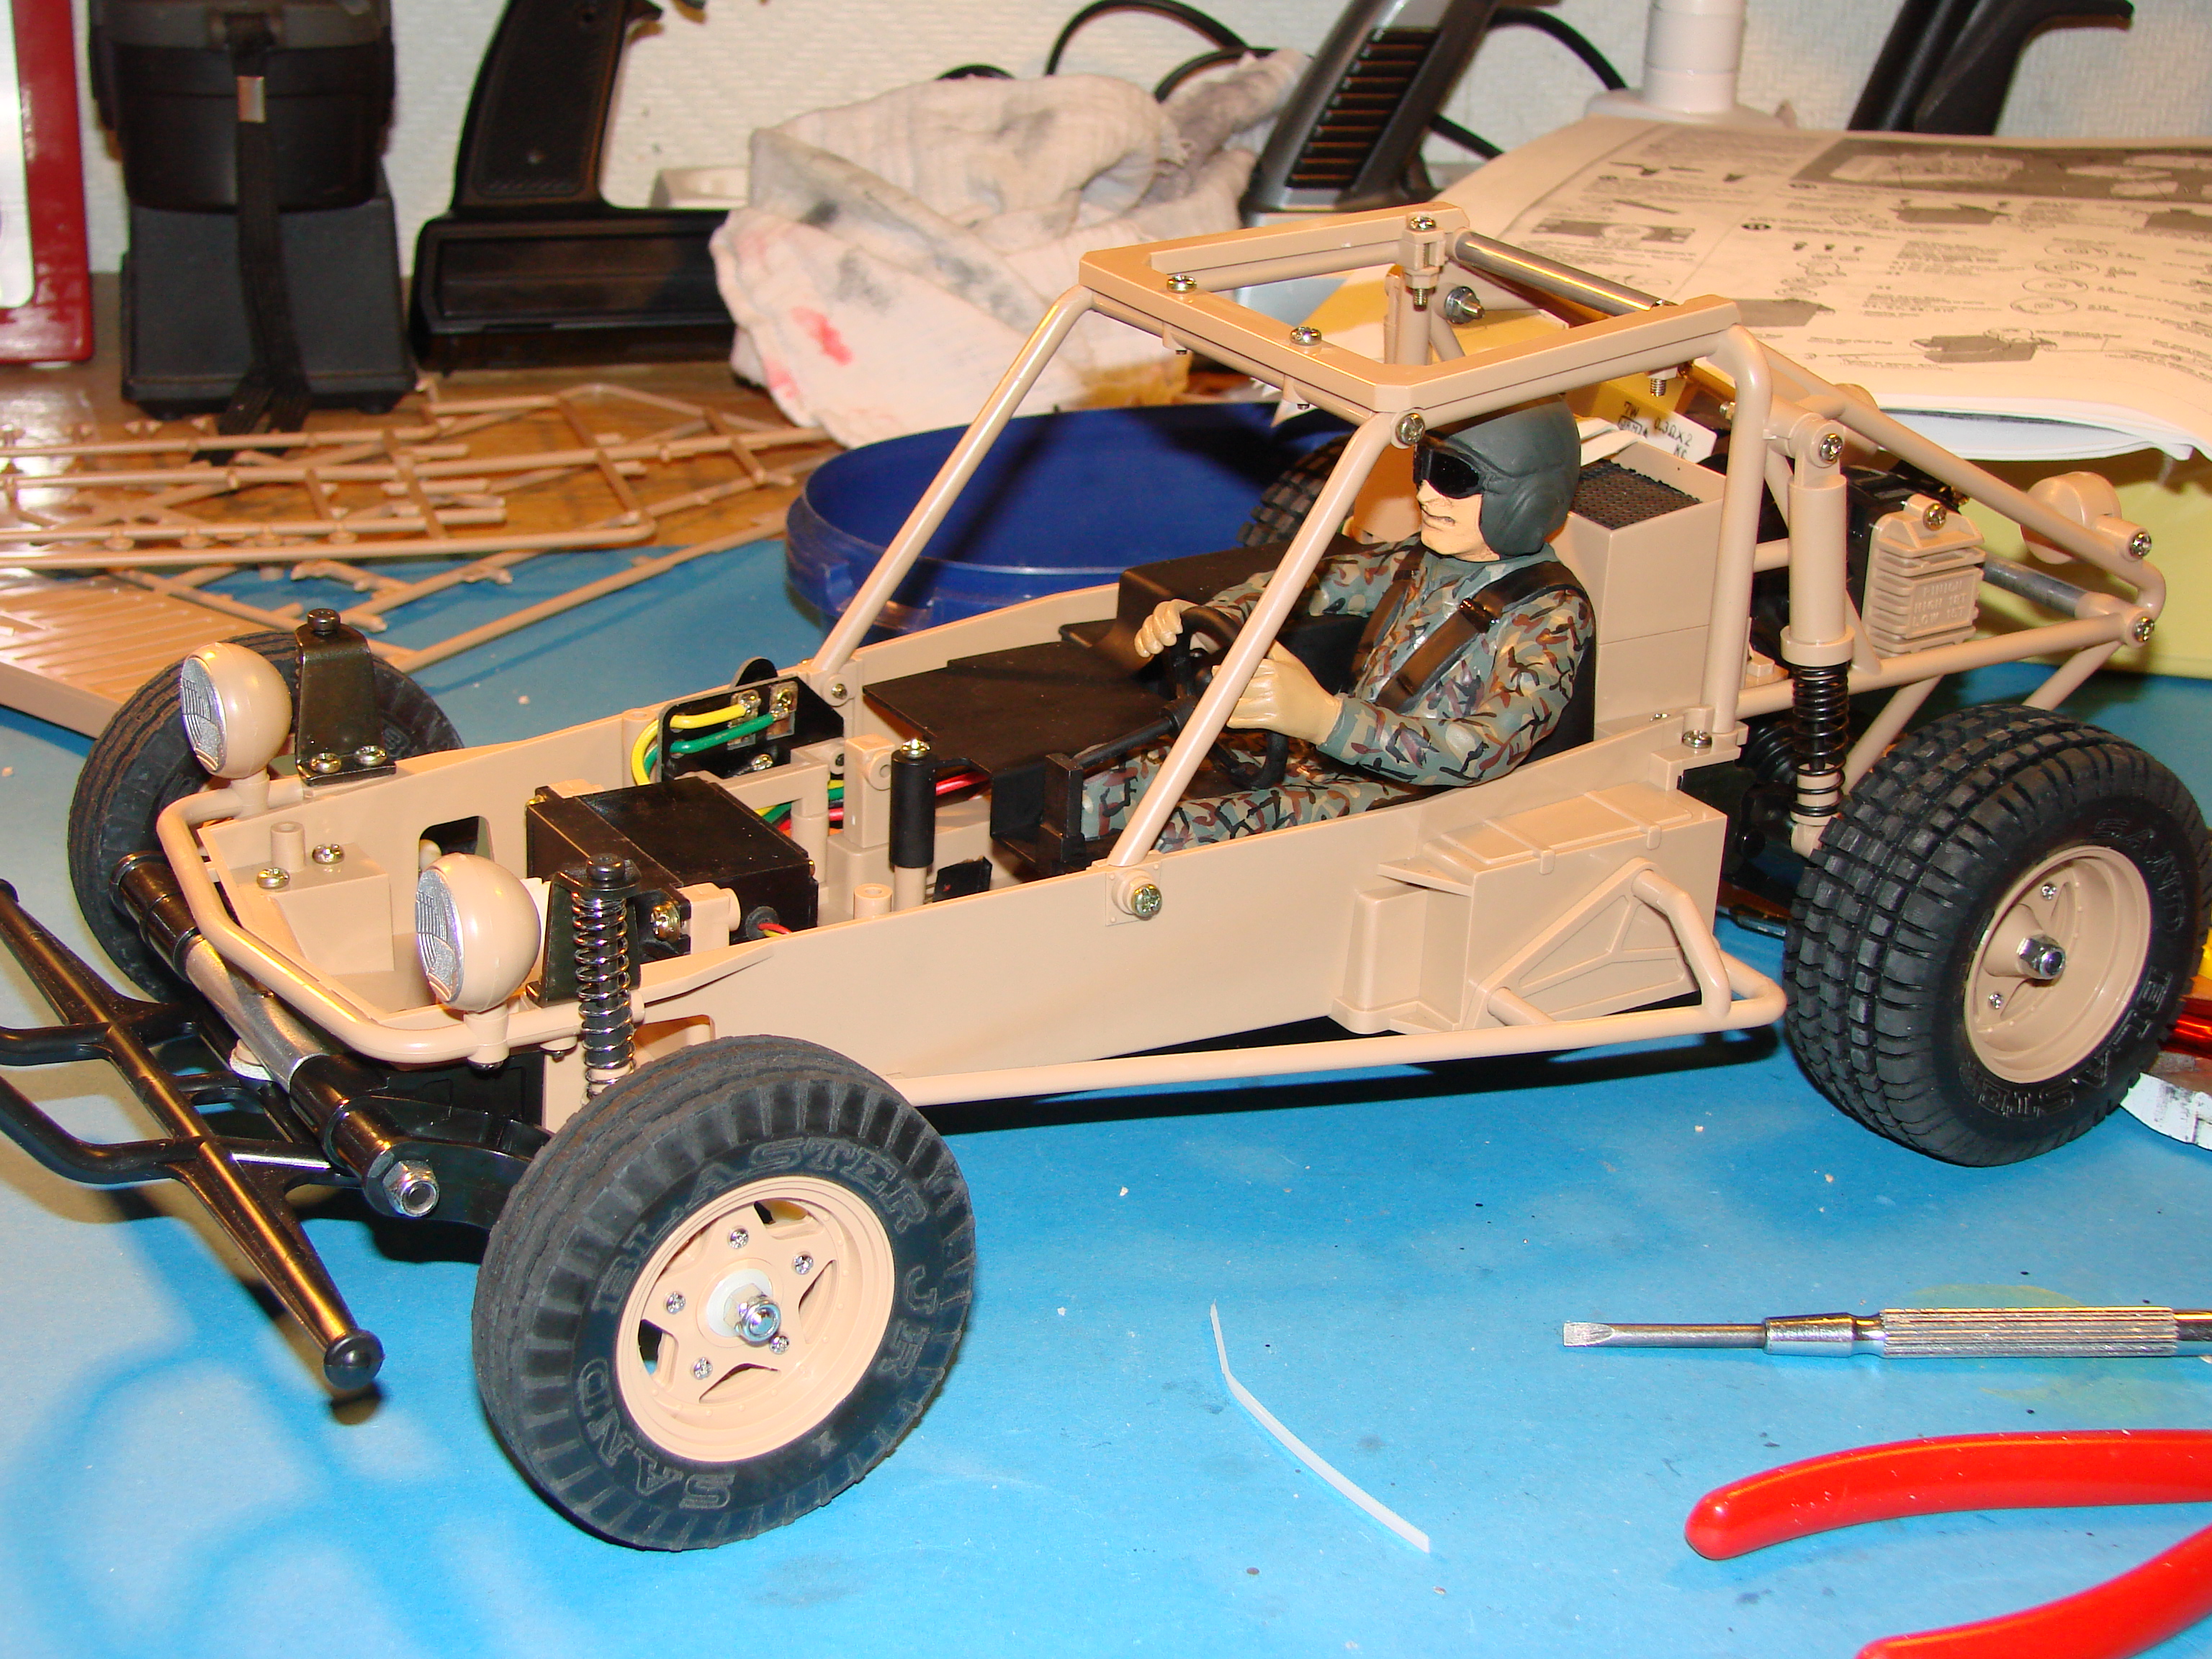
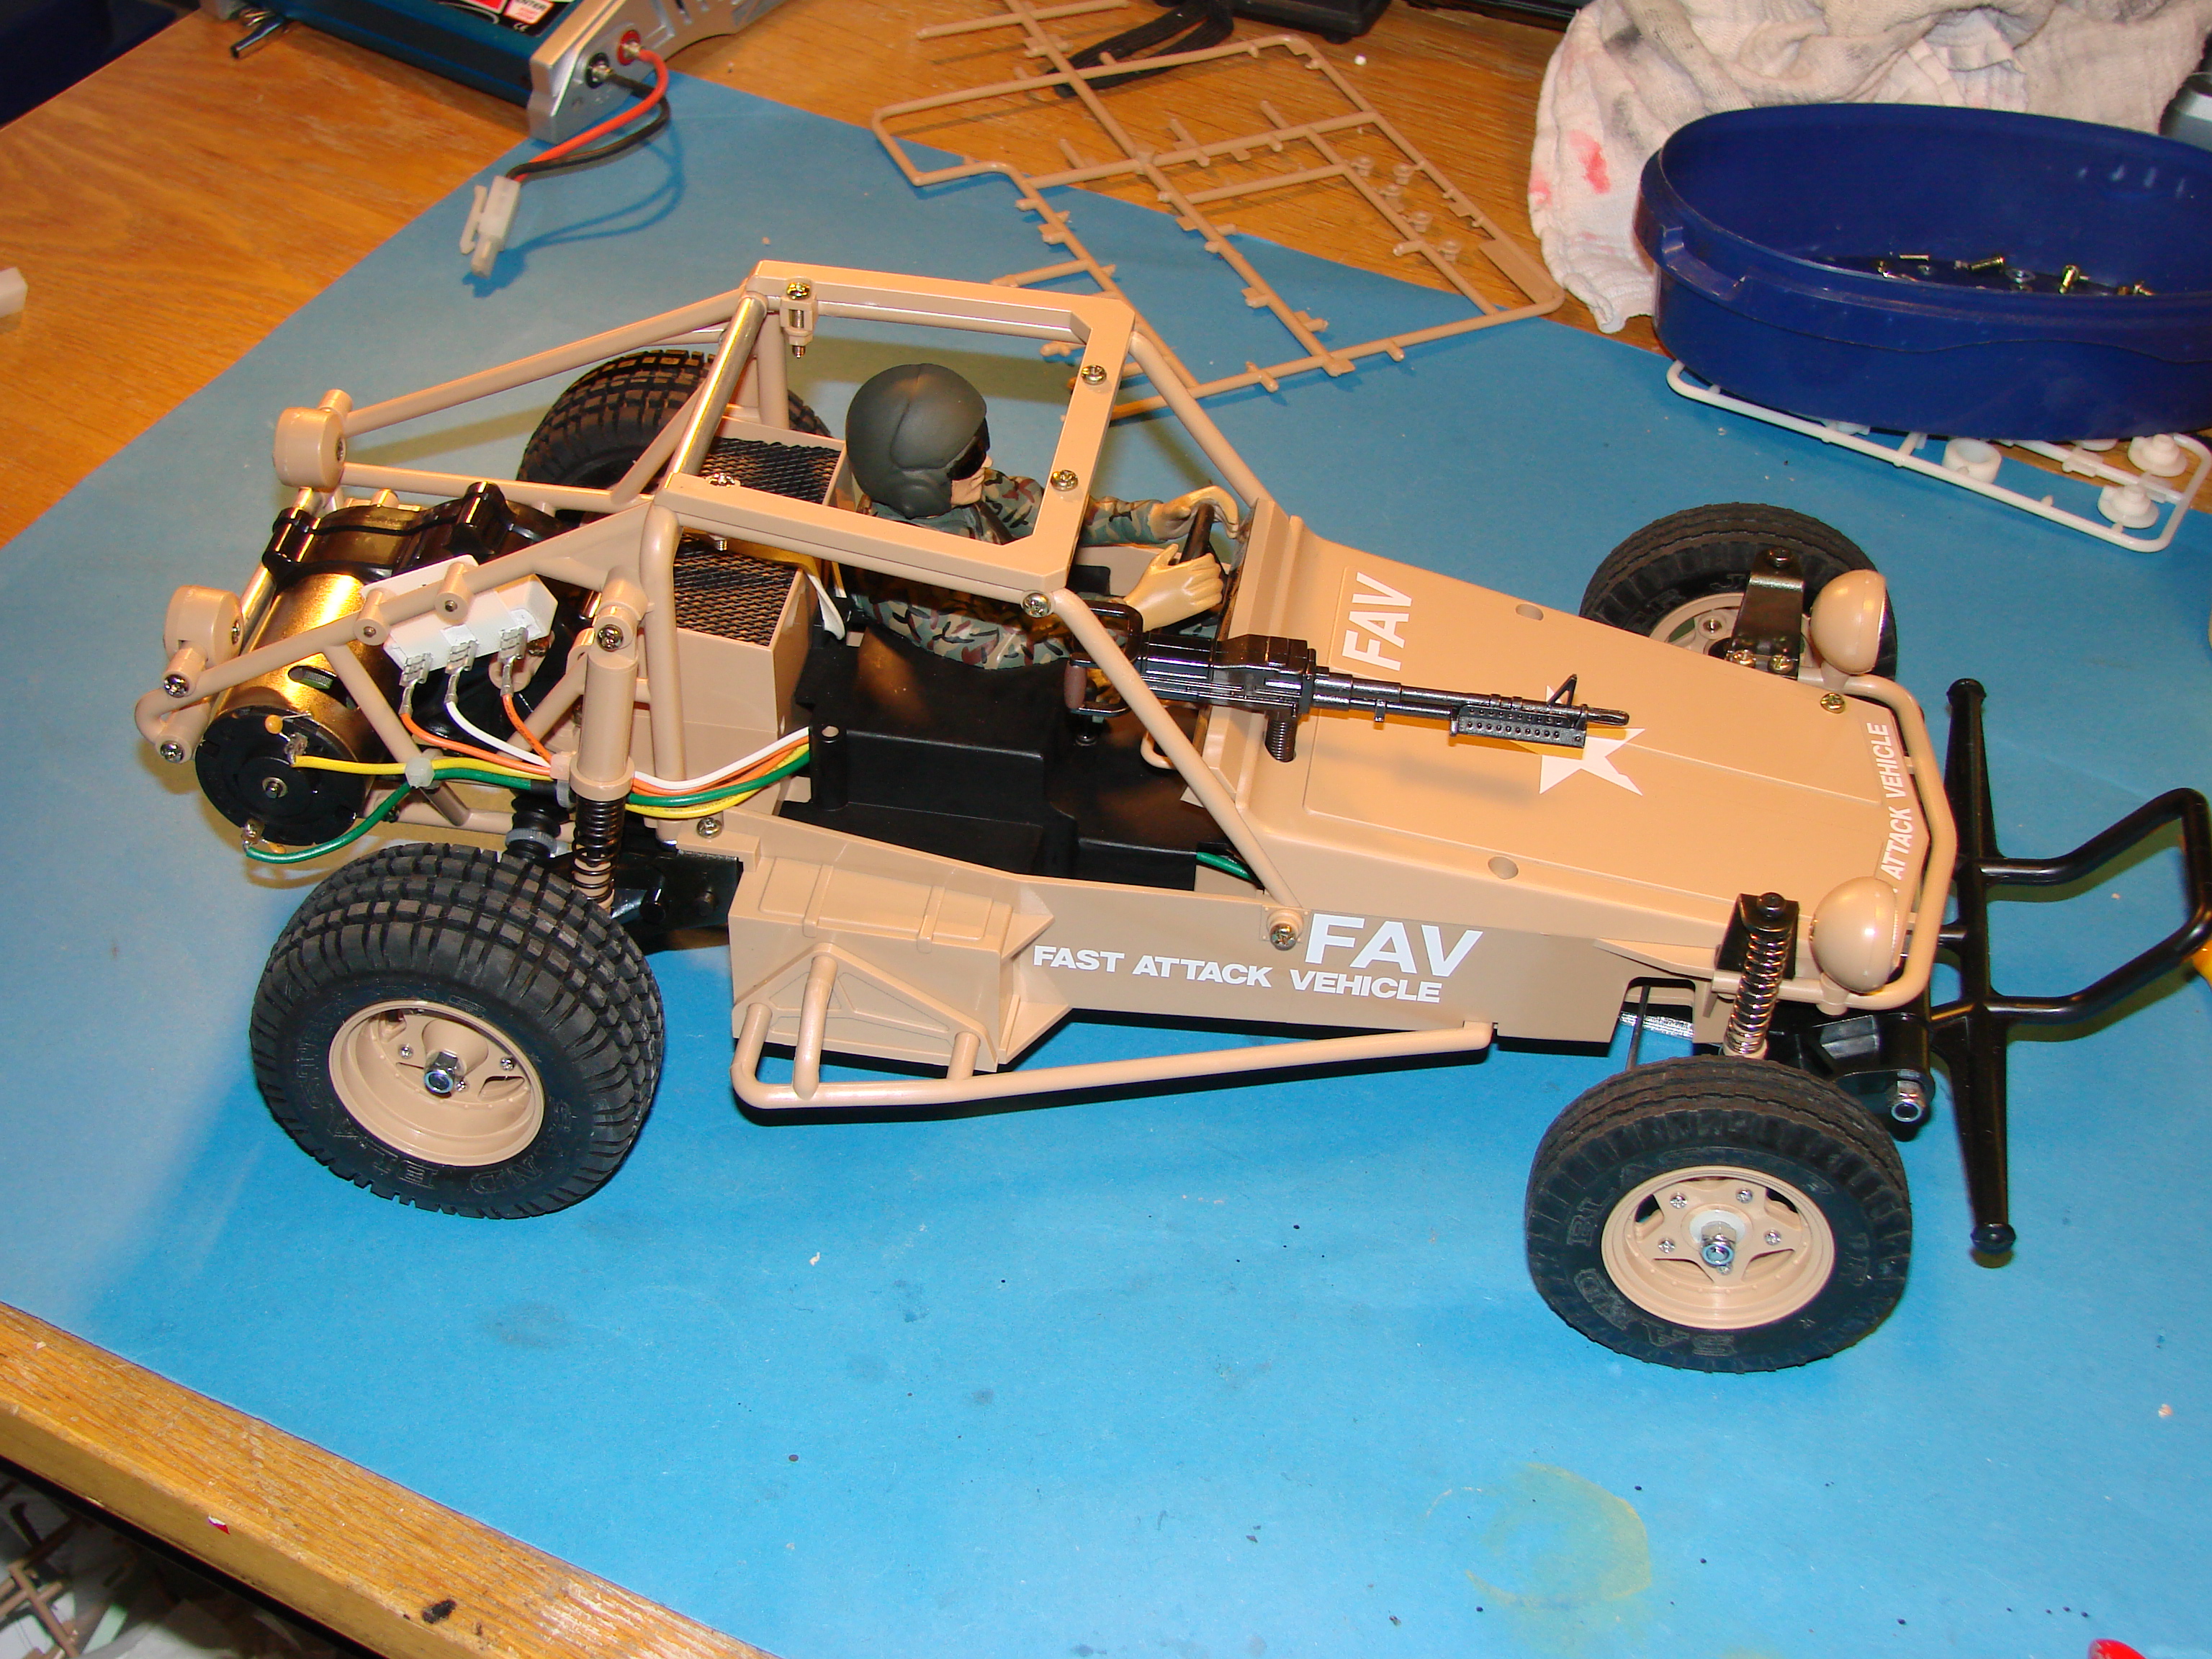
The driver Head got finished at the same time. The helmet is in Dark Green with Flat Black goggles. I added Black (gloss) to the goggels to simulate reflecting lenses in the goggels.


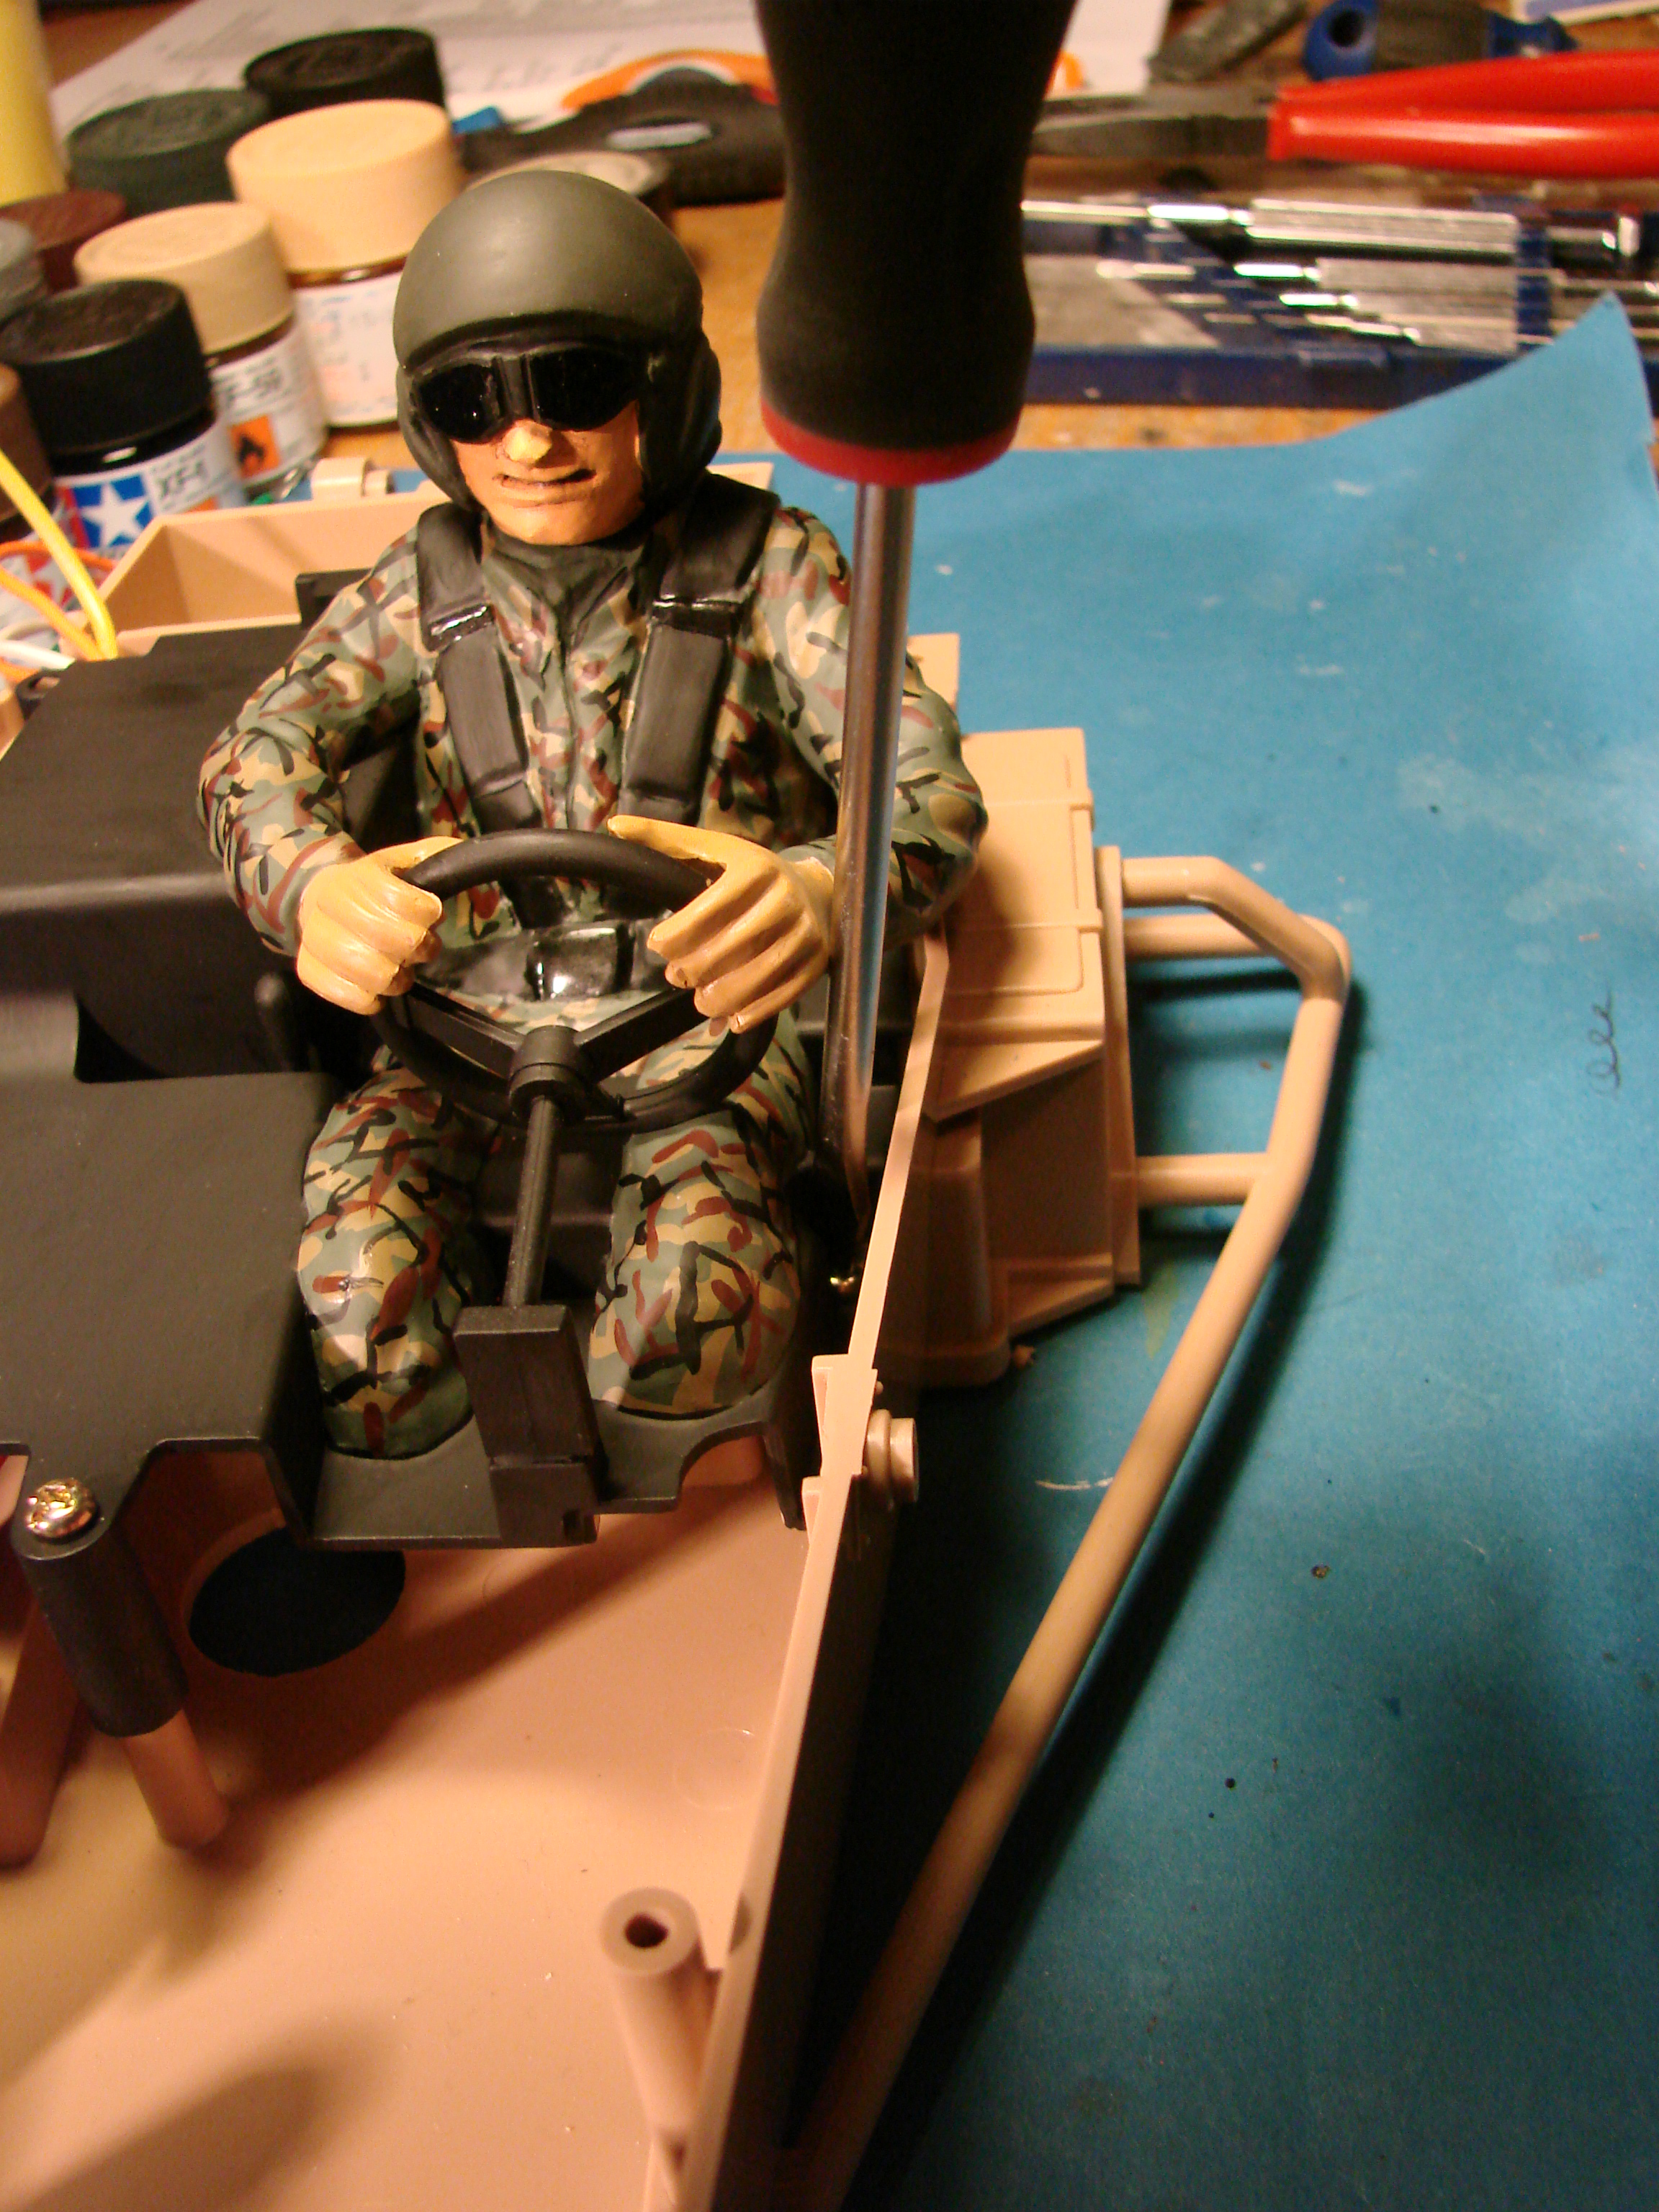
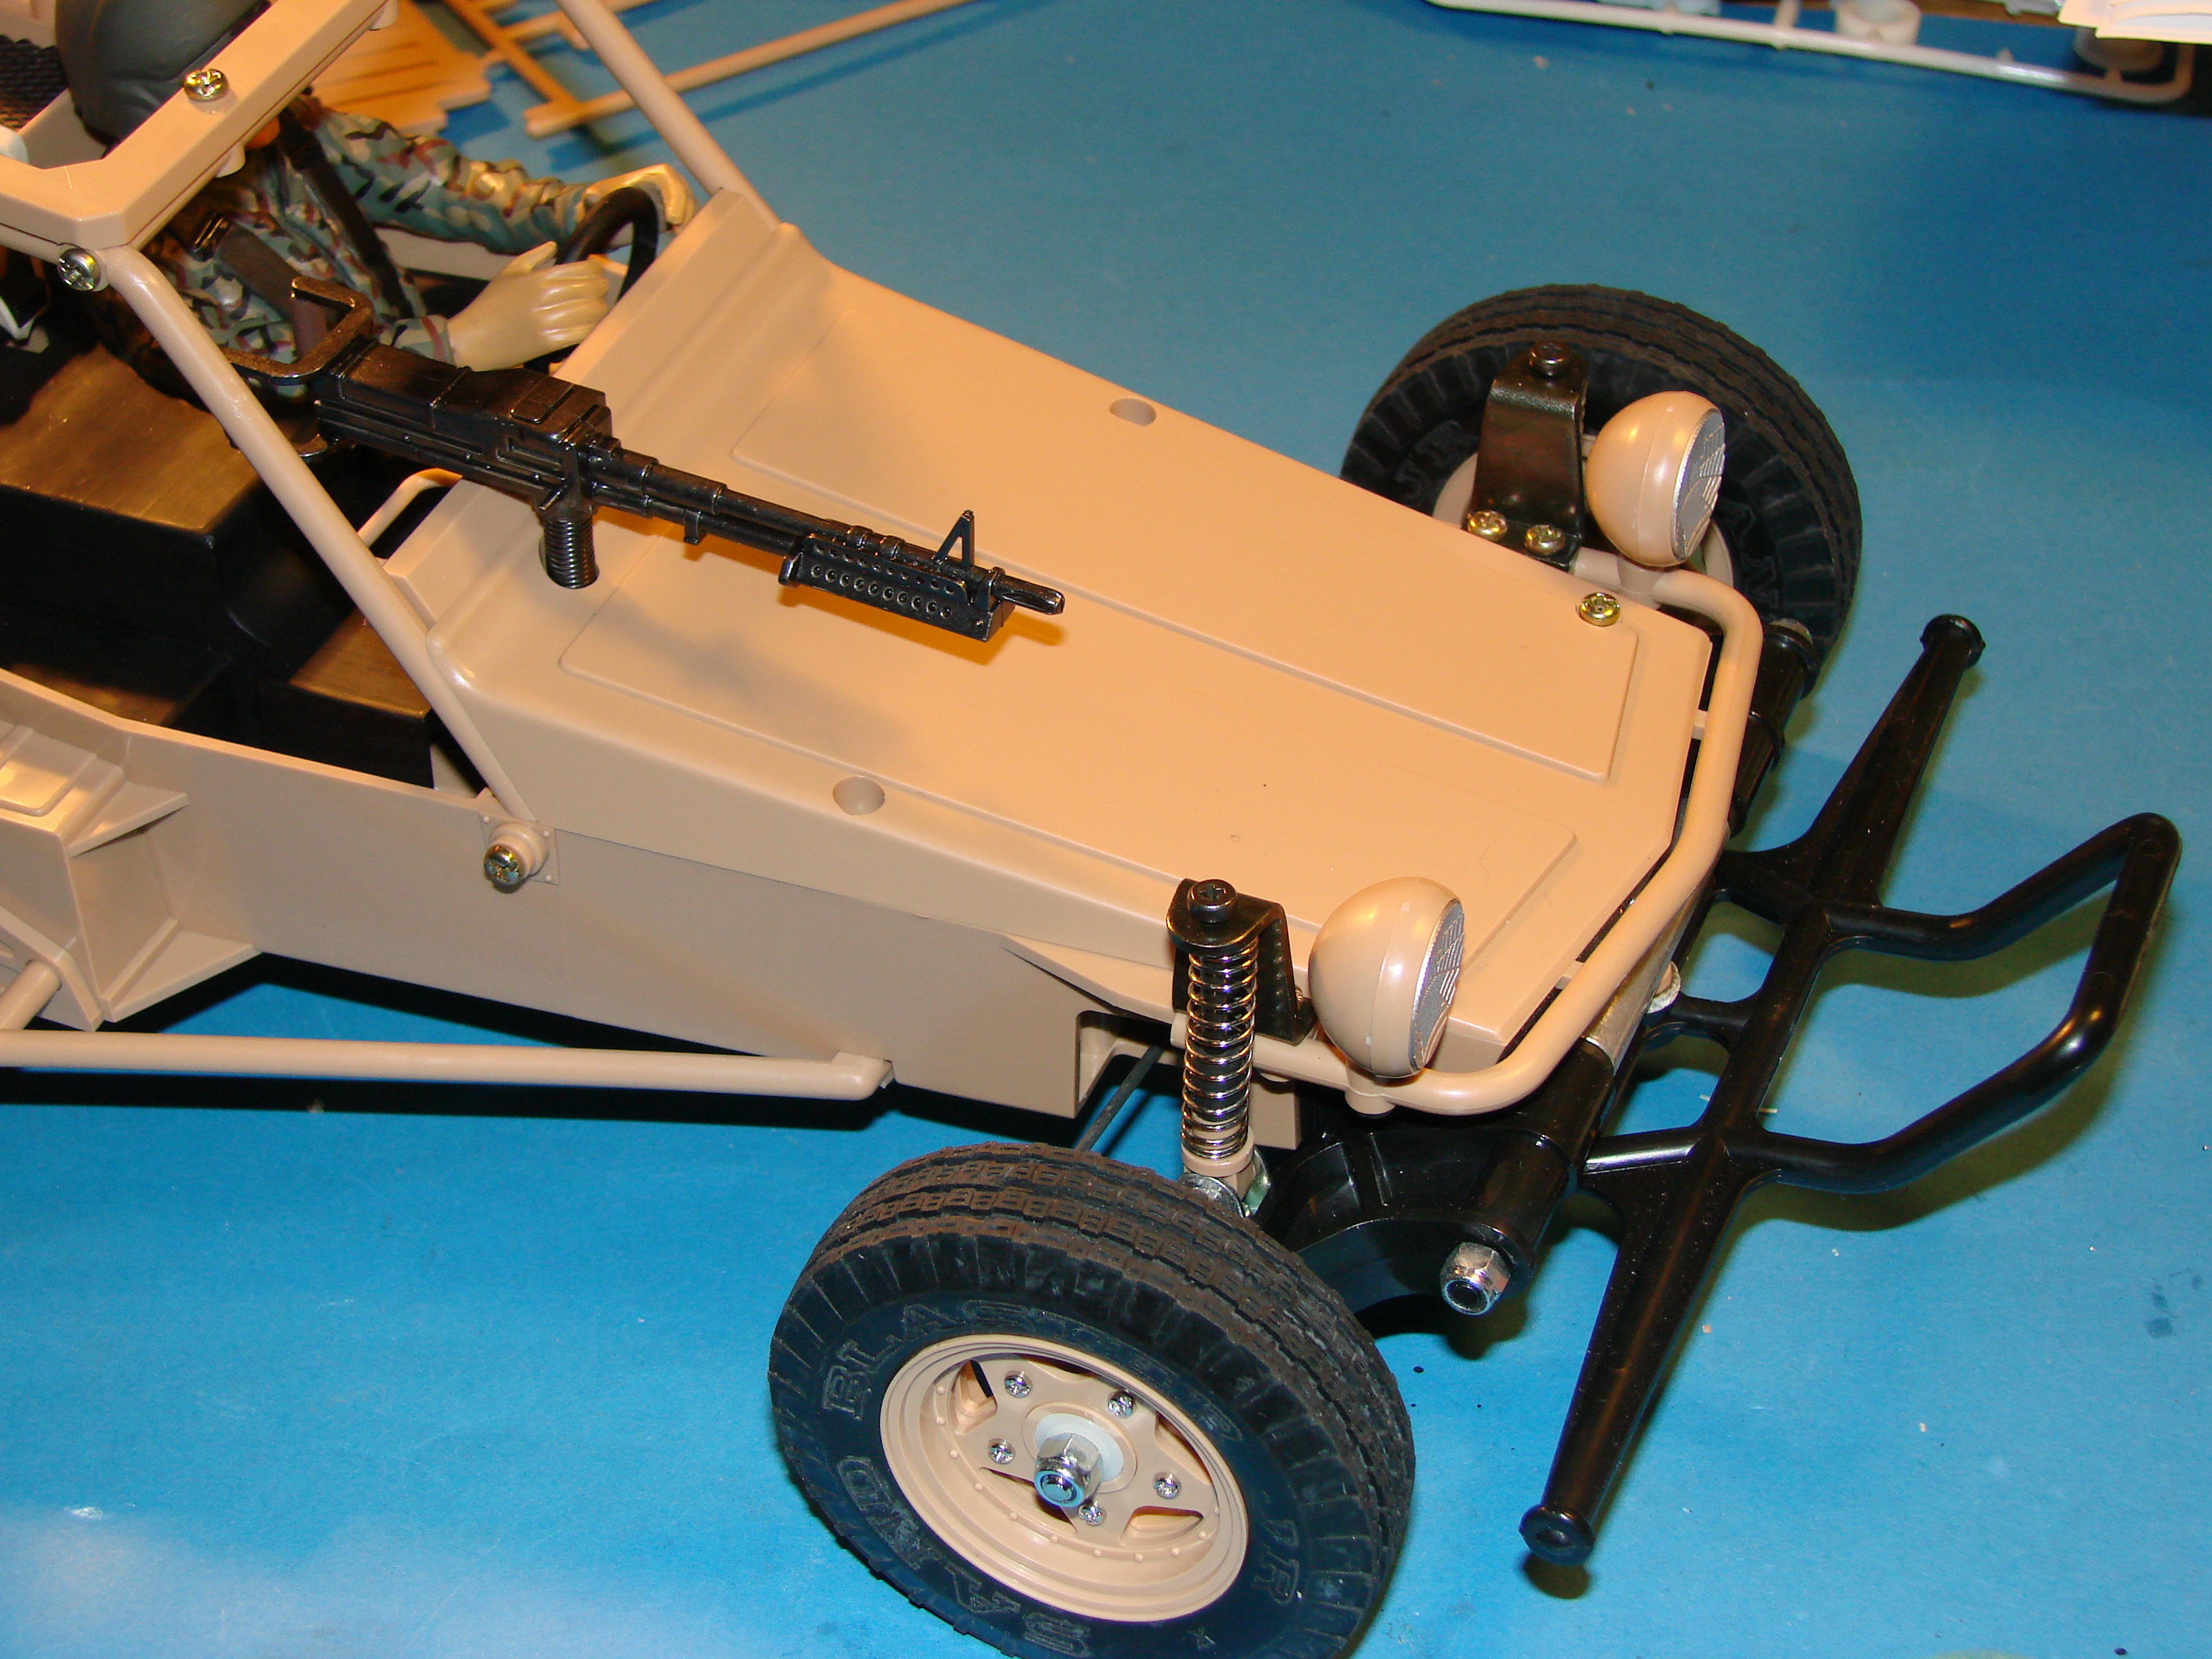
And here he is, finished, ready for mounting to the chassis


-Lars
Signature now gets correct formatting if you edit it in your Profile. Use normal BBcode if you want.
www.tamiyabase.com was formatted automatically.
Last edit: by larbut.
The topic has been locked.

Re: 58046 FAV build, I just cracked my NIB :-0 13 years 1 month ago #654

Next up is item 17 in the Manual, "Attaching Driver Figure":

Not as easy as it looks, because the left screw is below the left arm of the driver. Gentle use of the screwdriver solved it, but I was close to breaking off the arm... :ohmy:


I also painted the "air intake" flat black altough it is not mentioned in the manual.


The rubber band from the kit was long gone, even when it was stored in a plastic bag, so I "made" a new one: I spilt a wide band in two and shortened to half length. Works ok for me.

-Lars
Signature now gets correct formatting if you edit it in your Profile. Use normal BBcode if you want.
www.tamiyabase.com was formatted automatically.
The topic has been locked.

Re: 58046 FAV build, I just cracked my NIB :-0 13 years 1 month ago #655

The driver is done, so it on to the Roll Cage on item 19 and 20 in the manual.

Item 18 i the assembly of the Roll Cage. No probles except minor alignment issues due to the relatively soft plastic in the roll cage possibly had deformed dlightly during storing.


Item 19 is mounting to the chassis.
Again easy. Just make sure you get the lower ends of the bars located at the correct place.


-Lars
Signature now gets correct formatting if you edit it in your Profile. Use normal BBcode if you want.
www.tamiyabase.com was formatted automatically.
Last edit: by larbut.
The topic has been locked.

Re: 58046 FAV build, I just cracked my NIB :-0 13 years 1 month ago #658

Item 20 & 21 in the manual, Assembly of gear case.

Again, quite easy to do, but it requires some care keeping all the cogs int the right place when putting the two halves together.


Item 22 is mounting in the chassis.
Not much to it except the very long screw in the upper mount (3x20mm) I'm not sure why Tamiya makes me screw in all the 20mm... my hands got sore...:blush:


Newt is the rear trailing arms.

-Lars
Signature now gets correct formatting if you edit it in your Profile. Use normal BBcode if you want.
www.tamiyabase.com was formatted automatically.
Last edit: by larbut.
The topic has been locked.

Re: 58046 FAV build, I just cracked my NIB :-0 13 years 1 month ago #659

Items 23 & 24 Rear Arms:

The rear arms are of the same design as the ones on the Frog and slimilar chassis.
The rubber joint boot is actuallay the hardest part to mount.
The trick is (as the manual describes) to use a small amount of greas inside the narrow part of the boot, and then gently press the shaft through.

These are the parts:


and here is the right side assembeled:


The mounting to the chassis can be a little fiddly, but I found it easoer to ount if I removed the joint shafts from the gear box and put into the robber boot.


So, there you are, the shafts are in place:


-Lars
Signature now gets correct formatting if you edit it in your Profile. Use normal BBcode if you want.
www.tamiyabase.com was formatted automatically.
The following user(s) Liked this: stingray-63
The topic has been locked.

Re: 58046 FAV build, I just cracked my NIB :-0 13 years 1 month ago #660

Item 25 & 26 is the motor:

not much to it, except that the manual does not advice where to place the pinion on the motor shaft to make it align to the spur gear. A bit of trial and error is the way to go, watching how the gears fit inside the gear box.


-Lars
Signature now gets correct formatting if you edit it in your Profile. Use normal BBcode if you want.
www.tamiyabase.com was formatted automatically.
The topic has been locked.

Re: 58046 FAV build, I just cracked my NIB :-0 13 years 1 month ago #667

Item 27 and 28 are dampers and the mounting of them.

The "dampers" are simple spring loaded friction types, meaning they are easy to build requireing no filling of oil, etc.

These are the rear damper parts:


And here they are assembeled:


And mounted on the FAV. Also the wires has been arranged and attached to the roll cage.


And finally the rear lights were done.
Painted first:


Assembeled:


and mounted...


-Lars
Signature now gets correct formatting if you edit it in your Profile. Use normal BBcode if you want.
www.tamiyabase.com was formatted automatically.
Last edit: by larbut.
The topic has been locked.

Re: 58046 FAV build, I just cracked my NIB :-0 13 years 1 month ago #668

Item 29 and 30, my vafourites, assembly og wheels and mounting them.

These wheels are rare, and now the front tires are also sought after. The fronts has been reissued with the Buggy Champ, but they don't have the "Mudblaster JR" writing on the tire walls.


After mounting the front wheels, I realised that I would need a steering servo to keep the front wheels aligned:


-Lars
Signature now gets correct formatting if you edit it in your Profile. Use normal BBcode if you want.
www.tamiyabase.com was formatted automatically.
The topic has been locked.

Re: 58046 FAV build, I just cracked my NIB :-0 13 years 1 month ago #671

Closing stages of the build, Item 31 and 32, Hood, gun and battery door.

I painted the machine gun "Gun metal" with "REd Brown" handles (as pr manual)
The gun i smounted with a spring to the hood. A 5mm screw secures the spring to the hood.

Also a dashboard sticker was applied before mounting of the hood.

The parts:


Sticker on, and spring mounted to machine gun.


And there you are, mechanically done:


Next is decaling, which was very simple :cheer:

-Lars
Signature now gets correct formatting if you edit it in your Profile. Use normal BBcode if you want.
www.tamiyabase.com was formatted automatically.
The topic has been locked.

Re: 58046 FAV build, I just cracked my NIB :-0 13 years 1 month ago #672

Final step before cleaing and placing in the cabinet: Decaling.

In this case, only 5 decals to apply, and it's done!


Conclusion:
- frustrating not to have the guts to go for the camo paint job, but without a spray gun I opted for plastic "sand" colur. (I try to imagine it as the desert version...)
- Nice driver figure to paint. Can be done easy or as advanced as you like.
- The model is quite simple, much like the grasshopper.
- The good looks and scale apperance is just great!
Thank you Tamiya!

I hope you like it B)

-Lars
Signature now gets correct formatting if you edit it in your Profile. Use normal BBcode if you want.
www.tamiyabase.com was formatted automatically.
The topic has been locked.
Moderators: caprinutstingray-63AndyAus
Time to create page: 0.211 seconds
Cookies are required to make this site work. If you continue to use this site you permit us to use cookies.