Keyword
  • Page:
  • 1

TOPIC:

Retro Willy 2 9 years 9 months ago #29662

  • Lee
  • Offline
  • Being nuts is NEAT!
  • Being nuts is NEAT!
  • Posts: 28
  • Likes received: 5
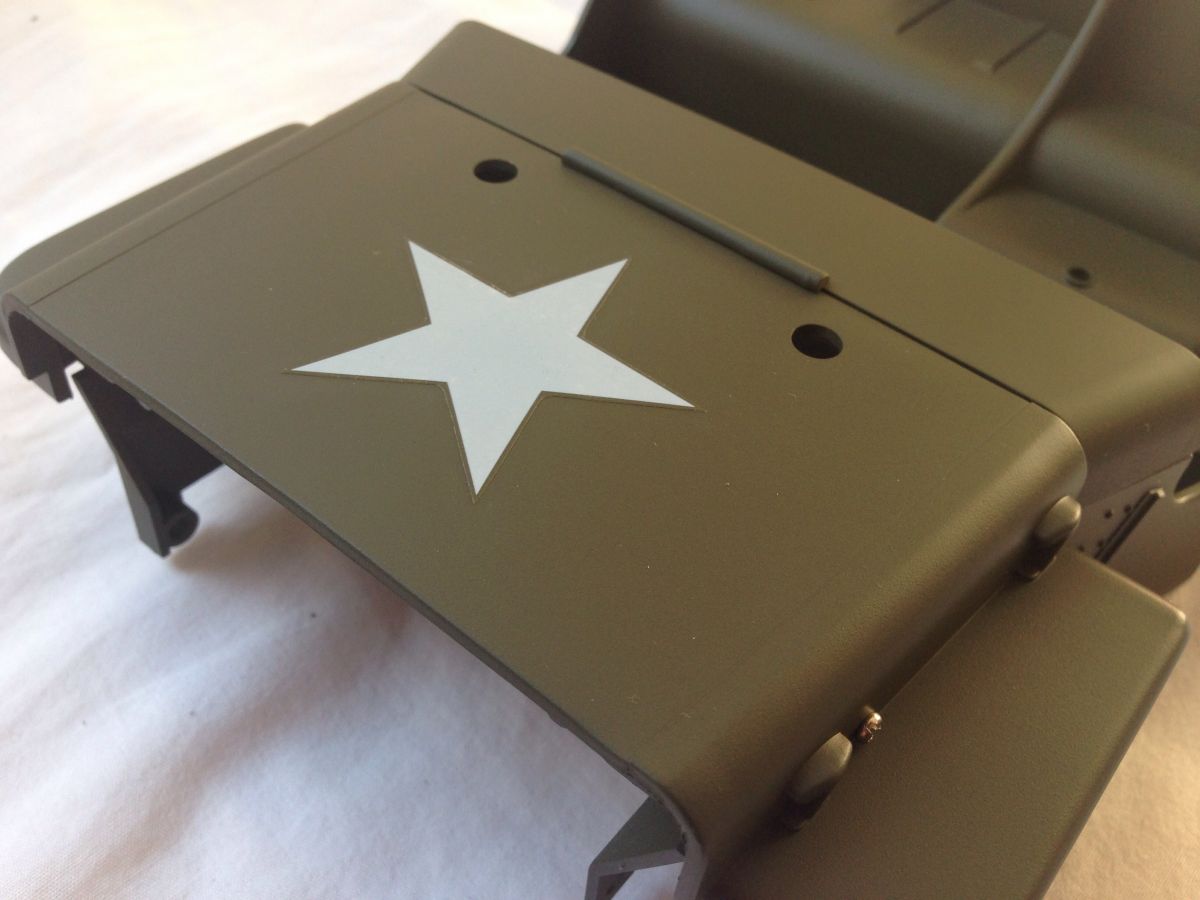
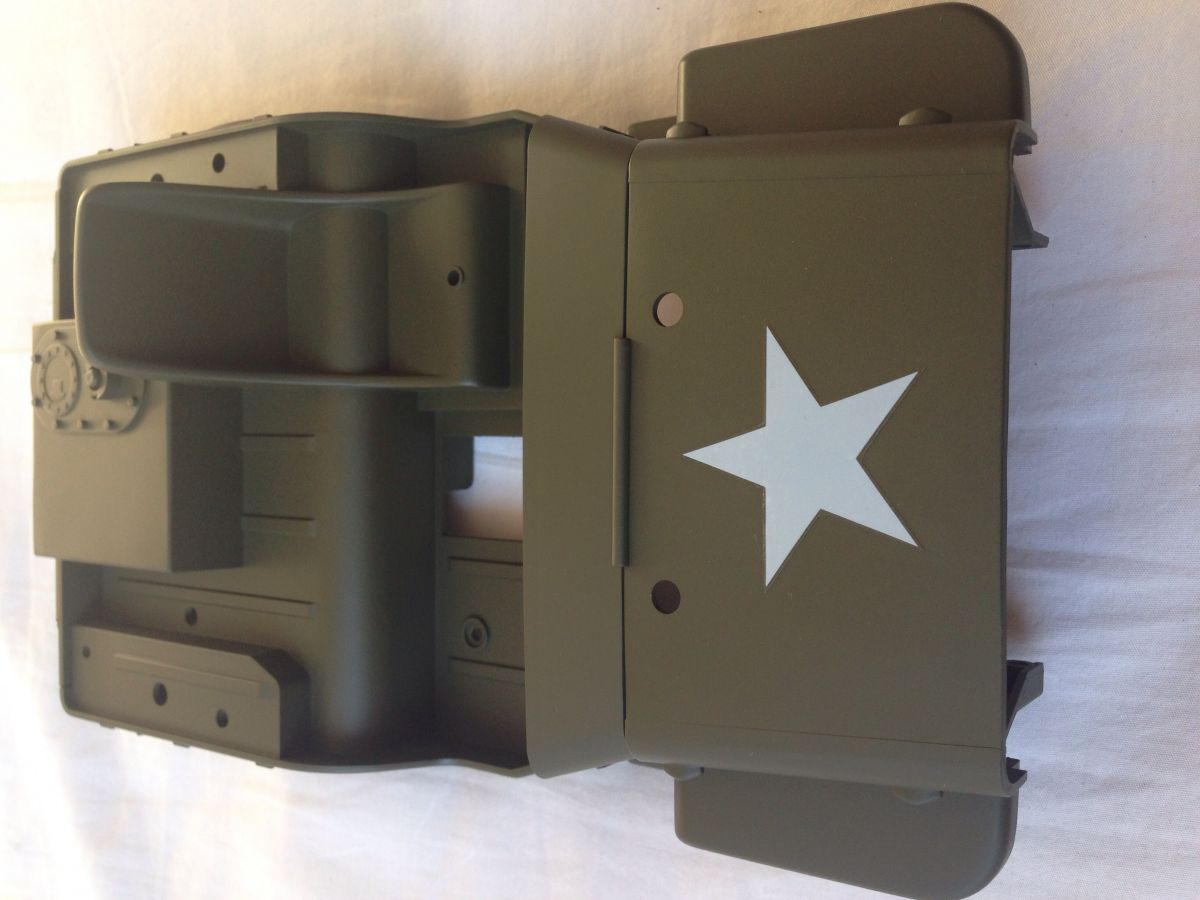
Here's a wild willy 2 shell I've been working on. Why tamiya had to add those troublesome ridges and detailing I'll never know! I'm sure this must have been tackled before but my method (I'm brand new to model building) for removing these parts was quite time consuming. I took most of the "problem area" away with a dremel and small cutting disc, leaving it just proud of the body, this step is relatively quick if you have a steady hand. Next, to remove the remainder I used cheap wilkos emery boards, this worked out well, they're quite ridged and hold their shape so you end up with a nice flat surface. After that I just went over with finer sandpaper to smooth it out. I then primed and painted the shell.
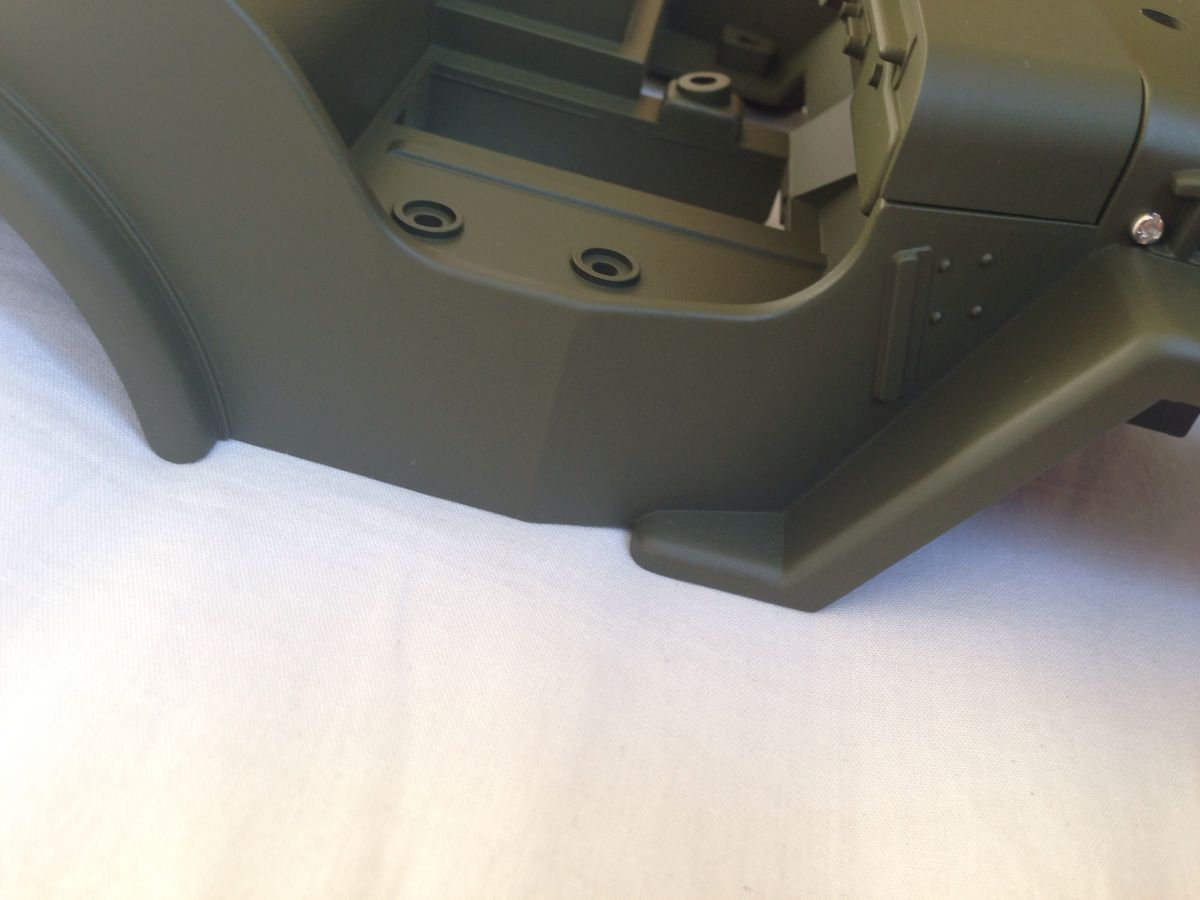
There was a small spot I touched with the dremels chuck, my method for filling was to spray some primer into a bottle cap, allow it to start to dry and thicken then apply it in layers to the effected area, allow to harden then sand down. The outcome is very good as you can see, I'm going to need some pointers on adding the paint detail though, how on earth are people painting the rear arch and aluminium fuel tank top without making a mess?


Attachments:
The following user(s) Liked this: Jonny Retro

Please Log in to join the conversation.

Retro Willy 2 9 years 9 months ago #29663

Looking very smooth :y:
If you can't fix it with a hammer, you've got an electrical problem mate :)

Please Log in to join the conversation.

Retro Willy 2 9 years 9 months ago #29666

Looking good :y:

... I'm going to need some pointers on adding the paint detail though, how on earth are people painting the rear arch and aluminium fuel tank top without making a mess?
...


Umm ... carefully.

Decent paint & brushes (e.g.s new pots of Tamiya XF-85 Rubber black & XF-16 Flat Aluminum, I like Italieri synthetic brushes ATM) & think about how you'll approach the edges - I use a brush right handed, so I'd be painting the right arch from front to back, probably with a number 3 brush (bigger than you'd expect), holding the brush at approx. 45 degrees to the direction of travel, allowing the point to drag close to the edge (rather than right up to it) & aiming to most of the edge in a couple of sweeps. Left arch I'd do back to front. The tank top, probably drop to a #1, and again don't try to paint right up to the edge (where the vertical sides of the top meet the flat top of the rest of the tank), just close to it.

:)


Please Log in to join the conversation.

Retro Willy 2 9 years 9 months ago #29668

  • Lee
  • Offline
  • Being nuts is NEAT!
  • Being nuts is NEAT!
  • Posts: 28
  • Likes received: 5
Thanks Jonny, I wasn't sure whether I should try masking areas but I like your approach better, as long as my hand is steady enough of course. I'll get some tamiya paint and the brushes you recommended and give it a go:)

On another note, does anyone have a decent resolution PDF of the Wild Willy m38 build manual? I'd like to build my retro willy 2 to the same paint/sticker guide as the original.

Please Log in to join the conversation.

  • Page:
  • 1
Moderators: caprinutstingray-63AndyAus
Time to create page: 0.138 seconds
Cookies are required to make this site work. If you continue to use this site you permit us to use cookies.