Keyword
  • Page:
  • 1

TOPIC:

Blakbird's 58414 CR-01 Unimog Build 5 years 8 months ago #51790

Note: This build log is excerpted from my web site . You can check there for larger versions of every photo or further reading.

Prepare for insanity.....

The CR-01 was Tamiya's first dedicated crawler chassis (as opposed to a scale truck chassis) and first appeared in 2008 as the 58405 Land Cruiser 40. It was followed by a couple of RTR versions the same year, and the 58414 Unimog 406 version (pictured here) only 6 months later. Later versions include the 58429 Jeep Wrangler, 58436 Ford Bronco, and the 84411 Toyota FJ Cruiser. All share the same chassis. The 58592 Rock Socker from 2014 is the only version not to include a particular scale body but uses a more generic truck body. Most are still in production as of 2017.
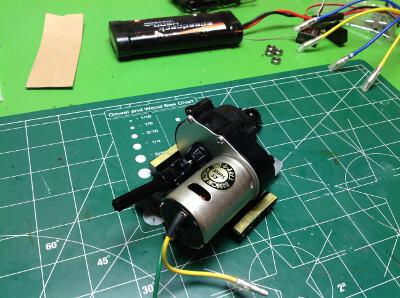
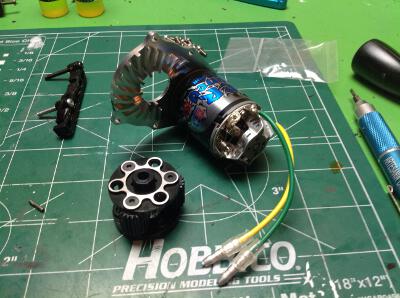
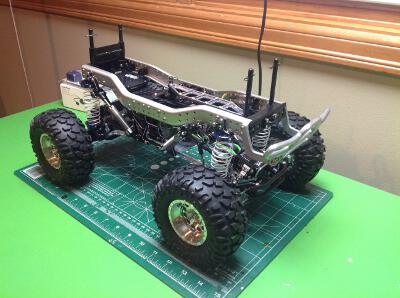
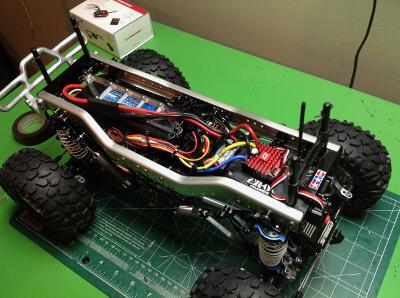
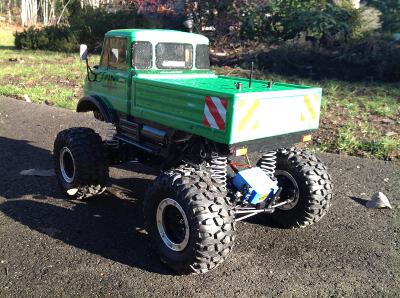
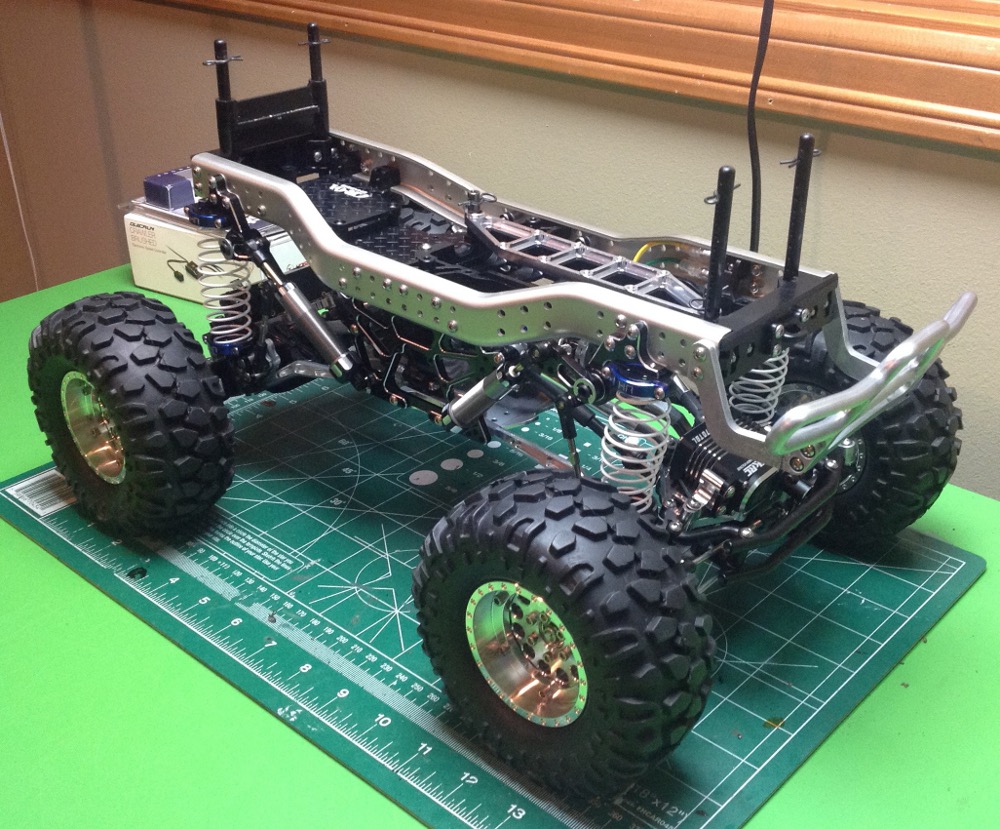
The CR-01 is not a scale model. This is a purpose-built crawler optimized for uneven off-road use. It has full time 4WD with locked (but un-lockable) differentials. It has a low gear ratio with a centrally mounted planetary gearbox. Suspension is 4 link with solid axles. The axles are provisioned for four wheel steering. The chassis uses aluminum ladder frames with tall stiffening side plates. The steering servos are axle mounted. The most unusual feature is the shock geometry. The shocks are located inboard along the side of the frame and connect to the axles via crank arms and push rods. The springs are totally separate from the shock dampers which allows a lot of movement of the axles.

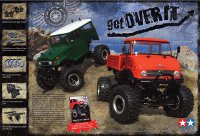
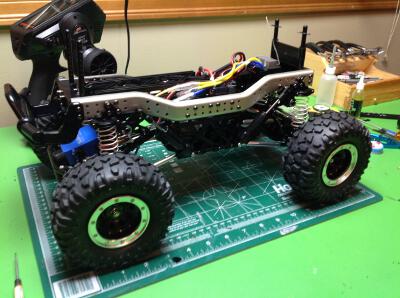
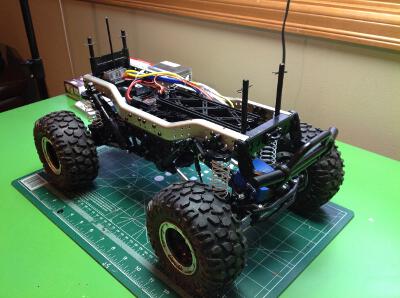
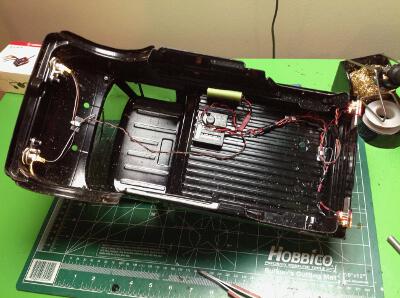
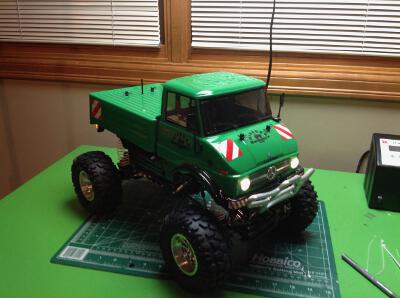
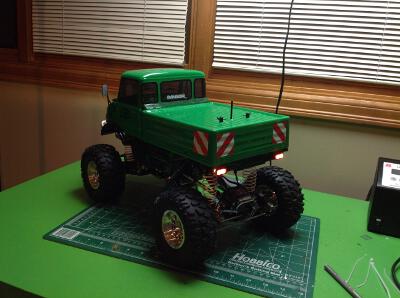
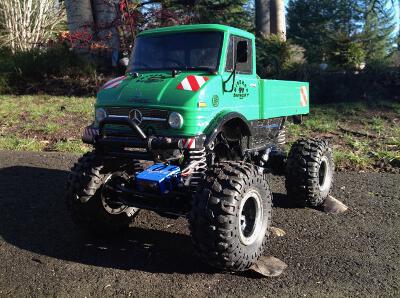
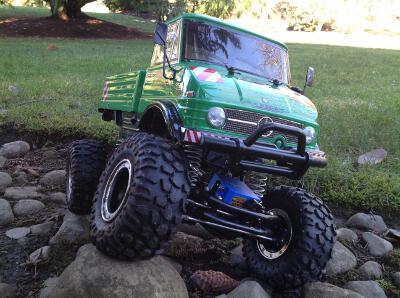
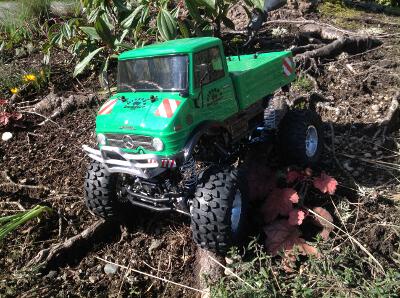
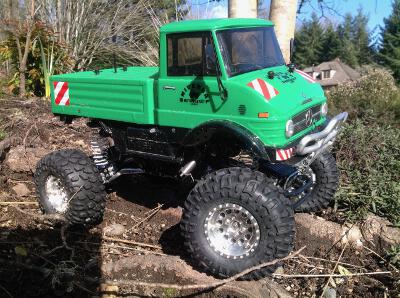
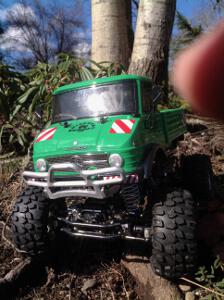
Compared with my other 4x4's, this is generally a more capable crawler. Typical scale trucks are limited by the poor articulation of leaf springs and other scale details. This chassis resembles no real world scale machine and therefore can do what it is supposed to do quite well. The bodies which have been fitted to it over the years are typically much too small for scale which allows lots of room for the tires to articulate without contact, but does not make for a very realistic appearance. That's why I chose the Unimog body. I think it looks perfectly fine being ridiculous.

I upgraded this to the maximum extent possible such that it bears almost no resemblance to the original kit. This made it very expensive but also very awesome. There are less esoteric and probably more capable crawlers on the market, but I like the things which make this uniquely Tamiya.

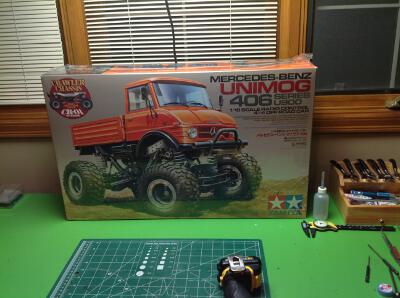
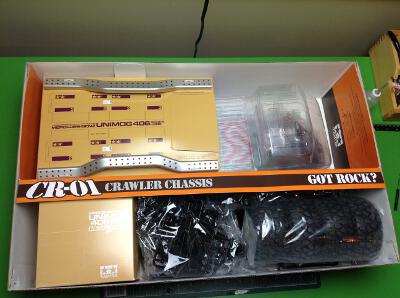
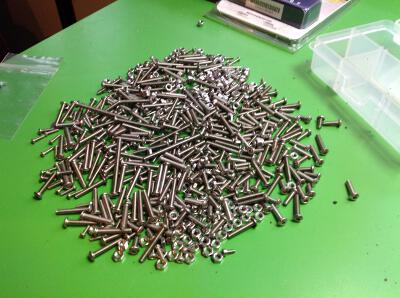
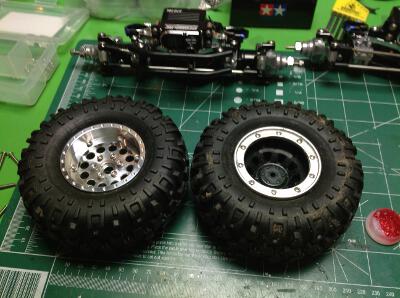
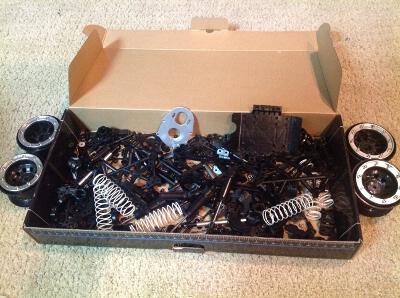
The CR-01, despite being a "newer" model, comes in a box with nice old school art and internal dividers for presentation. When the box is opened you see a smaller box of hardware, the substantial tires, the metal chassis rails, and the clear body.
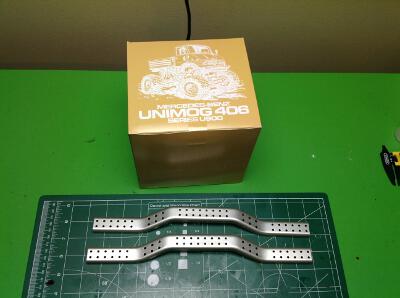
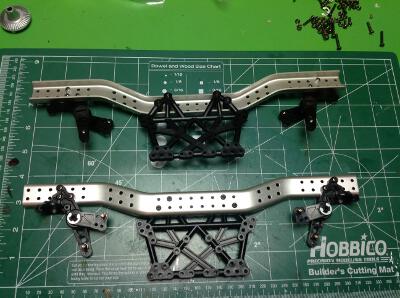
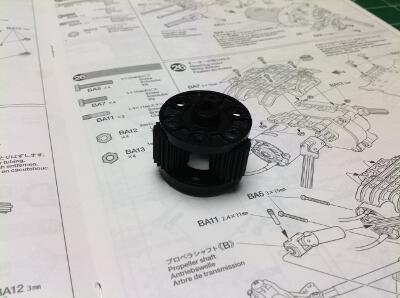
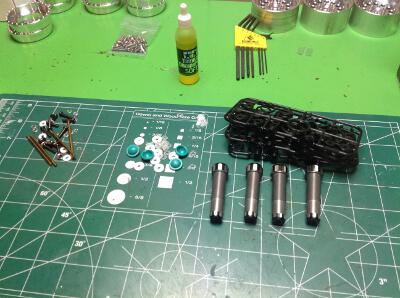
The side rails are really nice formed channels with many drilled holes allowing a variety of mounting options. The box in the back is very heavy and contains all the hardware and metal parts including gears and axles. As usual for Tamiya kits, bags are labelled A through D to correspond to sections of the instructions so you only need to open what you need.
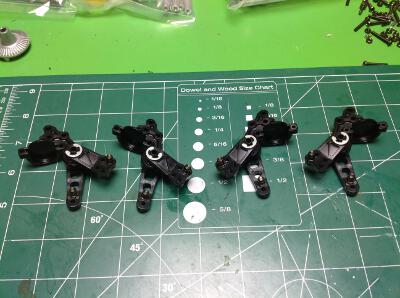
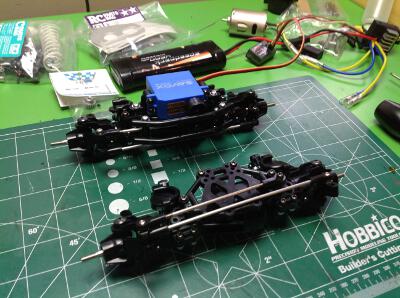
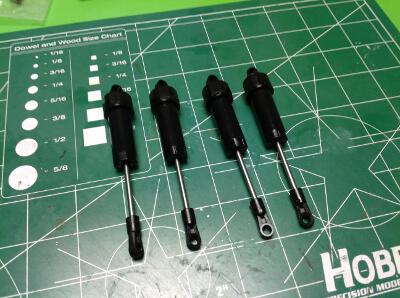
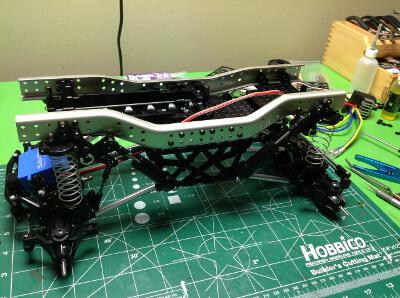
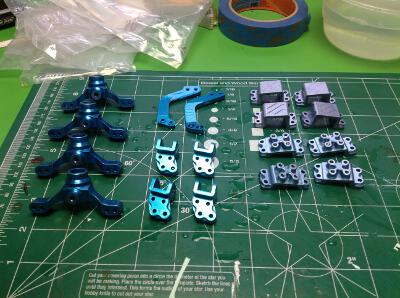
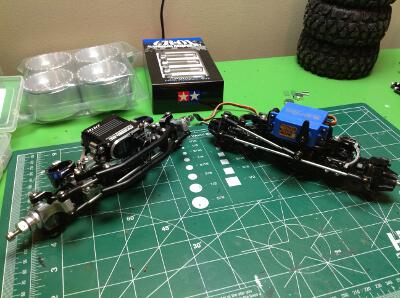
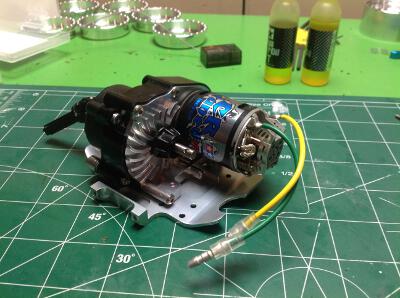
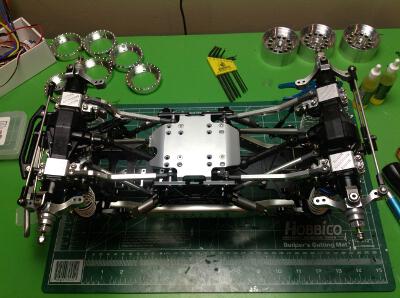
The suspension on this model is very unusual. Instead of having vertical shocks connecting the axle to the frame, there is a vertical pushrod which connects to a two-piece crank arm. The crank arm then attached to the shocks which are mounted diagonally along the frame. The two pieces of the crank are connected via a hex shaft with some clearance in it which results in slop between the arms. I later corrected this by adding a small diagonal link between the arms to lock them together.
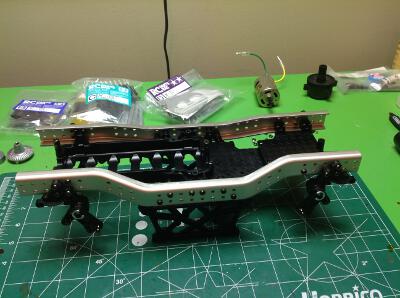
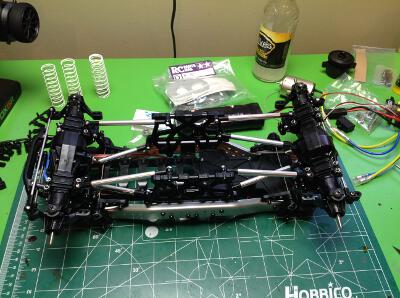
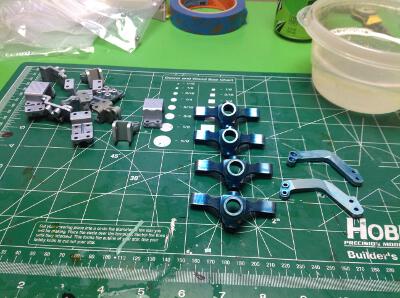
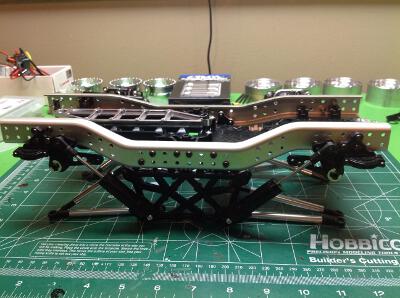
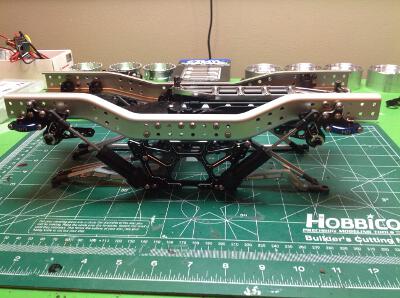
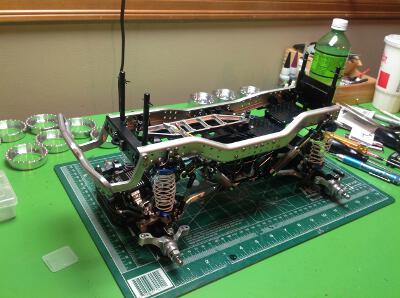
The crank assemblies are attached to the frame rails and so are the plastic side plates. The battery tray and electronics platform serve as cross members. At this point the frame is pretty flimsy because the sides are only connected at the top.

Please Log in to join the conversation.

Blakbird's 58414 CR-01 Unimog Build 5 years 8 months ago #51791

The front and rear axles are identical if you build them with the four wheel steering option. At this point (prior to upgrades) I did front wheel steering only. The model has front and rear differentials, but per the instructions they are built locked. They can be unlocked by removing a set screw.
The 8 suspension links are nice aluminum threaded shafts with plastic ends using large steel balls. The links attach to the side plates of the frame, not to a center member like most other 4-link setups.
The shocks are unusual in a couple of ways. Most obviously, they are installed diagonally on the side of the frame instead of in their usual position. They are driven by crank arms. They have no coilover springs. Instead, the springs are attached separately where the shocks would usually be. Finally, they actually extend as the suspension is compressed which is the opposite of the usual arrangement. The shocks themselves are plastic oil filled units which are not unusual.
Most kits start with the gearbox, but this model saves it until last. The center of the gearbox is a planetary system with three planet gears on a plastic carrier. This is the only stage of reduction apart from the pinion/spur combination which makes for a compact gearbox. The silver can motor is then attached to a metal motor plate along with the drive shaft ends.

Please Log in to join the conversation.

Blakbird's 58414 CR-01 Unimog Build 5 years 8 months ago #51792

When the gearbox is attached to the chassis it connects the frame sides at the lower end and finally stiffens everything up nicely. This is a very durable model. The front bumper and end cross members have also been installed to close out the frame. I've installed a temporary power system to try it out until the last of my upgrades arrive. The body posts will be trimmed to fit the Unimog body.
Wow, that's a big pile of upgrades. Prior to even building this model, I had scoured the globe for every upgrade part I could find with the goal of making my CR-01 entirely metal. I was inspired by a build on the Tamiya Club forum by Speedy. His build was in 2014, and since that time a large number of the upgrade parts have gone out of production so sourcing them was very difficult. In the left image below you see aluminum parts, a power system, magnificent servos, beadlock wheels, a high power BEC, and everything else I could think of. The one holy grail I was never able to find is the aluminum axle housings. The right hand image shows the contents of the RC Screws stainless screw kit. Installing these meant I had to pretty much tear the entire model down to kit form and start over. It was fun.
One of my main challenges was finding parts still available. GPM has long since stopped making CR-01 parts, but their parts were high on the list of things I needed. I was able to find an assortment of their out of production parts but only with blue anodize which is not what I wanted. Stripping the dye begins with soaking the parts in "Greased Lightning" cleaner for a few minutes, rinsing, and repeating. I went through about a gallon of cleaner for all these parts.
Here you can see my mixed results. The left hand image shows the parts after the first rinse. A few of the parts have almost total dye removal, but other parts like the steering hubs look almost like they did when I started. The right hand image shows the parts after the third rinse. Some are close enough to call done, but those hubs are still stubbornly holding onto their dye. I let the parts soak while I went to lunch which was a bad idea. The cleaner started attacking the base metal causing corrosion and pits.
Even after the dye is removed we're not quite done. The cleaning process resulted in a flat, dull surface which is not good enough for the kind of bling I'm looking for. I spent the day with a Dremel polishing wheel and some automotive wheel polishing compound shining up all the parts. It took pretty much the entire day, but I'm happy with the results.
The following user(s) Liked this: stingray-63

Please Log in to join the conversation.

Blakbird's 58414 CR-01 Unimog Build 5 years 8 months ago #51793

My upgrade strategy was to disassemble the model into modules by following the instructions in reverse order, upgrading as I went along. The first thing I tackled was the axles. Front and rear axles are the same on this model, so I upgraded one and compared it with a stock axle. Aluminum upgrades include c-hubs, steering arms, shock mounts, spring supports, wheel hexes, and servo tray. I replaced the Savox 208 oz-in servo with a Protek 650 oz-in aluminum servo, the highest torque unit currently available as far as I know. I admit that appearance was at least as big a factor as torque in choosing this (very expensive) servo. I also added a Yokomo aluminum servo horn to handle all that torque.
The left hand image shows the stock frame with a plastic side plate, plastic shocks, plastic crank arms, and aluminum suspension links. The right hand image has added aluminum side plats and crank arms. I've also replaced the lower suspension links with bent arms which increase ground clearance.
Next comes the shocks. The stock shocks are not bad, they are oil filled plastic dampers. I replaced them with Tamiya aluminum dampers made specifically for the CR-01. These are really high quality aluminum body shocks with Delrin pistons and titanium nitride coated shafts.
Time to dig into the gearbox. Probably the most useless (and hidden) aluminum upgrade was the aluminm planet carriers, but it sure did look nice for the few minutes I could see it. The left hand image shows those planet carriers as well as the new motor mount and CR Tuned motor. This motor was a huge improvement in smoothness and quiet. In the right hand image I've added the aluminum center link mount and skid plate along with aluminum gearbox mounts.
The following user(s) Liked this: stingray-63

Please Log in to join the conversation.

Blakbird's 58414 CR-01 Unimog Build 5 years 8 months ago #51794

Time to start making it look like a truck chassis again. The left hand image shows the axles attached to the frame with the new bent lower links, shocks, and barrel springs. The shock links (vertical links going from the axle up to the shock crank) are titanium. The front bumper has also been added. In the right hand image the center gearbox has been installed. You can also see the aluminum battery cover.
Rather than the very expensive and hard to find Tamiya upgrade drive shafts, I went for some steel telescoping CVDs from JunFac. I am pretty happy with the quality and appearance. The right hand image shows a bottom view of the chassis with all the shafts and links installed. Gorgeous! I like the mix of black and silver.
The stock wheels are actually pretty nice looking plastic beadlocks, but the aluminum beadlocks I replaced them with are even better and help to lower the center of gravity.
This pair of images compares the before and after upgrade chassis. From 20 feet away, you may hardly notice the difference. However a closer look reveals that virtually everything is now metal. We've added quite a bit of weight, but that's just fine for a crawler. Many of the metal upgrades do little to nothing for performance, but the shocks, barrel springs, servos, and tuned motor really made this a top performer. I love how it drives now.

Please Log in to join the conversation.

Blakbird's 58414 CR-01 Unimog Build 5 years 8 months ago #51795

The left image shows how many new stainless screws were left over. Some of these were just extras, but many others are due to the fact that the upgrade aluminum parts use different fasteners. The right hand image shows all the parts which were removed and replaced from the stock CR-01. This box would build almost a complete second kit.
The final step is to install the electronics. I used a Hobbywing Quicrun brushed controller which is super smooth along with a Castle 15A BEC to handle the current demands of those huge servos. It all works great. I was very careful to be neat with the wiring so that it does not detract from the appearance. The right hand image shows the TLU-01 light control unit and the LED wiring. Lights always do a lot to improve the scale look of a model, although this chassis is certainly nothing like a scale Unimog.
Once the body is on you would hardly know how much work into this model, but I know and it puts a smile on my face every time I drive it. Everything I installed is waterproof (except the light controller) so this is a model I am comfortable using in any terrain or weather.

Please Log in to join the conversation.

Blakbird's 58414 CR-01 Unimog Build 5 years 8 months ago #51796

These photos were taken prior to all the aluminum upgrades, but they do a good job of showing the body and the capabilities of the suspension.
The following newer photos show the fully upgraded chassis.

Please Log in to join the conversation.

Blakbird's 58414 CR-01 Unimog Build 5 years 8 months ago #51797

I better give you a bigger view of that chassis .....


Attachments:

Please Log in to join the conversation.

Last edit: by blakbird.

Blakbird's 58414 CR-01 Unimog Build 5 years 8 months ago #51804

All these options give a pure look.

Please Log in to join the conversation.

Blakbird's 58414 CR-01 Unimog Build 5 years 8 months ago #51850

That's a badass looking chassis, cool with all the options!
Signature now gets correct formatting if you edit it in your Profile. Use normal BBcode if you want.
www.tamiyabase.com was formatted automatically.

Please Log in to join the conversation.

Last edit: by larbut.
  • Page:
  • 1
Moderators: caprinutstingray-63AndyAus
Time to create page: 0.493 seconds
Cookies are required to make this site work. If you continue to use this site you permit us to use cookies.