|
|
Hi,
This car has been waiting too long for his restoration....Finally i decided that the time arrived to give my Twin Bruisers (Red & Yellow) a new brother ! 
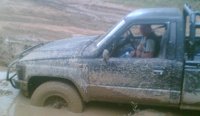
Unfortunately i don't have any pics of the car when i recieved it. I bought it from e-Bay more or less 1 year ago and he was in a poor shape..at least the body. The read bed was so dammaged and drilled, that the only solution was to get a re-re bed. Well this is only until i'll find a vintage bed to an affordable price. 
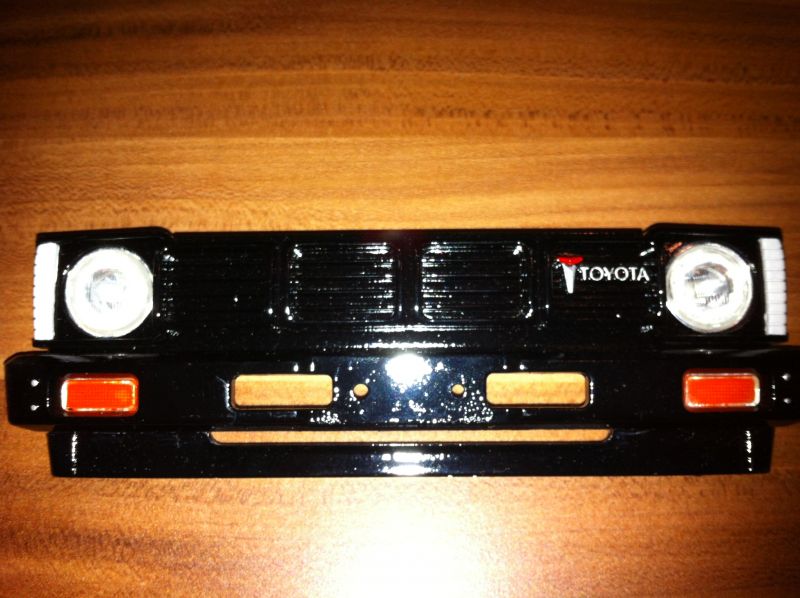
I started with the front body part...sanding and filling the scratches and repairing the craks After sanding everything, the paint job could start. 
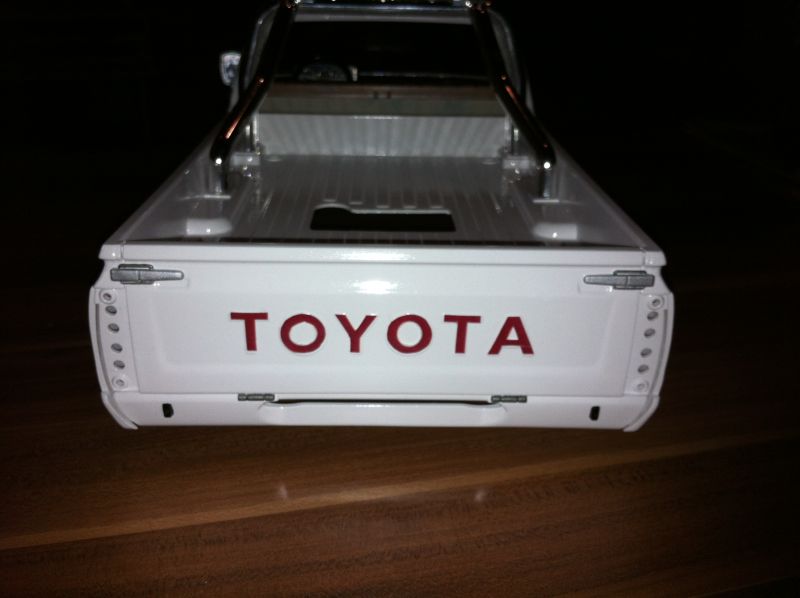
Let's have a look at the re-re rear bed Filling up the side lights..i just wanted to keep is as close as possible to the original shell from 1992 Masking with special tape all the window rubbers and painting them
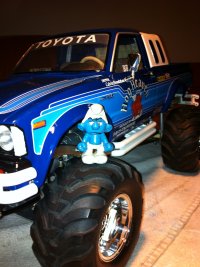
 Check the result ! Proud owner of the Bruiser Family
|
|
Please Log in to join the conversation. |
At the beginning i wanted to paint it box art like. So i started looking after good repro decals and couldn't find ones that were good enough for me for a reasonable price. A few time ago as my wife "obliged" me to got shopping with her, with a formal ban to go to a modellers shop , i found special water resistant glossy paper with a small software to create stickers ! Of course i had to buy it, which i did. After looking on the internet for nice ideas, i decided to create a mix of original decals and modern ones. Have a look at the result Sorry for the bad pic ! The TOYOTA letters still need to be improved... I'm working on something new in order to cut them off..let's say more professionnaly ! The finished front grill Proud owner of the Bruiser Family
|
|
Please Log in to join the conversation. |
More pictures of the finished project will follow shortly, i'm still working on small details !
In the mean time let's have a look at the frame and other parts. Complete dissasemble, cleaning and fitting ball bearing everywhere, gearbox, axels and steering knuckles. Complete strip off Gearbox dissasembly A little bit too greasy, i know but it works pretty fine like this The front axle The rear axle Proud owner of the Bruiser Family
|
|
Please Log in to join the conversation. |
Now it's time to rebuilt it.
As i wanted to keep the "vintage" spirit alive, i kept the MSC and the 3 servos layout. Motor & transmission mount ( still waiting for the Gearbox rubbers i ordered ) Painted front bumper in "chrome art" I found NIB Original Mountaineer rims for almost nothing...you can imagine that i instantly ordered them. I was looking for better ones than the car came with, and after asking a quote to the e-Bayer seller he just told me that he had NIB rims & tires and that for 15 Proud owner of the Bruiser Family
|
|
Please Log in to join the conversation. |
|
Great car, and really nice resto!!! Man i do love this car
Cheers, Bram Restoring Countach 58005
Restoring 58015 RR Restoring 58098 F40 Restoring King Cab and Monsterracer Restoring Audi Quattro rally Restoring Mk.1 Sand Scorcher Restoring Porsche 936 |
Please Log in to join the conversation. |
Very nice, I always loved the amount of effort that was put into these butes, leaf springs, gear boxes and diff's ! Did you clear the body after you applied the decals?
If you can't fix it with a hammer, you've got an electrical problem mate
|
|
Please Log in to join the conversation. |
Hi Andyaus, Thanks for your post. Well yeah i put a few coats of clear coat after applying the decals. I had to do several tests before because the Tamiya clear coat laque attacs the Tamiya Enamel paint i applied on the body for detailing. I tried several brands, even some from the car industry without any satisfiying results. I finally found a good one from a Supermaket that has almost no reaction with Enamel paints. I also had to pay attention to decal sheet i had to use in order to resist at this clear coat. In fact i got some plastified paper, specially made for outdoor stickers but wich i had to print on a colour laser printer. Proud owner of the Bruiser Family
|
|
Please Log in to join the conversation. |
Nice, the Mounty is my favourite of the old 3-speeds!
Gearbox - ballracing the ends of the main shafts is a good idea, ballracing the intermediate bits isn't, neither is greasing - the intermediate sliding components NEED to be a rattle-fit & lubricated only with thin oil, otherwise you'll get difficult/clunky gearchanges & "missed gears". The "clunkiness" & gear-grinding shocks can be transmitted to other weak components & give trouble like stripped wheel drive hubs, loose UJ grubscrews & stripped selector servo gears. Another thing to keep an eye on is the tightness of the screw that holds the shaft for the transfer/drop-gear to the front propshaft output - if this comes loose (Which it will unless threadlocked) it'll make a mess of the 3x drop-gears for 1st/4wd. One of the most important bits to ballrace is the shaft that passes through the gearbox web - this needs to be made more rigid to hold the secondary shaft (1st & 2nd gear clutches) in-line, or else one end of it (7 1x end of primary shaft) will always be flapping about. The gears are interference-fitted to the shaft & will need some suitable tubular drifts & a vice to remove them. Of course, this would only be a problem if you intend to use it a lot!
Custom F2
...
Hilux crossmember drawing
...
F2 axle drawing
...
Quattro radio lid
...
Holiday Buggy motor bracket drawing
...
Quattro resto
...
HitnMiss engine
...
Wild Willy resto
...
Mardave Cobra resto
...
Thunder Dragon resto
...
Grasshopper resto
...
XR311 resto
...
Modded XR311
...
Carbon 25th scratch build
|
|
Please Log in to join the conversation. |
|
|