Keyword

TOPIC:

Richard's Bigwig resto project. 2 years 4 months ago #69540

I'll take that 

PM incoming 
The following user(s) Liked this: stingray-63, jord001

Please Log in to join the conversation.

Richard's Bigwig resto project. 2 years 4 months ago #69673

Today I ordered a few parts from Tony's Tamiya parts on ebay.
Don't think they will turn up before xmas, but I could be lucky..
The following user(s) Liked this: stingray-63

Please Log in to join the conversation.

Richard's Bigwig resto project. 2 years 4 months ago #69674

With a little luck..   if it is like for France, a week should be good.
The following user(s) Liked this: jord001

Please Log in to join the conversation.

Richard's Bigwig resto project. 2 years 4 months ago #69739

Today I started with polishing the gearbox casings.


More parts


Appling polish to more parts. I'm using Auto Glym Super Resin Polish btw


That's them done


I might swap out the lower arms due the road rash.
Box of spare parts includes some suspension arms, just have to look to see what I have.
Good thing, there is no crack or broken bits on these at all..


That was all I had time for today.
Been ME ill the last couple of days, the whole week actually, but especially the last couple of days, so I need to rest a bit more than I have lately.
The following user(s) Liked this: Jonny Retro, stingray-63, Al, 1972 LeMansGT Jim, Lemsko, silvertriple, jord001

Please Log in to join the conversation.

Richard's Bigwig resto project. 2 years 4 months ago #69772

The MSC from JR arrived this morning.
Thank you very much mate 

The following user(s) Liked this: Jonny Retro, stingray-63, Al, jord001

Please Log in to join the conversation.

Richard's Bigwig resto project. 2 years 4 months ago #69779

Dude! In very good state. Top. I can't send you the pict for  the body. But I don't forget you. 
The following user(s) Liked this: caprinut, Al, jord001

Please Log in to join the conversation.

Richard's Bigwig resto project. 2 years 4 months ago #69831

I have ordered these 2.5mm silicone wires with glassfibre sleeves for the worn battery wires.
These are the ones that is the most similar the orginal ones with white shielding and braided sleeves.
My choice was 1m of red and black so I should have plenty for other projects.

www.ebay.com/it...%7Ciid%3A1

Will also order new motor bullet connectors if I can't find them in my parts bin.
I know i bought that kit (#50245) and back then the tool was included.

For the look I think I will still fit a new Tamiya battery connector as I plan to use 8.4V Nimh battery with this one for nostalgic reasons.
My LHS have several to choose from.

Won't be any rc wrenching for a couple of days as I must get things ready for xmas.
Our big day is Christmas Eve so I have only today and mid day tomorrow to get things sorted.

Anyway I will wish you all a Merry Christmas 
The following user(s) Liked this: Jonny Retro, stingray-63, Al, 1972 LeMansGT Jim, silvertriple, jord001

Please Log in to join the conversation.

Richard's Bigwig resto project. 2 years 4 months ago #69842

I have the body Richard. I'll take you some picts tomorrow or next week
The following user(s) Liked this: caprinut, 1972 LeMansGT Jim, jord001

Please Log in to join the conversation.

Richard's Bigwig resto project. 2 years 4 months ago #69915

Did some more work today.

Since Christmas Eve it has been pretty cold here at -10C - -17C and my mancave is not heated so first task was to heat up the room some before work.
Being so cold and being that I wanted to clean the old wheels I filled a container with hot soapy water.
Hot water tend to get cold after a short while so I opted to fill my hot water ketttle and filled the container with most of the watter.
Then I let the wheels sit for 20-30min in the hot water.
To my surprise the tires popped off the bead without problems.
Due the hardness of the old tires I opted to cut of the thread part and then took off the sidewalls afterwards. Wad a bit more finger friendly.
After that I scrubbed them with a kitchen sponge.

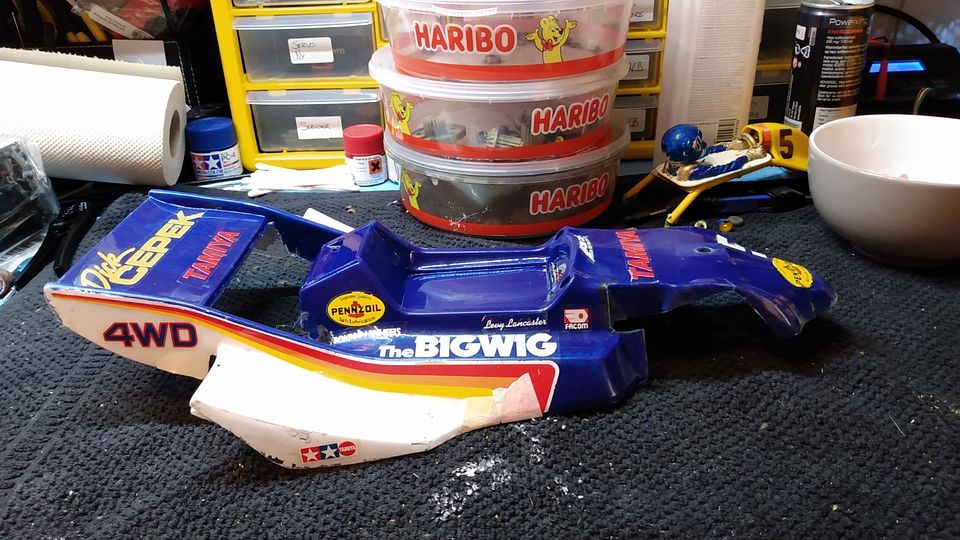
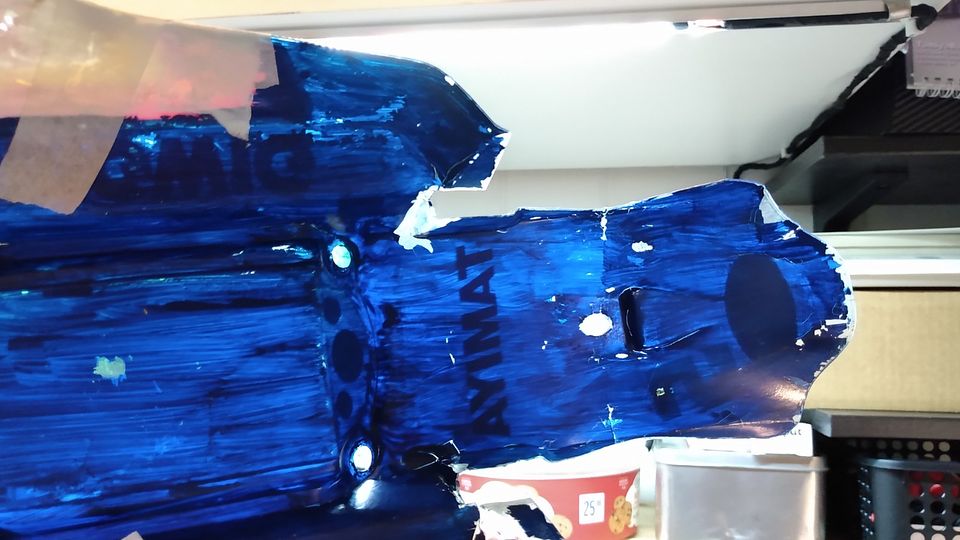
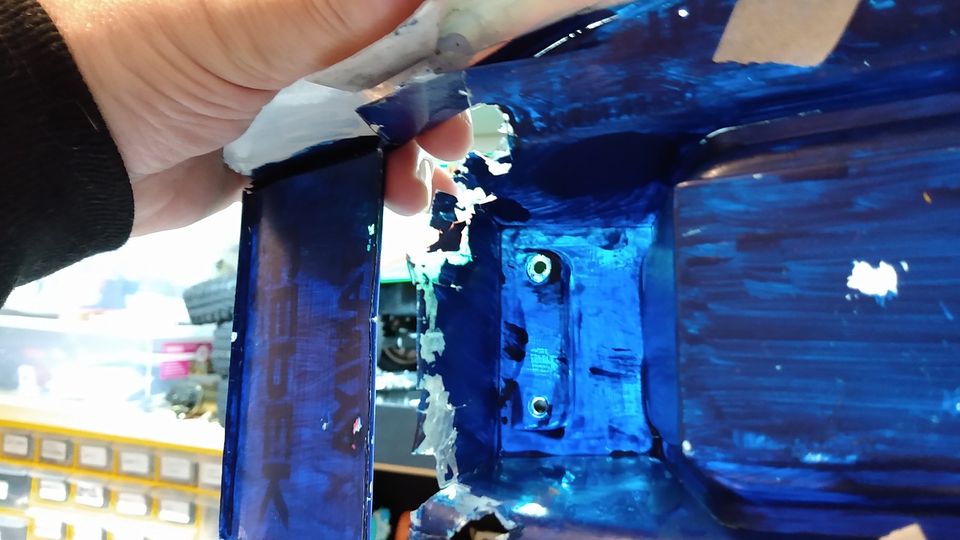
While the wheels was cooling off, I started to clean the body using a plastic cleaner.
Side decals has started to lift at at bottom so these was glued down and taped in place.


This body was hand painted by my mate at young age so the quality is not the best.
Missing bits of paint was painted after this picture.


This will later be my runner body so this damage will be repaired.
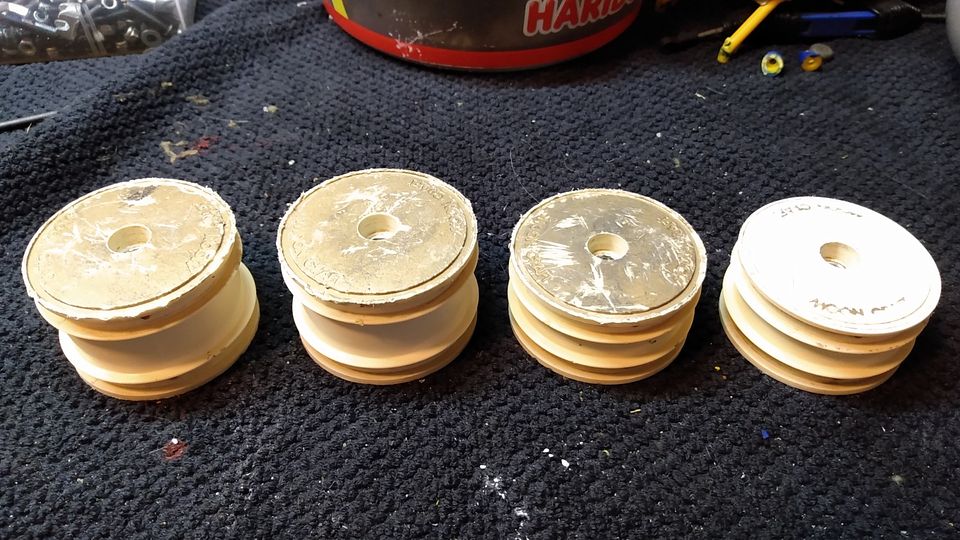
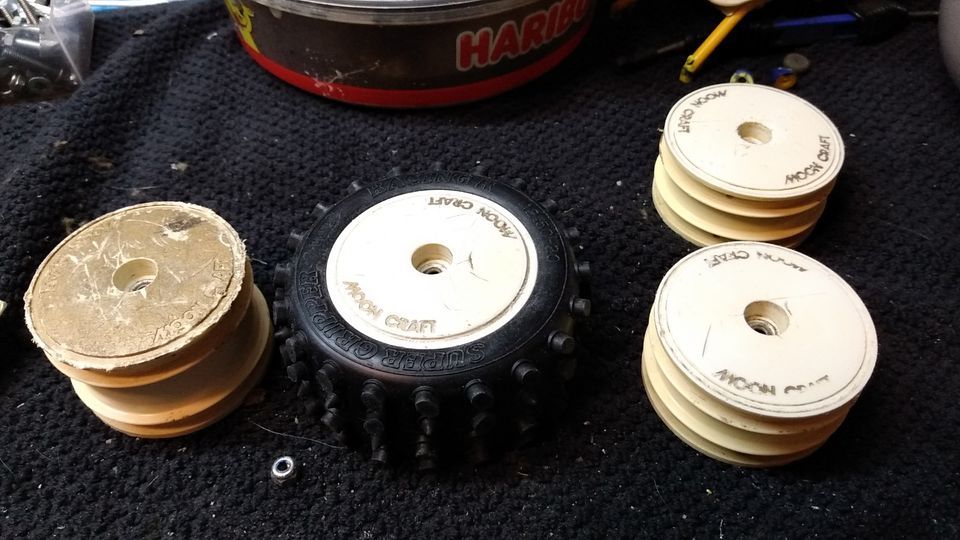


Back to the wheels.
All of them has deep rash on them, but I will try to make the best out of them
Started with the right one as seen here.


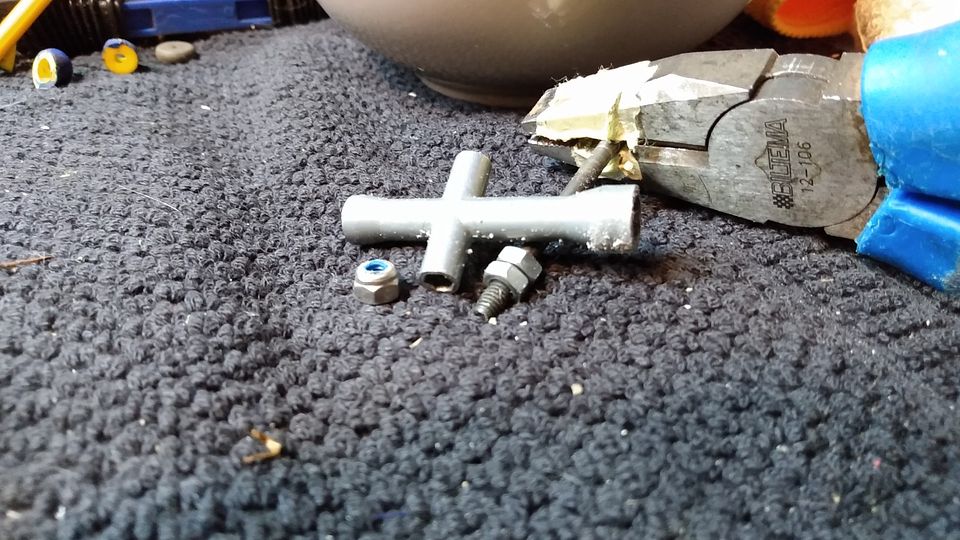
Hand sanding is a pain on round stuff.
So my method is to use a M4 bolt, some nuts and then a locknut, and then secure it to a drill.
My weapons is hobby knife, files and sandpaper.


The outer lip on the rear wheels was too damaged, so I had to remove them.
Looks a bit strange as here testing with the tire.
I might do like JR, adding a lip of styrene and then turn down to proper size


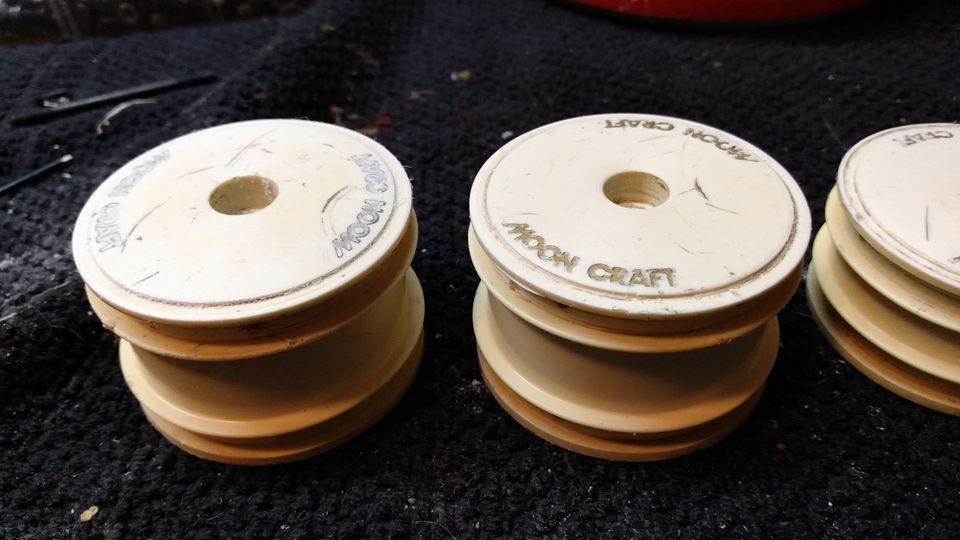
This was as far as I deared to go without removing the Moon Craft lettering completly.
Rear ones


Front ones.


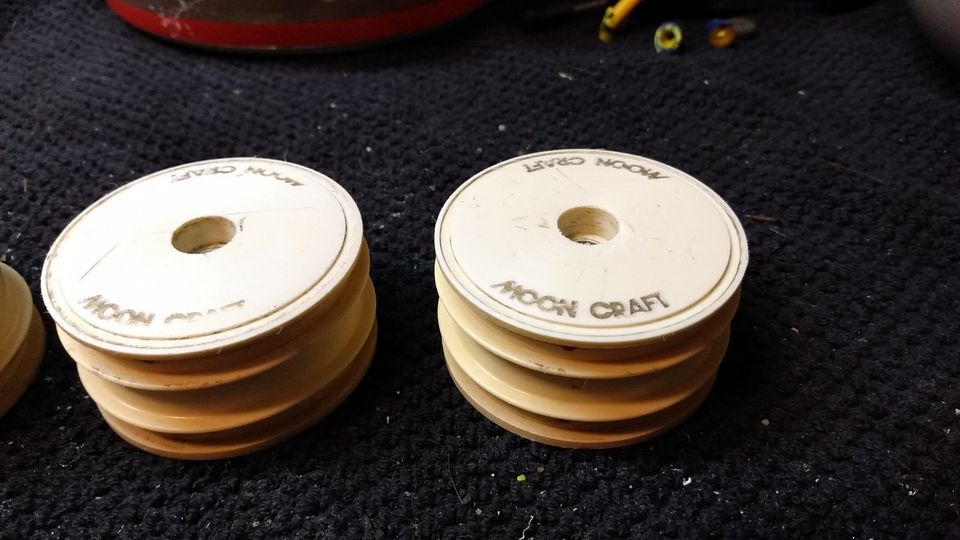
There is still some cleanup work to do before I can use fine primer and then paint.
I hope the primer will cover the marks still present on the wheel face since they are not too deep.
But getting there.

But painting in -15C will be a challenge...
The following user(s) Liked this: stingray-63, Al, 1972 LeMansGT Jim, silvertriple, jord001, Ducksnuts

Please Log in to join the conversation.

Richard's Bigwig resto project. 2 years 4 months ago #69916

You did an awesome work Richard. Congrats.
The following user(s) Liked this: jord001

Please Log in to join the conversation.

Moderators: caprinutstingray-63AndyAus
Time to create page: 0.189 seconds
Cookies are required to make this site work. If you continue to use this site you permit us to use cookies.