|
|
|
TOPIC:
Mardave Apache basket case 11 years 1 month ago #20538
|
|
|
Please Log in to join the conversation. |
Mardave Apache basket case 11 years 1 month ago #20539
|
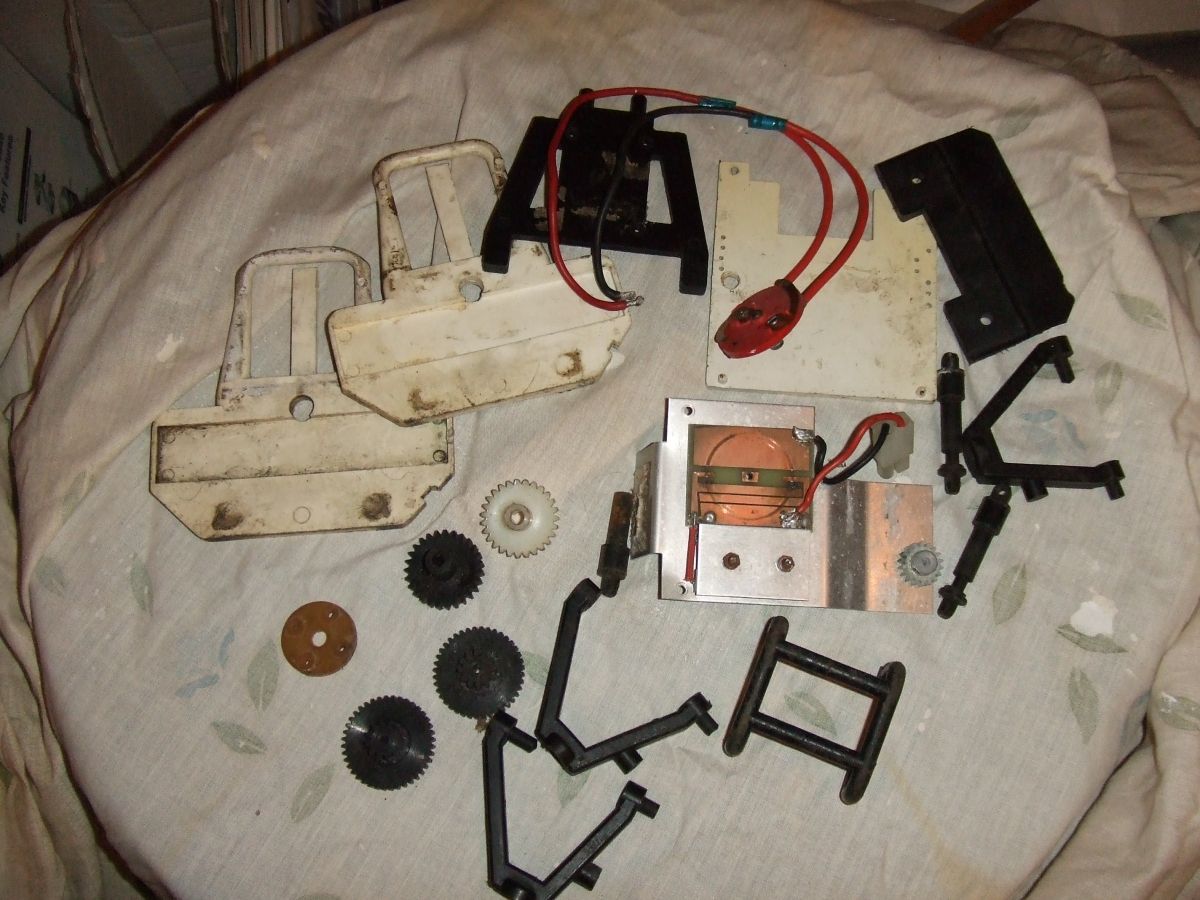
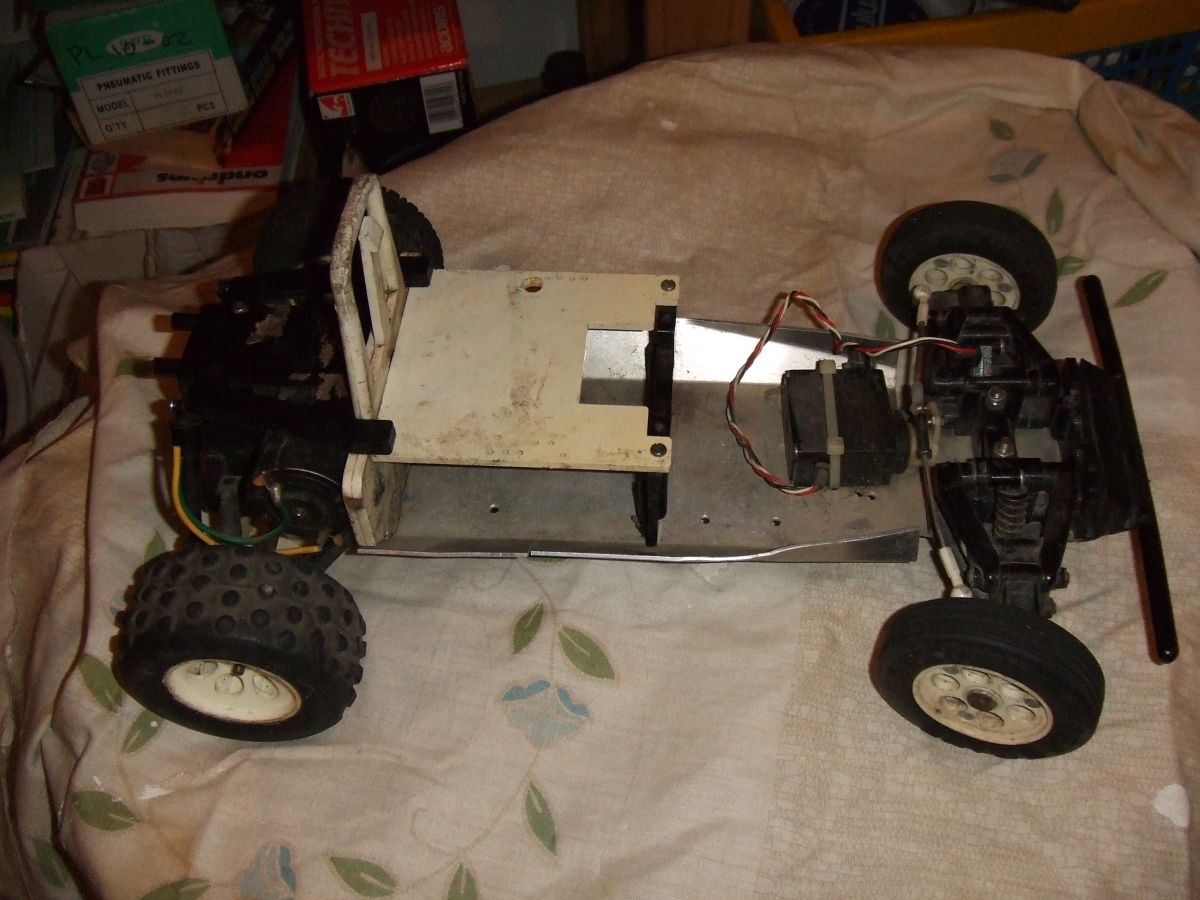
From first inspection I can see that it's missing:
- Rear wheels/tyres (already fitted) - Rear bulkhead and roll hoop - Gearbox top plate/suspension mounts - Middle bulkhead - Top chassis plates (front and rear) - MSC - Rear friction dampers - Rear bumper - Bodyshell Fortunately, I have in my spares a bunch of Apache bits which, conveniently, include most of the above bits I think I have also been able to source a bodyshell too. |
|
Please Log in to join the conversation.
Last edit: by Martin Bell.
|
Mardave Apache basket case 11 years 1 month ago #20540
|
That does look pretty rough ... I thought these were supposed to have a plastic top deck & a funny shaped battery?
|
|
Please Log in to join the conversation. |
Mardave Apache basket case 11 years 1 month ago #20541
|
For the chassis cuts, look up "Techno-weld" - it's a highly compatible, easy to use, aluminium brazing rod & should work well to block those slots up (With careful use of a pencil-flame blow torch)
Custom F2
...
Hilux crossmember drawing
...
F2 axle drawing
...
Quattro radio lid
...
Holiday Buggy motor bracket drawing
...
Quattro resto
...
HitnMiss engine
...
Wild Willy resto
...
Mardave Cobra resto
...
Thunder Dragon resto
...
Grasshopper resto
...
XR311 resto
...
Modded XR311
...
Carbon 25th scratch build
|
|
|
Please Log in to join the conversation. |
Mardave Apache basket case 11 years 1 month ago #20542
|
I tried technoweld, but not much luck on anodized alloy, you have to be very carefull not to heat the alluminium under the 'hardened' topcoat to much.
Eddrick if it worked for you or if you tried it, how did you approach/work with it? |
|
|
Please Log in to join the conversation. |
Mardave Apache basket case 11 years 1 month ago #20544
|
1st rule is don't get mild steel anywhere near it - use a stainless wire brush to thoroughly clean everything just prior to doing the braze (The surface of aluminium oxidises quickly & will prevent it working).
All the bits have to be spotlessly clean & degreased too. Remove coloured anodising before you start. Non-coloured hard anodising doesn't usually cause problems - maybe there was clear laquer on the part? Use concentrated heat at the point you're trying to braze, but don't get the flame on the rod or weld-pool as it will soot up, dry out, ball up etc - if you can heat the part from the reverse side, do that, it works much better! Too much heat will work against you, in a similar way to trying to solder stuff with too high a heat. The heat required to join properly is quite close to the melting temperature of aluminium, & you have to be ready for any signs of melting/deformation. As the rod melts into the joint, I suspect there's some alloying going on as the parent material will fluidise where the rod has been in contact with it. If you're having trouble knowing when to stop heating (You keep turning the parts to mush...), smear some soap on the part near the join - when the soap turns dark brown/black, the ally is nearly at melting temperature. If the part is large, or acting well as a heatsink, consider a second low-heat source near to the joint, (For flat stuff) or warm it up first in the oven (For chunky stuff), just to slow down how quickly the welding temperature travels away from the joint (If that makes sense). Using the supplied "abrader" (A sharpened piece of stainless wire), scratch the surface of the workpiece continually to keep it clean & help the weld-pool spread (Akin to using flux with solder). The finished joint is usually harder than the original material (Files/cuts like anodised stuff), but the surrounding material will usually be softer than before you started (Heating/cooling softens the ally - annealing) This reads as if it's complicated, but it's really not - Like welding steels or soldering, it's easy to do once you get the hang of how it behaves & get some practice. Closest thing I can liken it to would be soldering copper water pipes with a blowtorch - it takes more care & observation of how the materials are behaving, than using a soldering iron to solder wires etc. It's what I used to weld up the holes in that F2 chassis of mine, & that busted XR311 chassis. I've also used it for fixing bike carburettor parts, fixing brackets to aluminium bike exhaust silencers, making small thin aluminium boxes, fixing bicycle brake levers, etc etc. Don't bother with "Aluminium solder", it's a very hit-n-miss affair finding some that actually works, & it never produces a particularly strong join.
Custom F2
...
Hilux crossmember drawing
...
F2 axle drawing
...
Quattro radio lid
...
Holiday Buggy motor bracket drawing
...
Quattro resto
...
HitnMiss engine
...
Wild Willy resto
...
Mardave Cobra resto
...
Thunder Dragon resto
...
Grasshopper resto
...
XR311 resto
...
Modded XR311
...
Carbon 25th scratch build
|
|
|
Please Log in to join the conversation. |
Mardave Apache basket case 11 years 1 month ago #20552
|
HI!... I guess it's a start. But it does look like some 8 year old kid with one eye and a wooden leg made some of that car in the dark with some left handed, dull scissors. lol!
|
|
Please Log in to join the conversation. |
Mardave Apache basket case 11 years 1 month ago #20554
|
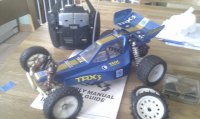
Yes. This is what it should look like... I think I am just missing the front part of the upper deck, although I think it would be pretty easy to make a replacement. |
|
Please Log in to join the conversation. |
Mardave Apache basket case 11 years 4 weeks ago #20640
|
|
|
Please Log in to join the conversation. |
Mardave Apache basket case 11 years 4 weeks ago #20663
|
It's like a baby Marauder!
Custom F2
...
Hilux crossmember drawing
...
F2 axle drawing
...
Quattro radio lid
...
Holiday Buggy motor bracket drawing
...
Quattro resto
...
HitnMiss engine
...
Wild Willy resto
...
Mardave Cobra resto
...
Thunder Dragon resto
...
Grasshopper resto
...
XR311 resto
...
Modded XR311
...
Carbon 25th scratch build
|
|
|
Please Log in to join the conversation. |
|
|
|
Time to create page: 0.247 seconds
