TOPIC:
1:10 scale farm machinery scratchbuilds 6 years 5 months ago #46710
|
|
Please Log in to join the conversation. |

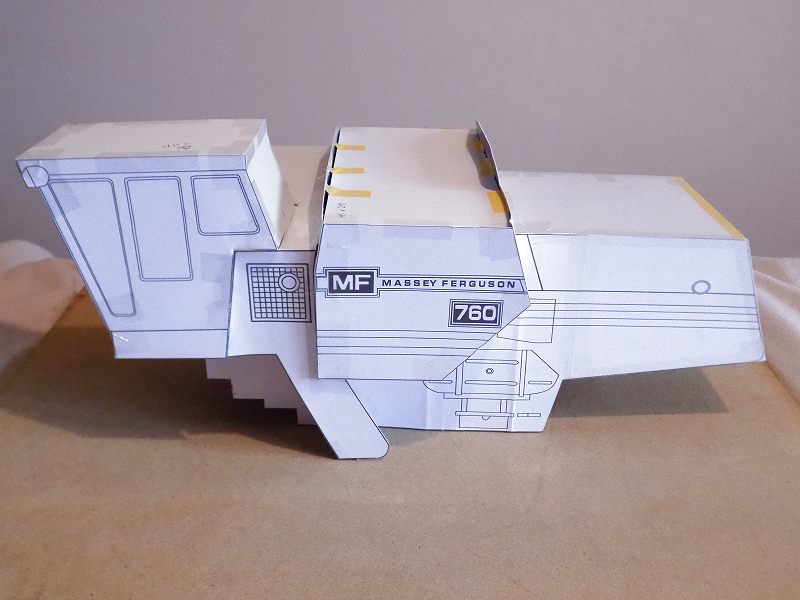
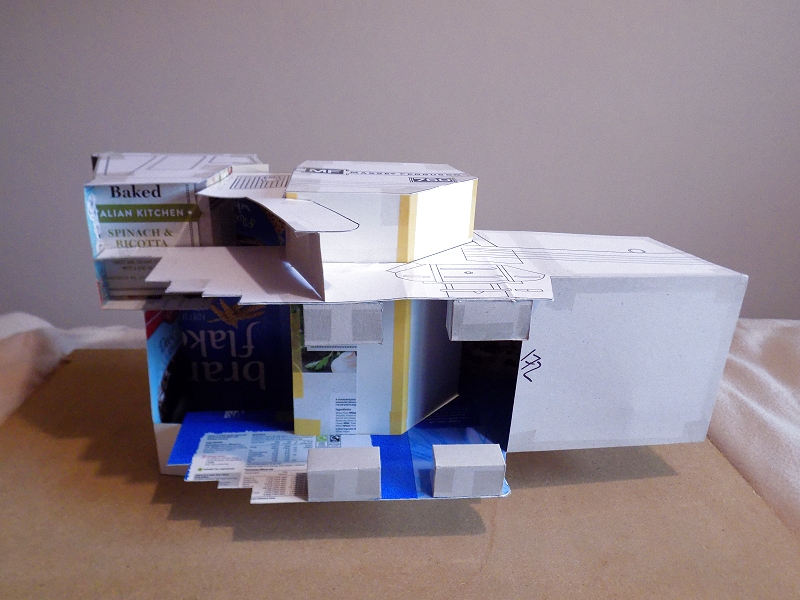
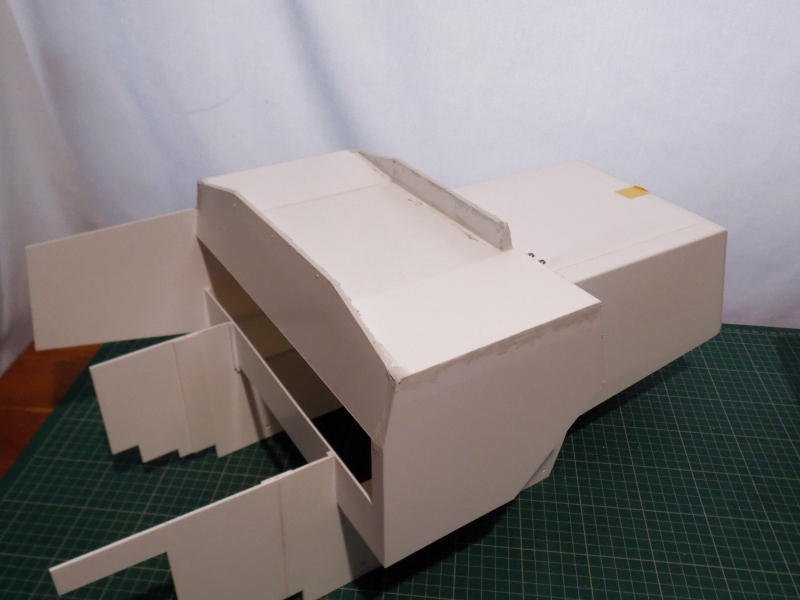
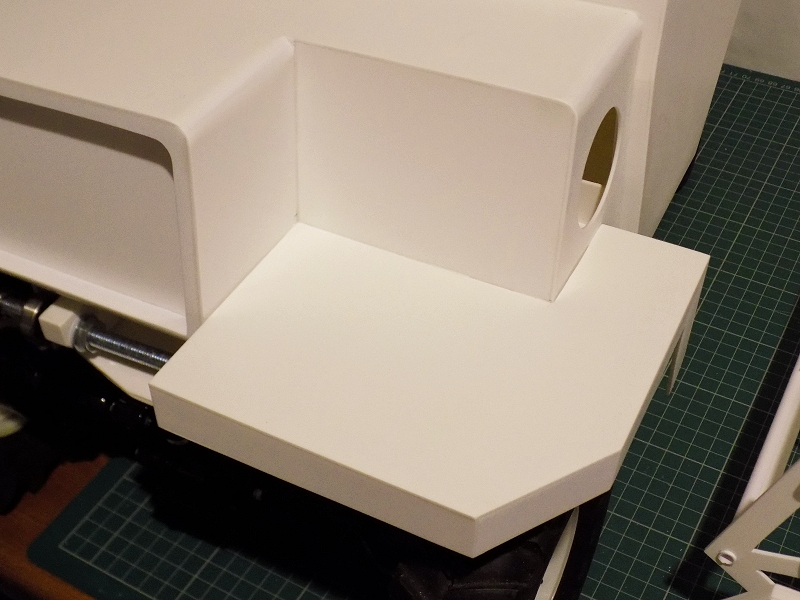
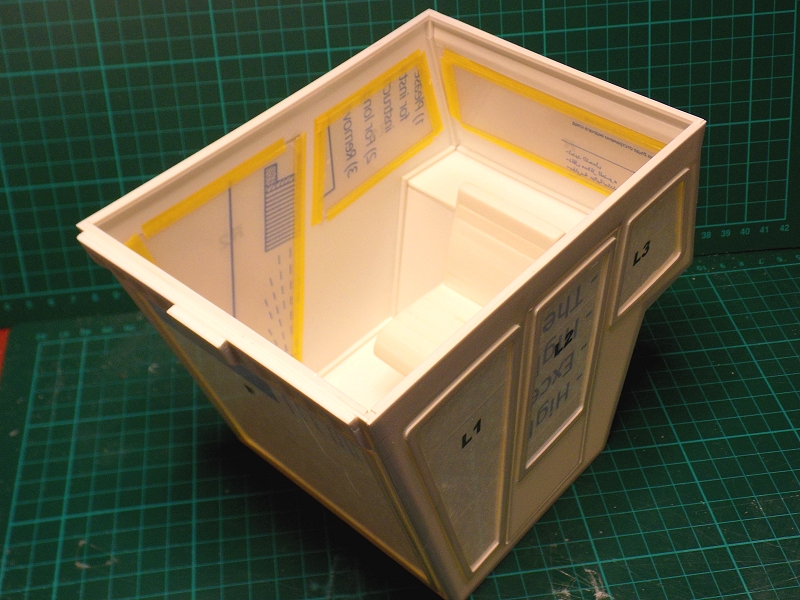
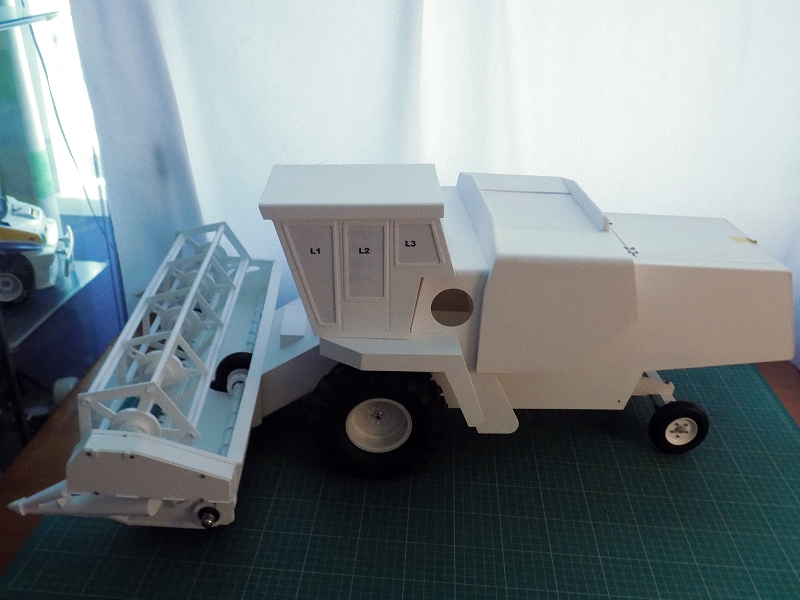
 It's actually been quite useful, showing where the sides don't match, how to hold the body on to the chassis, and a method to build it - it's basically 4 boxes, the rear pod (& structural sides) will hold the battery, a middle box (that I'll fit the unloading boom to, later), a front box, and drivers cab ...
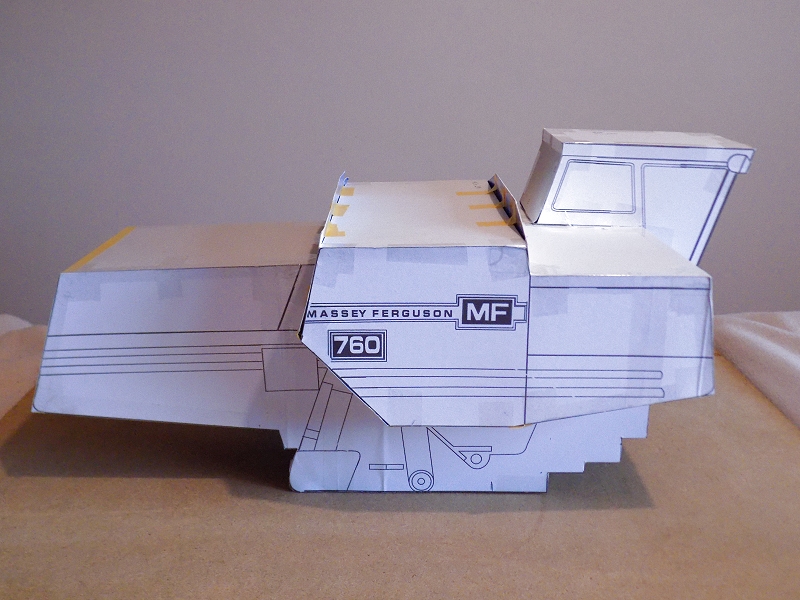

")
1:10 scale farm machinery scratchbuilds 6 years 5 months ago #46748
|
|
Please Log in to join the conversation. |
1:10 scale farm machinery scratchbuilds 6 years 4 months ago #46776
|
|
Please Log in to join the conversation. |
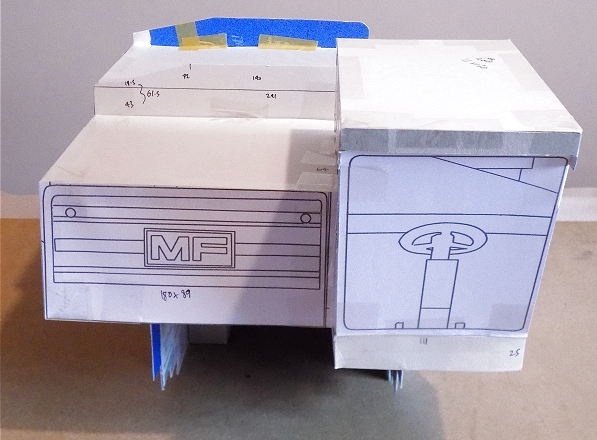
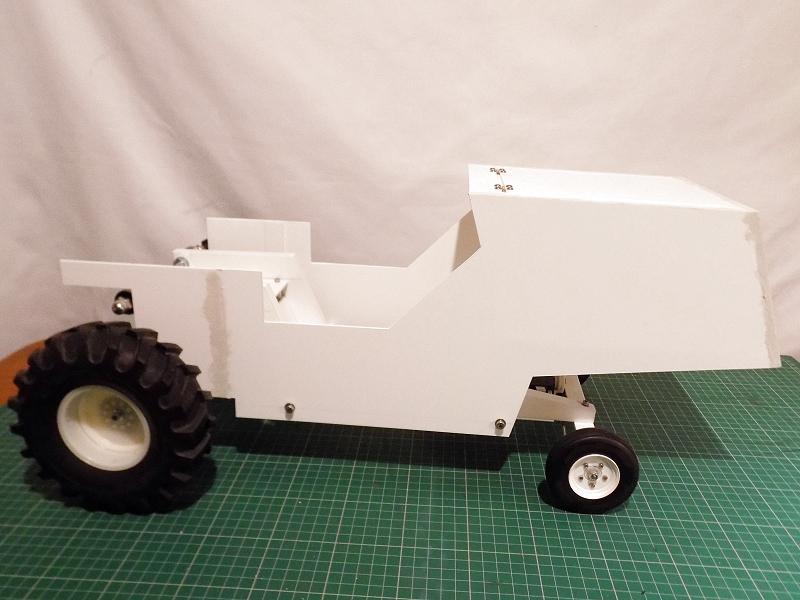
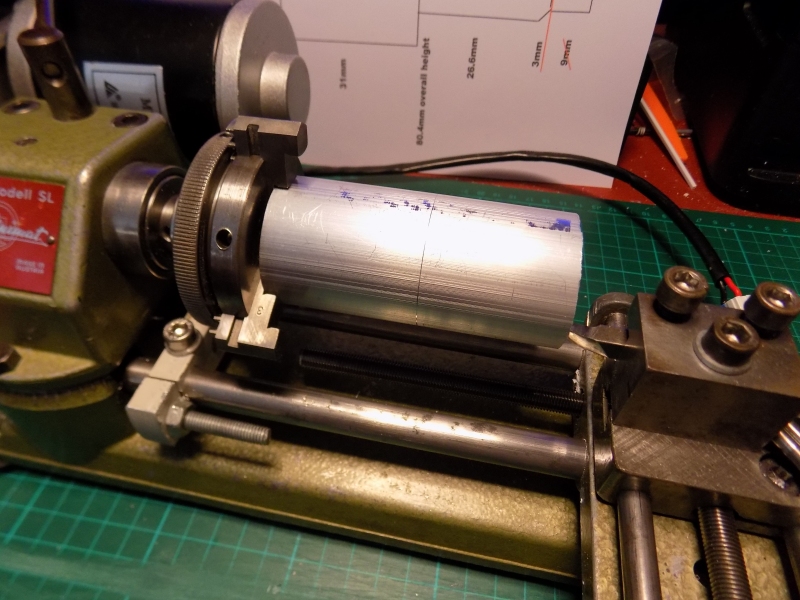
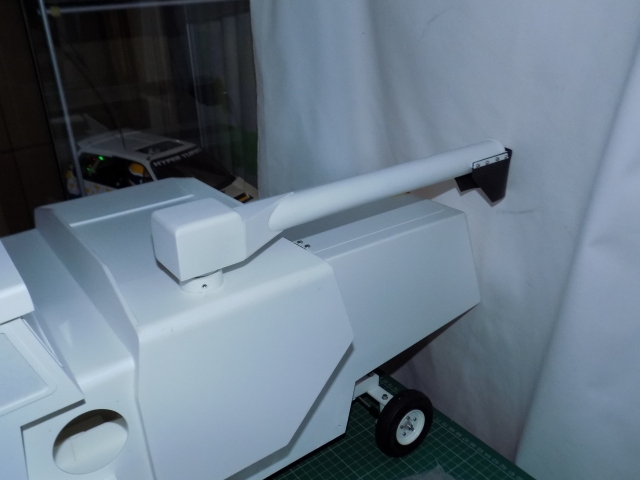
") , 1:1 760 combines have a big intake fan here (the model just has a grille as a surface detail) - a 50mm fan is approximately 1:10 scale.
, 1:1 760 combines have a big intake fan here (the model just has a grille as a surface detail) - a 50mm fan is approximately 1:10 scale.
1:10 scale farm machinery scratchbuilds 6 years 4 months ago #46822
|
|
Please Log in to join the conversation. |
1:10 scale farm machinery scratchbuilds 6 years 4 months ago #46823
|
|
Please Log in to join the conversation. |


1:10 scale farm machinery scratchbuilds 6 years 4 months ago #46826
|
|
Please Log in to join the conversation. |
1:10 scale farm machinery scratchbuilds 6 years 4 months ago #46844
|
|
Please Log in to join the conversation. |

1:10 scale farm machinery scratchbuilds 6 years 4 months ago #46845
|
|
Please Log in to join the conversation. |

Time to create page: 0.186 seconds