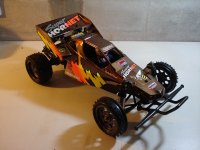
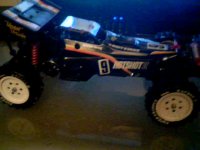
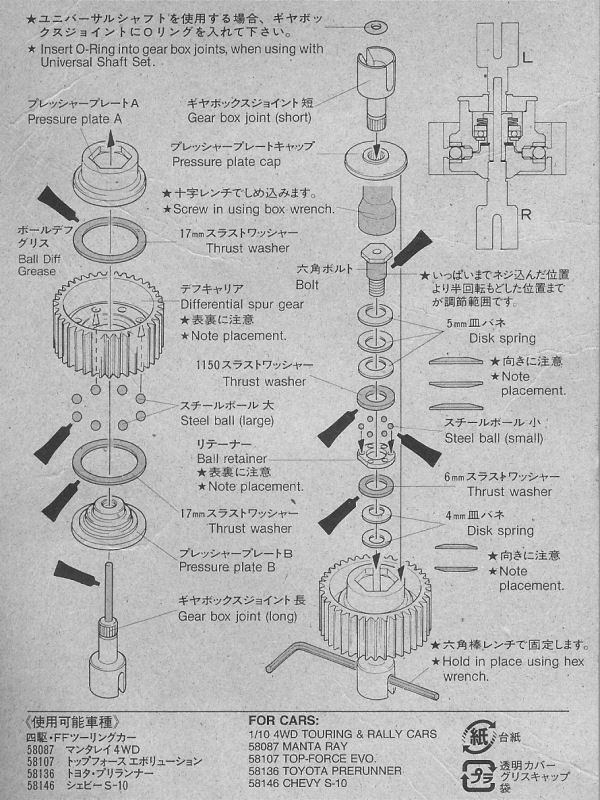
Rebuilding a ball differential on a Manta Ray
Or any DF-01, TA01 or TA02 for that matter. And hopefully even a reference for a general ball diff (re)build.
")
The cause for this rebuild was initially just to give the diff in my car more tension.
A manual check reveiled it was slipping too much... I could discern this by turning the rear wheels simultaneously.
This did not result in turning the motor accordingly or a movement of the main drive shaft and thus the front wheels.
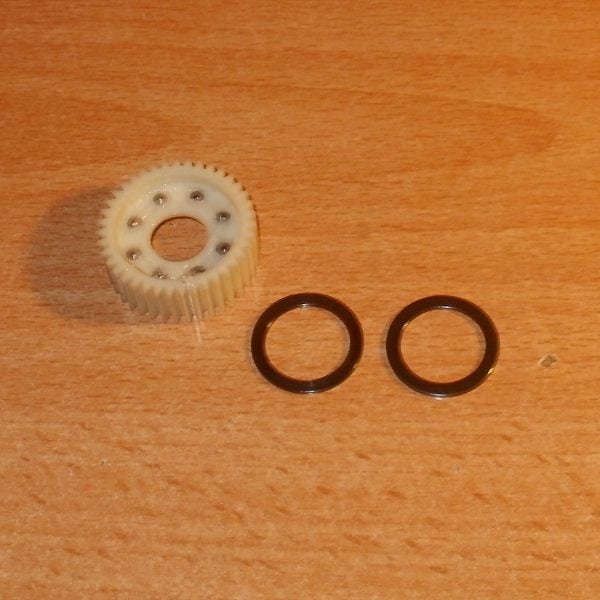
Here is the overview - the thrust washers (on the left) did not have enough pressure for the differential spur gear to move.
Tightening the bolt (on the right) would have been an easy fix but I had more considerations...
I had only done a quick rebuild with this used part before.
But the parts lot this ball diff came from had been lying in an attic or shed for many years... without ventilation.
The grease had absorbed a nauseous smell and that started to bother me more everytime I took the part out.
So I decided to clean, rebuild and even upgrade it. Replacing the odour with one of my favourite tech smells - WD40!

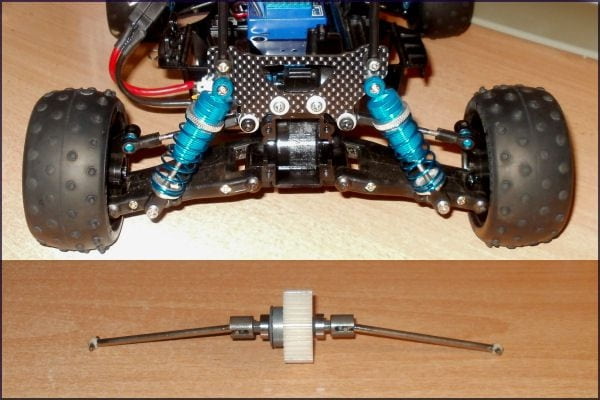
Cool thing about these gearboxes is that you don't have to take apart the whole car to do this job.
Just taking off the gearbox cover (and bumper of course) is enough.
Then you can remove the whole set up - including dogbones, diff joints and bearings :
The parts on the bottom of the pic are actually the "after" picture - the image was overexposed from the flash...

If the gearbox cover is resisting (which is known to happen) and doesn't want to come off easily, you can temporarily put a screw in it (normally used for fitting the bumper) and use that to achieve seperation :
Okay, next I took all the items in the diff apart. Here they are, getting clean and aromatic in a nice bath :
Might as well throw in a dogbone or two while you're at it...

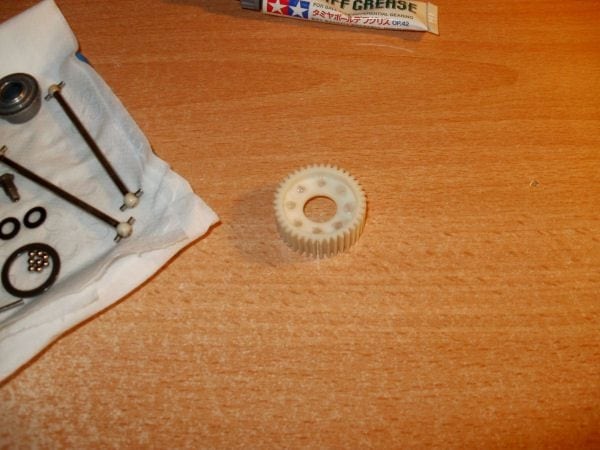
Then I laid out all the parts on a paper bed :
Be extra careful with the balls! I lost an extra small one at some point and could see it slip away to
somewhere...
Of course I had a trick up my sleeve - I went over the floor with a magnet and found it again.
")
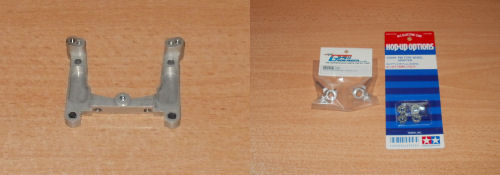
Not that I'll be needing it because that's what the hop up is for.

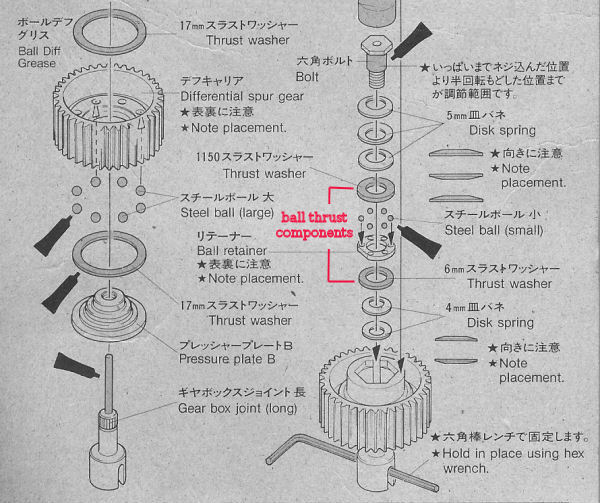
It will replace the original ball thrust components - thrust washers, (plastic) ball retainer and balls.
The one piece all metal upgrade will give a lot more subtlety in determining the tension applied on the diff.
It will also not break as easily when it is tightened. Possibly give your wheels some diff lock if that's required.
First step rebuilding - fill the holes of the spur gear with ball diff grease :
Then put in the diff balls. Check if the right side of the gear is up!
Some people like to use small tools to fit them... I find simply using my finger gives most control over them jumping away.
After that is done, having a used diff you can check the thrust washers for wear - there will usually be a groove in them...
Not visible on the picture below but both these rings have a "groovy" surface on one side (in the non literal sense not so much) and a (nice and unusued) smooth surface on the other. So I'll make the choice to flip them over.
That way the smooth side will now be facing the diff balls.
I'll have to check the tension again after the first drive (it will wear in a bit) but that's always good to do anyway.
Here are the thrust washers - there seems to be no difference between the sides but with a closer look there definitely is...
If only I had better lighting.
Putting the diff balls in the holes will have pushed some of the grease out - this can be spreaded over the surface.
I even applied a little extra and like to grease it all up a bit. Any real excess will be "thrown" out anyway...

I find it easiest to put the whole thing together by assembling two separate pieces.
One is the parts on the left side of the manual assembled and the other all the pressure parts put together on the bold :
With a bit of caution this can be put together easily and the bolt slightly tightened so it stays that way.
Don't tighten it too much yet but turn both sides of the diff in opposite directions first so the grease spreads out well.
Also the balls will settle better that way.
Temporarily fitting the cap and the other gearbox joint for that will make this easier.
Just screw the bolt on further a few times and turn the two halves in between.
You will feel when it gets a bit harder to tighten the bolt...
Now for the big question - how much to tighten exactly?
There is of course no specific answer because it also depends on the useage of the car.
The diff can function mostly as a slipper clutch (limiting the propulsive force) with little tension and more or less as a locked diff (off road or even some drifting) when applying a lot of pressure.
If a fully locked differential is required, I would suggest another approach though.
I will go for a "regular" set up here.
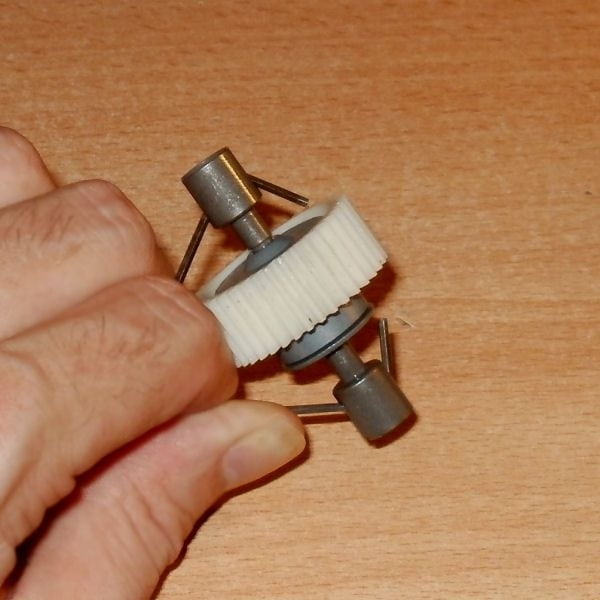
Doing this is a bit tricky... first of all you will need two small tools.
I like using hex wrenches for grub screws. These will be placed in the slots of the diff joints.
The purpose is to keep the cups in their place and with the other hand check how easy/hard it is to turn the spur itself :
This will tell you exactly how much slip there will be.
If it is very easy, the bolt needs to be tightened more.
I chose for a set up where I was still able to move it although that took
some effort.
When you're satisfied with the tension, it's time to put it back in the car.
")
Another little trick... put in the dogbones first - facing upwards.
Then align the diff joints and putting it back won't be trouble at all...
Just don't forget to put the bearings in between the diff and joints!

Last two steps guys! Push and turn the diff so it falls into place.
Just a bit of force should have this result...
Finally - put the cover back on. But that's just four screws.
New ball diffs will settle at first so they will definitely need a check up.
Before running the car, best thing would be to check the new set up manually for smooth running.
This can be done by turning the wheels in both different as well as the same direction.