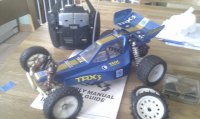
Using Grasshopper technology on a new idea for a double rear shock mod!

The limitations of the rigid rear axle that's normally on the car are well known and the slotted axle mounts with the tiny springs that are on the Hornet are a well willing thought but it doesn't make much sense either.
Usually one would go for a 3rd (or 5th to some) shock mod but I kinda never really got that one...
Why make a pivot point somewhere in the middle of the gearbox and hardly take the load of the tiny springs?
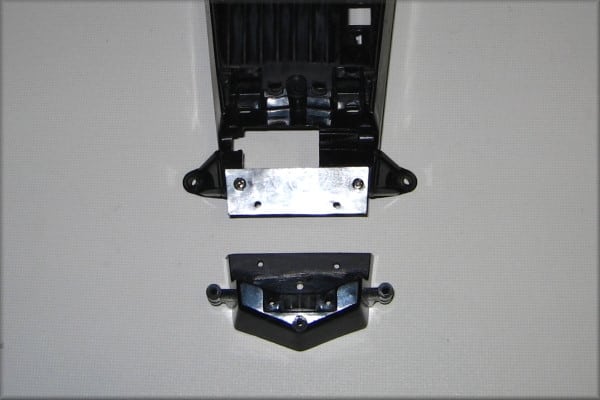
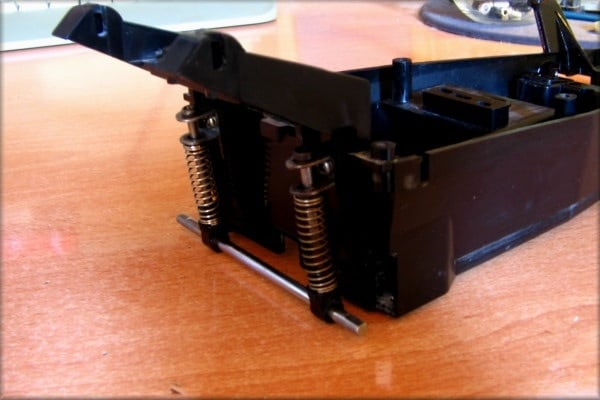
So I'm going for double axle suspension! Basically Grasshopper tech from the front :
The shafts can make the correct angle towards the rear axle...
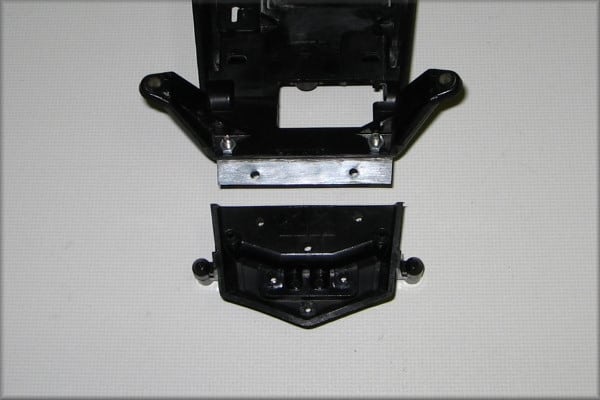
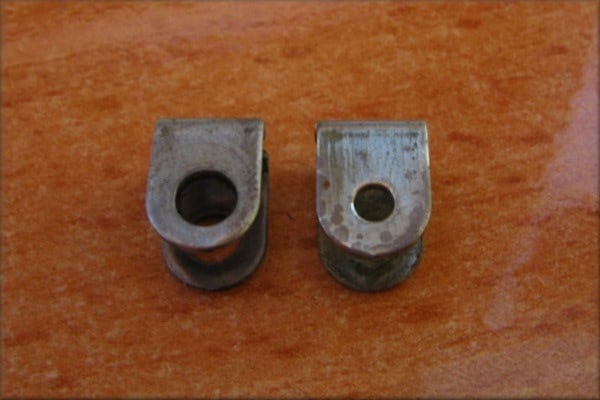
I've enlarged the holes in the brackets for that :
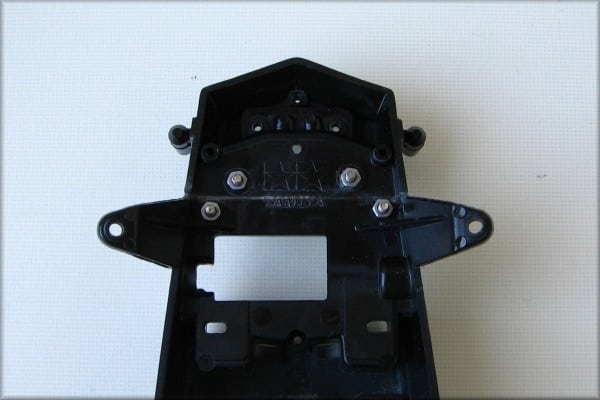
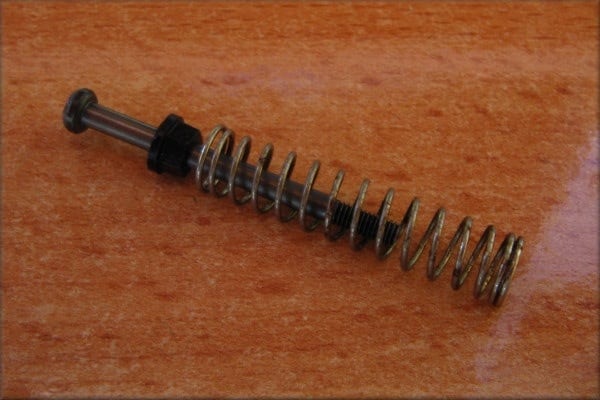
A plastic nut was drilled to the size of the damper shaft and will function to keep the spring centered :
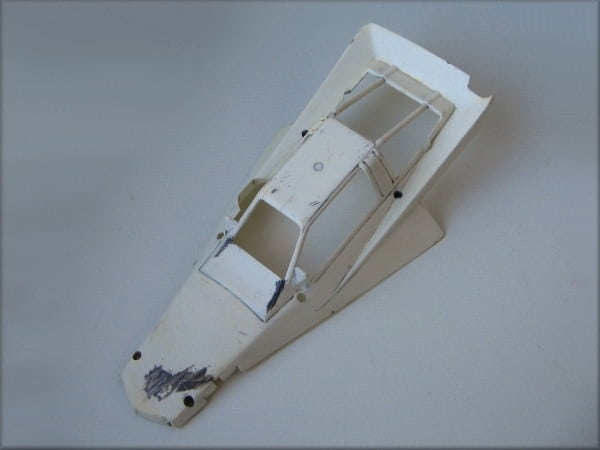
Just all needs some cleaning still.

More coming soon...
Edit - if I had different tools, I would've made a custom bracket with a single piece for the damper shaft to go through. With a slightly smaller hole - and under an angle that's perpendicular to the movement of the rear axle. Still possible even...

")