TOPIC:

Nichimo Lotus Europa 10 years 7 months ago #24899
|
|
Please Log in to join the conversation. |

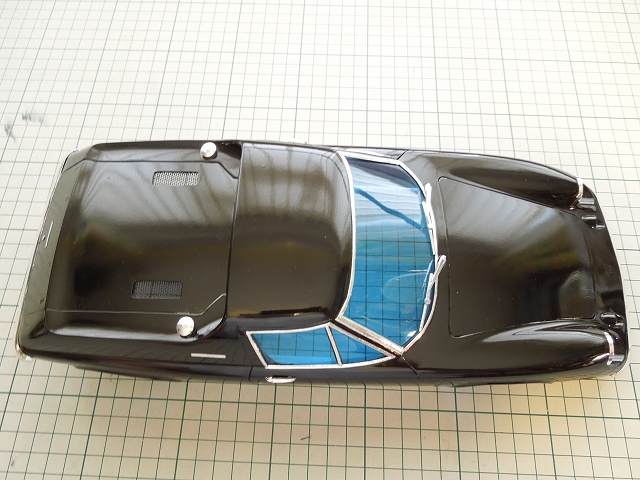
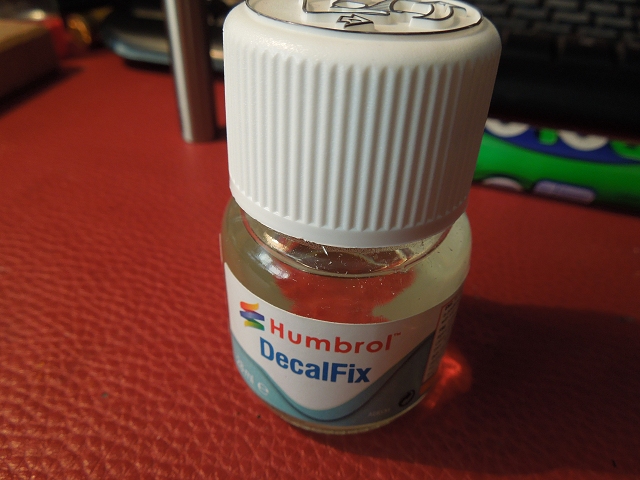
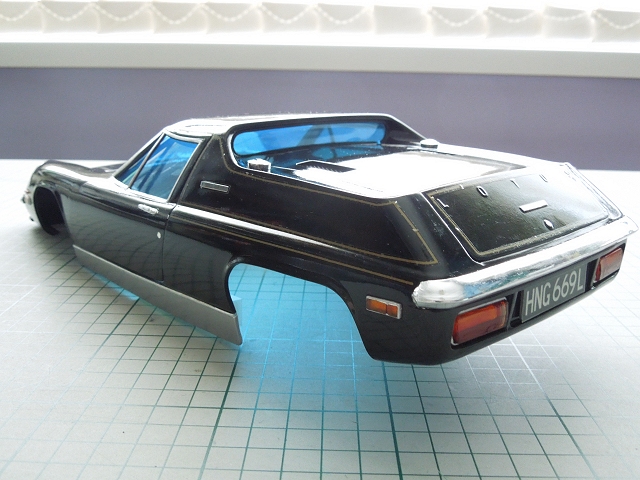
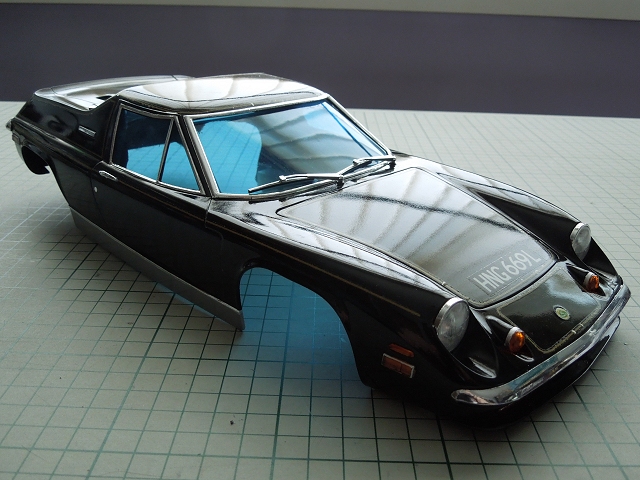
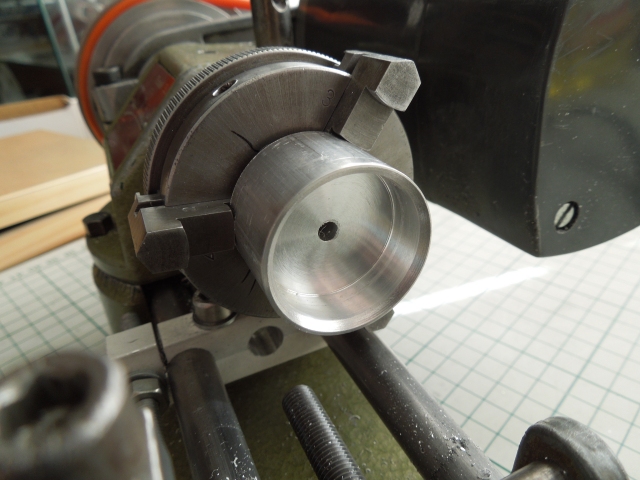
") Shiny!!!
Shiny!!!

Nichimo Lotus Europa 10 years 6 months ago #26092
|
|
Please Log in to join the conversation. |

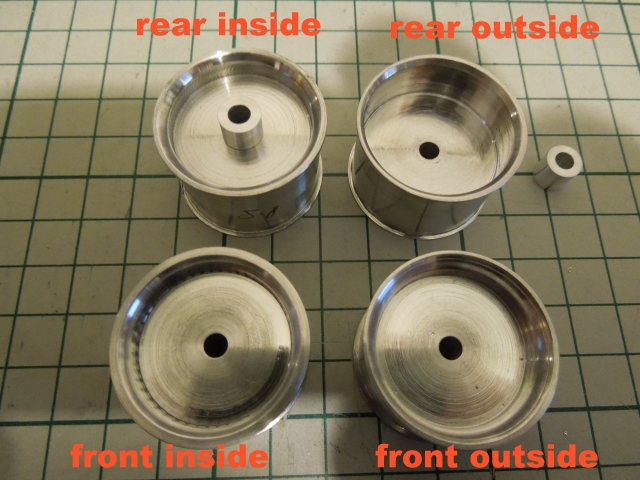
")


Nichimo Lotus Europa 10 years 6 months ago #26118
|
|
Please Log in to join the conversation. |
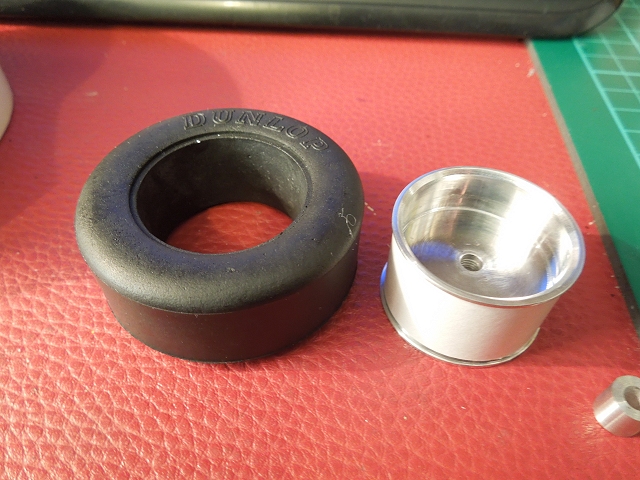
") suggests it's mostly water with some peroxide & ammonia in there, along with a trace of Isopropanol... I've also got the tyres soaking - note how they're shunning the gylcerine at the moment.
suggests it's mostly water with some peroxide & ammonia in there, along with a trace of Isopropanol... I've also got the tyres soaking - note how they're shunning the gylcerine at the moment.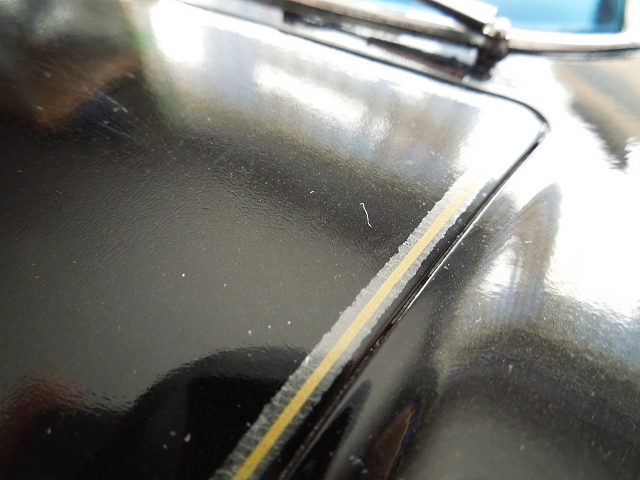


Nichimo Lotus Europa 10 years 6 months ago #26120
|
|
Please Log in to join the conversation. |

Nichimo Lotus Europa 10 years 6 months ago #26203
|
|
Please Log in to join the conversation. |


Nichimo Lotus Europa 10 years 6 months ago #26204
|
|
Please Log in to join the conversation. |
Nichimo Lotus Europa 10 years 6 months ago #26206
|
|
Please Log in to join the conversation. |
Time to create page: 0.219 seconds