TOPIC:
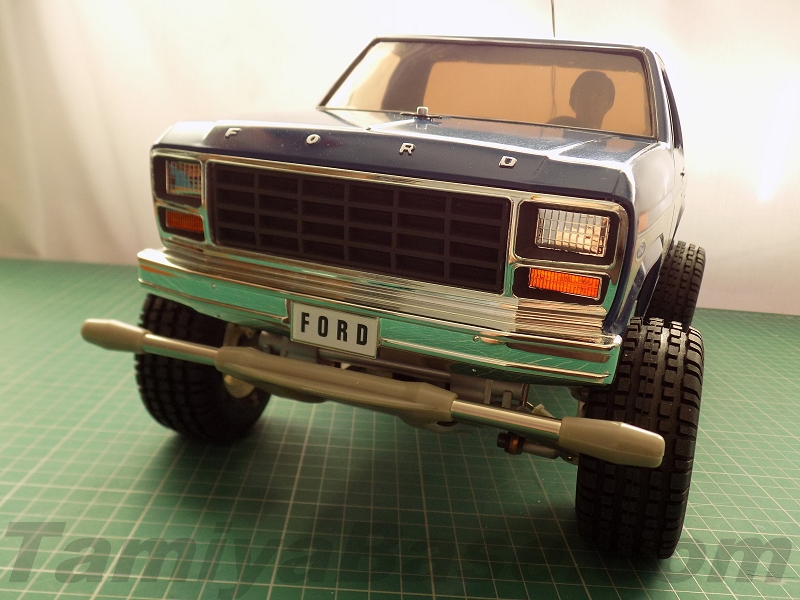
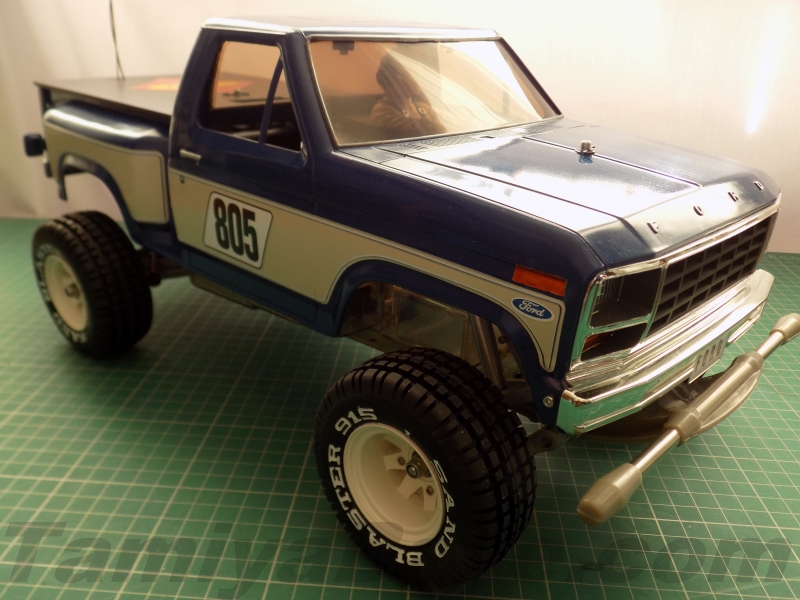
Fake your own Ranger 7 years 6 months ago #40679
|
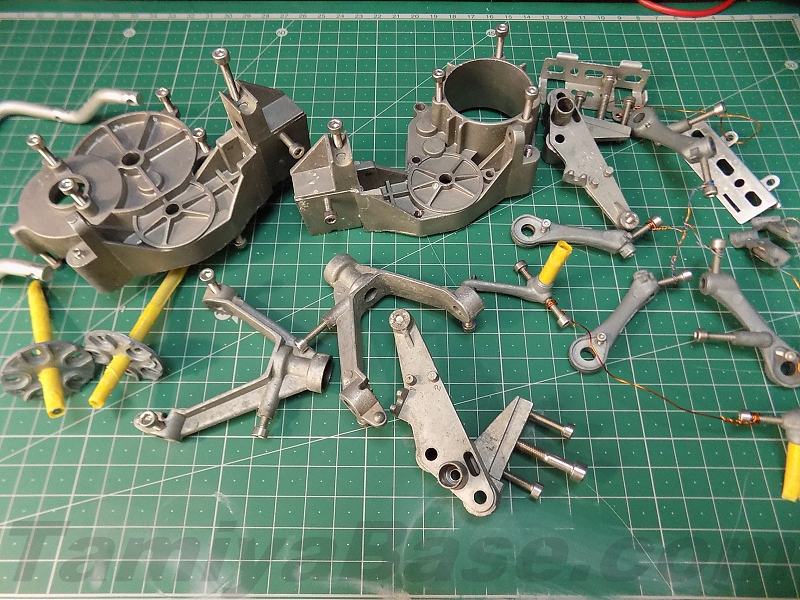
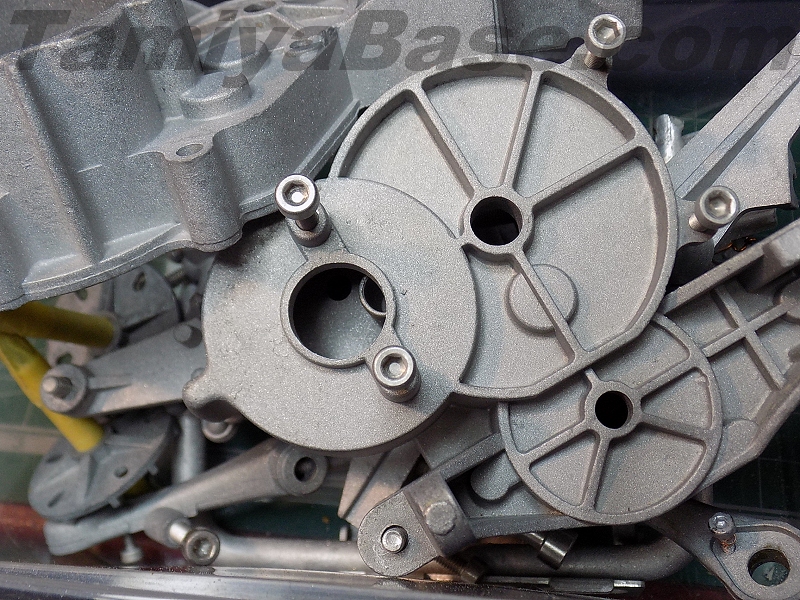
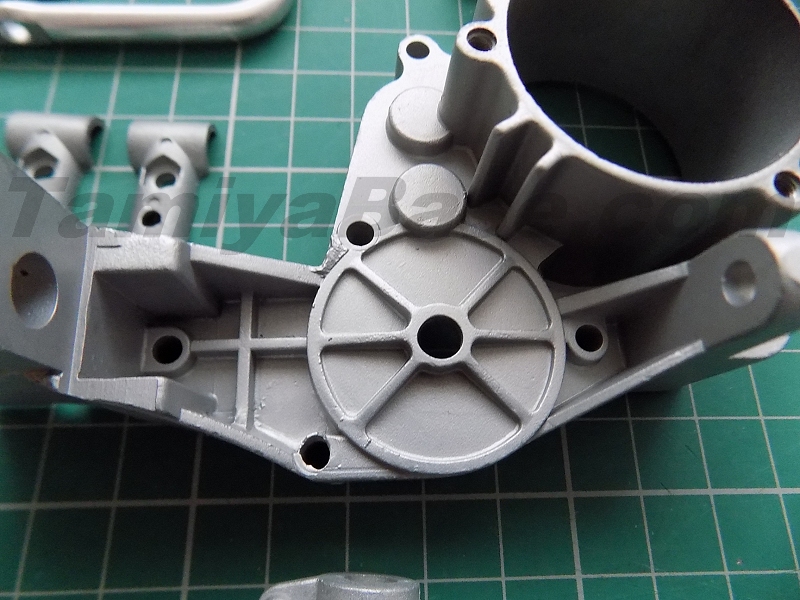
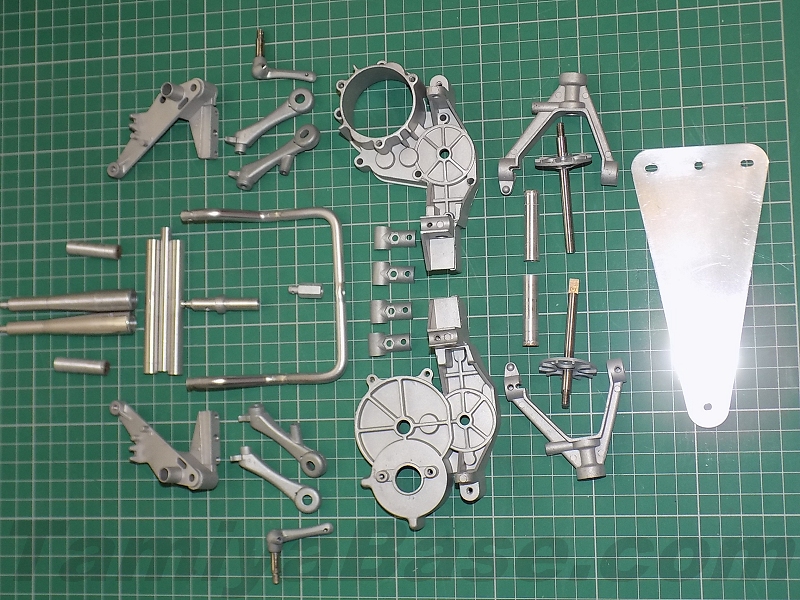
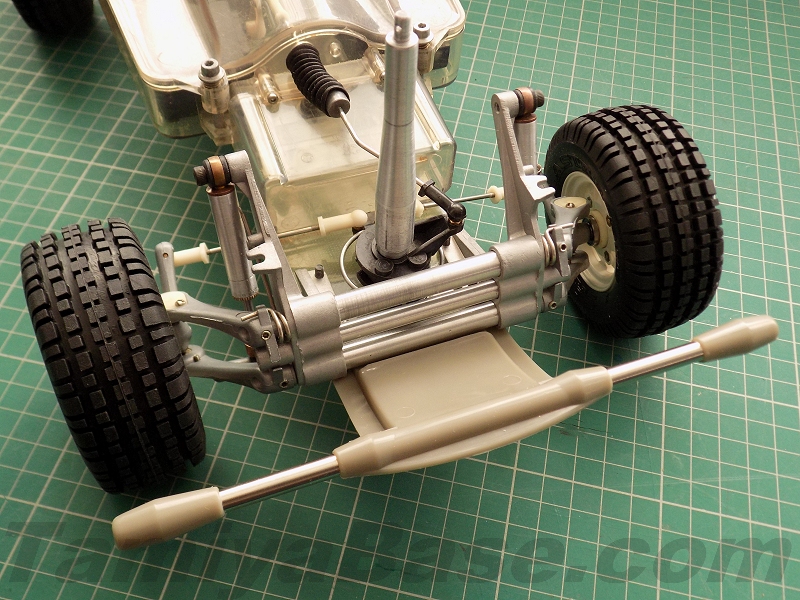
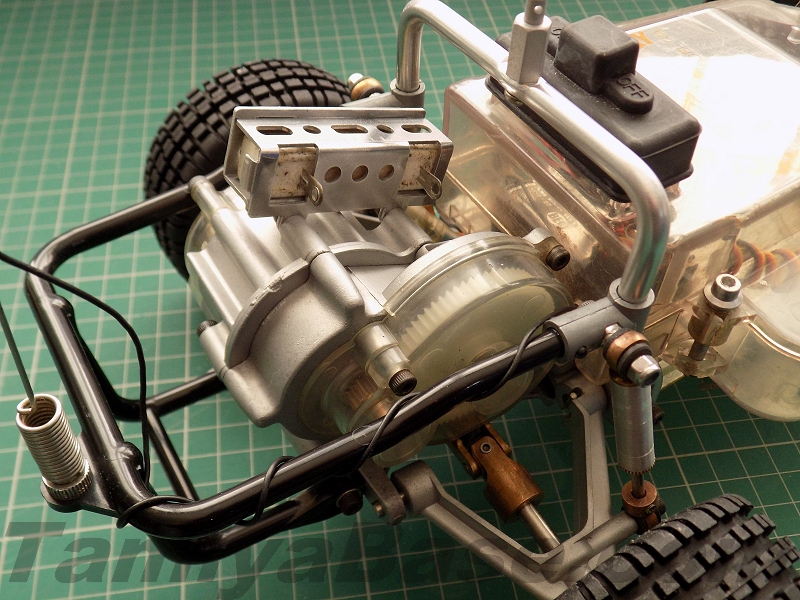
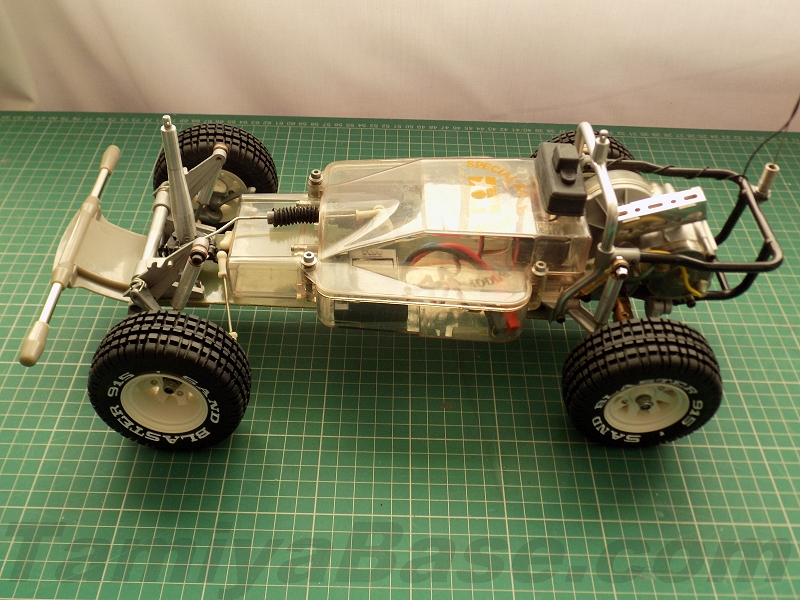
Another project that got abandoned for a few months ... before taking a break, I'd stripped the chassis & ulrasonically cleaned all the bits, but some parts still needed some work ...
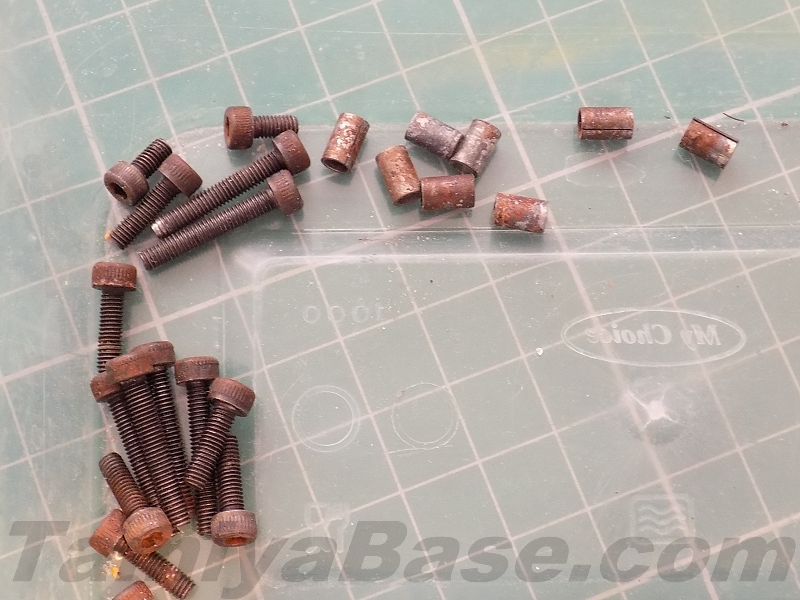
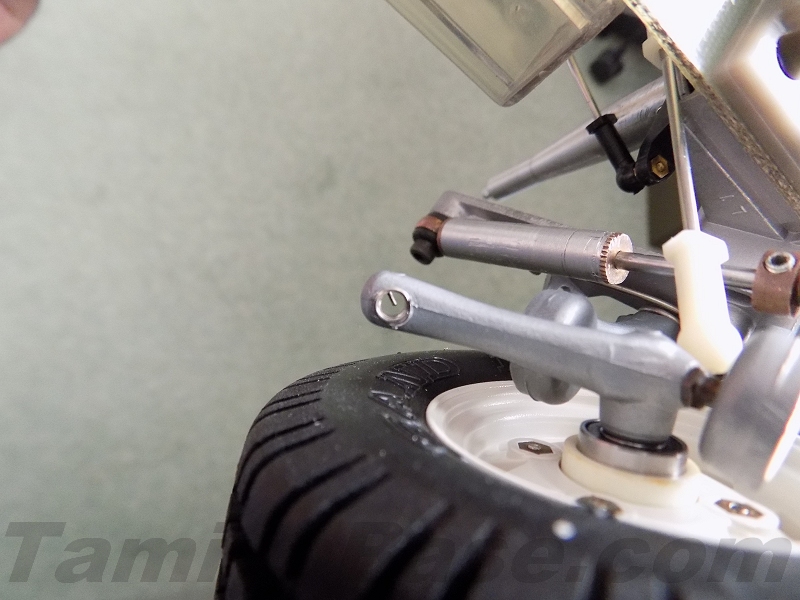
Alloy & alumninium bits came out very clean, but still a bit stained/corroded in places - this is them wired, masked & with threads closed off, just prior to media blasting: ... & after a going over with recycled glass grit c. 45 psi: ... then after glass micro beading c. 60 psi: Tubular/broadly cylindrical parts got a "brushed" finished (400 grit paper + spinning in a drill), rollover hoop also had a light polishing with Autosol. The Ranger front post I made myself turned out to be unnecessary - and also different from the one on the chassis - I thought we'd worked the dimensions out pretty carefully, so maybe another mk.1/mk.ii Ranger difference there? Rust on M3 screws & shock mounts ... I'll be giving these a rust removal treatment at some point, apparently you're not supposed to use it on plated parts, but i really have nothing to loose here ....
The following user(s) Liked this: stingray-63
|
|
Please Log in to join the conversation. |
Fake your own Ranger 7 years 6 months ago #40693
|
Im going to be following this, I need to get my super champ rebuilt ( bought an at home sand blast kit and was going to try using play sand on the parts) so I'll be looking for pointers.
I do have a question though... I tried to paint my original monster beetle body and the spray I used must have been bad as it literally sprayed grainy, would the de-solve it hurt the plastic of the body? Thanks in advance, MUD <p>16 Tamiyas and the limit is reached (per the boss).... So I have to rotate to maintain that number.</p>
|
|
|
Please Log in to join the conversation. |
Fake your own Ranger 7 years 6 months ago #40695
|
When I say "De-Solv-it" I was referencing a very specific product - Mykal De-Solv-It polycarbonate safe Graffiti Remover gel in a 1 litre container ... the problem is availability - AFAIK it was only ever available in the UK from a couple of DIY chains, and supplies seemed to completely dry up a few years ago without explanation. Looking today, there are a couple of places in the UK selling 5 litre containers of what I believe to be the same stuff. More widely available is De-Solv-It polycarbonate safe Graffiti Clean-Up spray (in a 200ml aerosol) which I've heard some positive things about. AFAIK neither have every been available elsewhere in the world, IIRC there was an Australian product that looked very similar but turned out to be a completely different formulation. What this adds up to is you'll have to try some other means - media blasting, brake fluid, Caustic Soda (aka Lye - so be careful!), or Easy-Off oven cleaner (the "heavy duty" yellow aerosol, not the blue "fume free" one) gets talked about a lot in US RC circles. Alternatively you could experiment with some other sort of graffiti remover - if it says it's polycarbonate safe it ought to be ok.
The following user(s) Liked this: stingray-63
|
|
Please Log in to join the conversation. |
Fake your own Ranger 7 years 6 months ago #40696
|
... and to answer the first part - andyaus took the lead (on TB at least) on media blasting RC parts, the "development" thread I guess you could call it is
here
. There was going to be an article on the subject, but for whatever reason that never materialised (?)
To sum up, our experience is that to media blasting pot metal/mazak type parts found on SRBs & similar you really need to do it twice - once with a harsh medium (aluminium oxide, recycled glass grit, etc) to get back to bare metal, and a second time with a gentler medium (glass microbeads etc) to peen back the finish from the raw, fingernails-down-a-chalkboard feel the first process leaves. I did cover the subject briefly here .
The following user(s) Liked this: stingray-63
|
|
Please Log in to join the conversation. |
Fake your own Ranger 7 years 6 months ago #40721
|
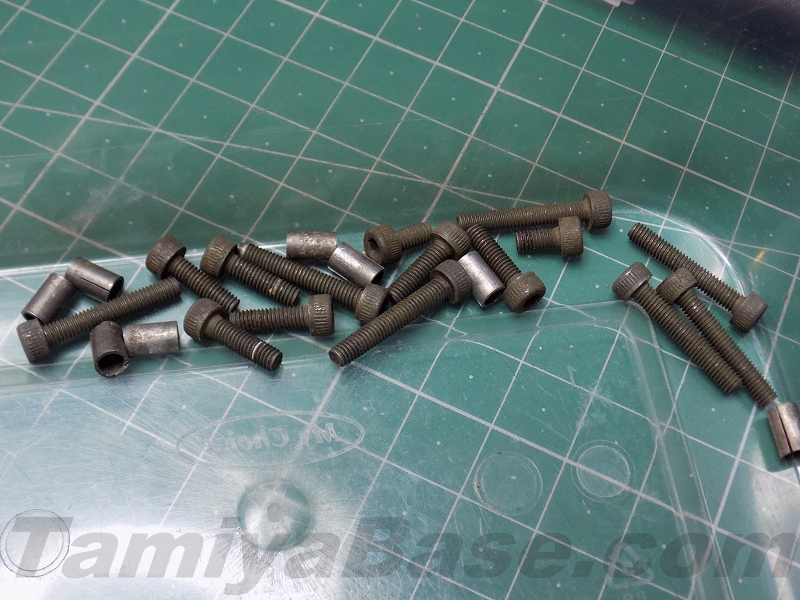
I'd read good things about using Bilt Hamber Deox C concentrated rust remover powder to get rid of rust on steel parts, but I've got to say I'm pretty underwhelmed with the results... recommended dilution ratios a from 1 part powder:20 parts water up to 1 part powder:4 parts water, soak times from 20 minutes to overnight.
I went for 1:10 in a jar & after 3 hours the water had turned slightly brown & the tubes were quite shiny with some rust patches remaining, the screws were doing quite well at the expense of losing some of the black finish. As both still had visible rust I left them for another 3 hours - but they actually seemed to deteriorate in that time, and the solution smelled sour & strongly of iron oxide. They're a better than when they went in, but by no means are the results impressive. The instructions say nothing about mixing slightly different varieties of steel or having a certain ratio of parts to solution, so I don't know that I did anything wrong there. At the moment they're sitting in a pot with a bit of oil on them & that's done far more for their appearance |
|
Please Log in to join the conversation. |
Fake your own Ranger 7 years 6 months ago #40792
|
The chassis I'm using for the open top bug project donated a complete radio box & the wheels were already done, so putting the chassis was very quick...
... the threaded part of one of the brass balljoints failed, no problem I thought, just drill it out & helicoil the hole ... would have helped if i'd pulled out the M2 set though, not the M3 one |
|
Please Log in to join the conversation. |
Fake your own Ranger 7 years 6 months ago #40793
|
|
|
Please Log in to join the conversation. |
Fake your own Ranger 7 years 6 months ago #40803
|
TOOO NICE Jonny.
|
|
Please Log in to join the conversation. |
Fake your own Ranger 7 years 3 months ago #42001
|
got to say Jonny, that's an amazing job you've done there. Your grill fix is amazing!!
You've really got me thinking now - I've got 2 original grills - neither of which are in fantastic condition, and 1 Blackfoot 3 grill which, obviously, isn't correct. My first line of thought was restore one and Aluclad chrome it - will probably still do this at some point, but I just don't seem to get a brilliant finish with it - must be me as plenty of other people get great finishes with it. Second option was making some vertical poly inserts for the BF3 grill to make it look "more" original, but it still wouldn't be correct, or chop up an old grill and the new grill to make 1 good one, but I really don't want to chop up the old one - seems a bit cruel to me Think i might follow your lead on this now - although my poly skills are nowhere near as good as yours..... Beautiful work again - congrats! |
|
Please Log in to join the conversation. |
Time to create page: 0.225 seconds

