Posting this more as a placeholder/collection of thoughts rather than a firm commitment to start this immediately...
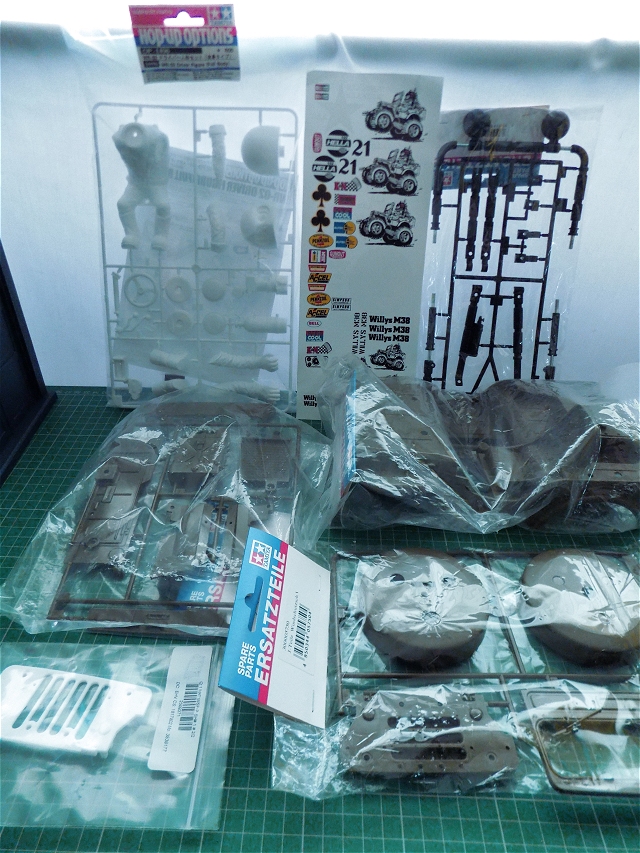
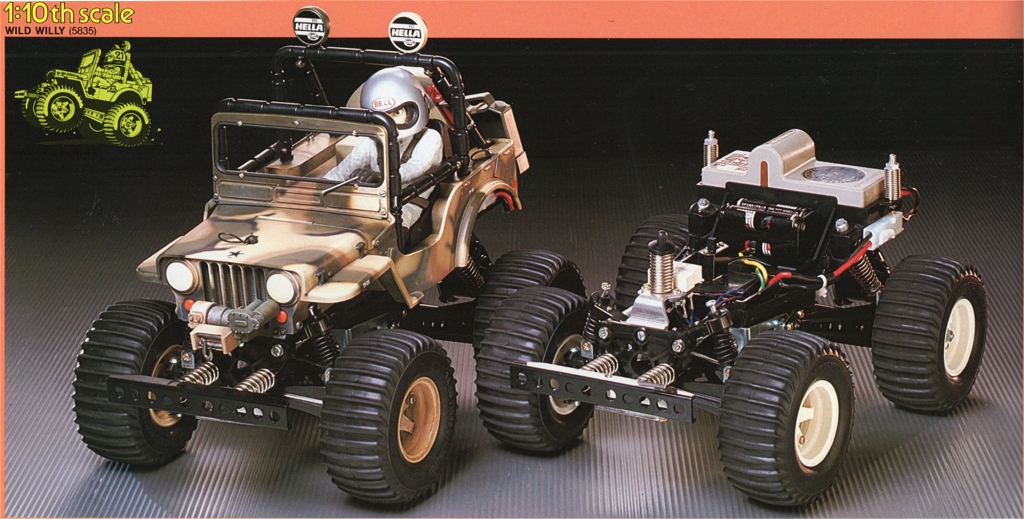
I've accumulated a full set of Wild Willy body parts, and TBH they've been kicking around for a while, time to put them to use I think ...
I went through a phase of building & painting the driver figures so got the main WW2 body part to align the arms without having to dismantle one of my cars each time, after that it made sense to add in another sprue each time I ordered from Siedel so the 9.99 EUR postage was better value ... then a M38 replica grille from Shapeways to make their postage seem less onerous when ordering a couple of other bits; then a set of M38 decals from MCI Racing to qualify for their free shipping...
I depends how do your accounting - so far it's either "free" (aka "Man Maths") or cost what the bits usually would ...
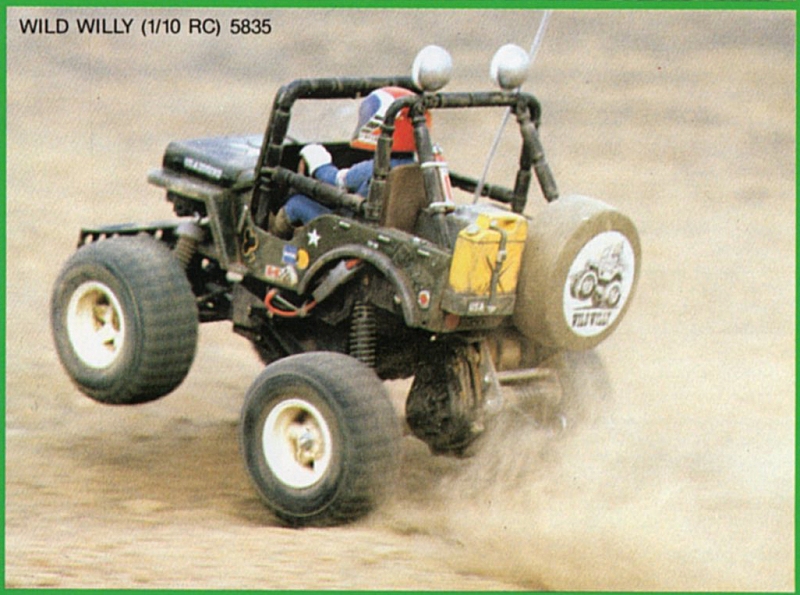
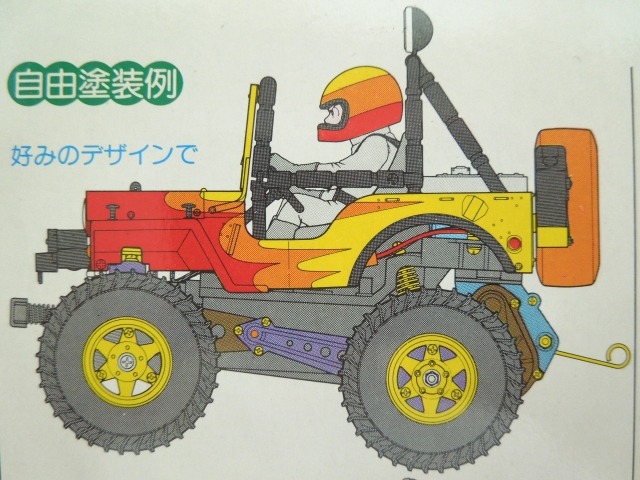
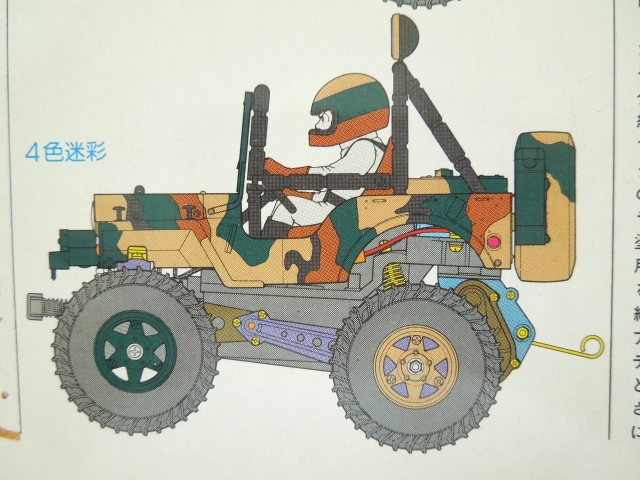
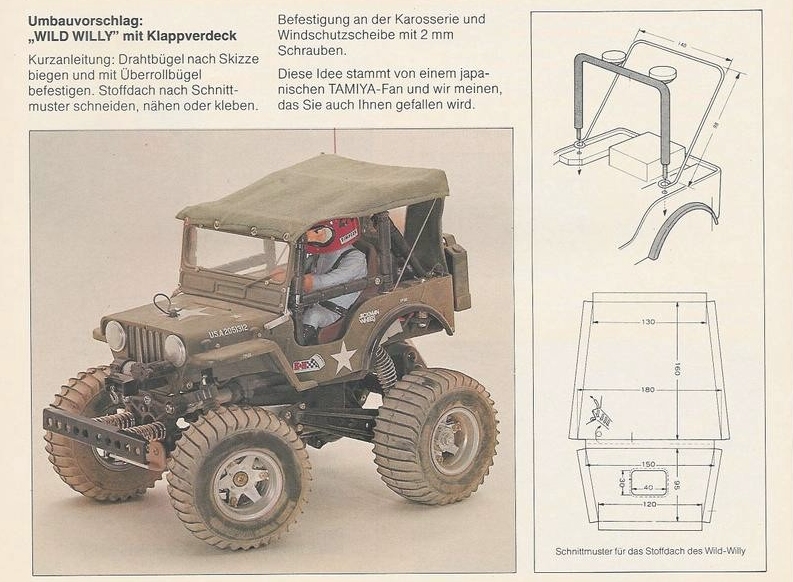
I plan to make an M38 lookalike body (remove the "reinforcement" ribs, fill in the hole in the floor under the driver feet, relocate body mount and antenna holes, grind off the extra side details, make fake windscreen mounts etc etc) and add a canopy as I think I could do better than my last attempt at one. I already have a boxart Willy so it makes sense to do something else this time. I was impressed by Stingray's "fire" tender Willy, but copying that would be, well, a copy; the "Navy flyer" Willy I did a while back wasn't exactly historically accurate & didn't quite work for me, so I looked to official Tamiya materials ... I think the "flame" paintjob (from the body set box) is just too "out there", the "prototype" Willy (from the 1983 catalogue) is just a different driver colour scheme, instead I'll have a go at airbrushing a camouflage pattern, somewhere between the body set alternative drawing & the 1983 catalogue "studio" shot.
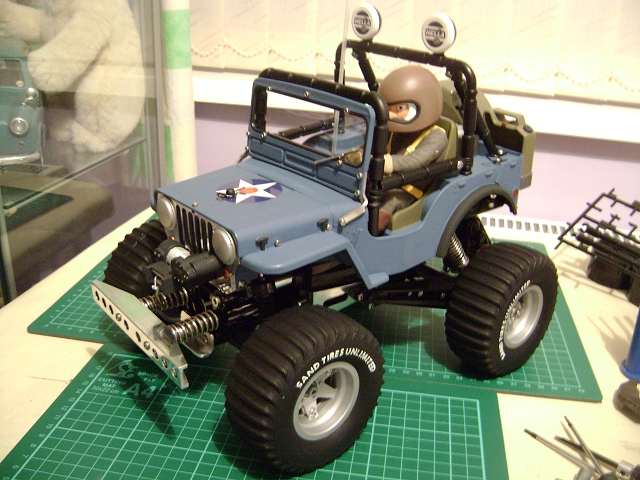
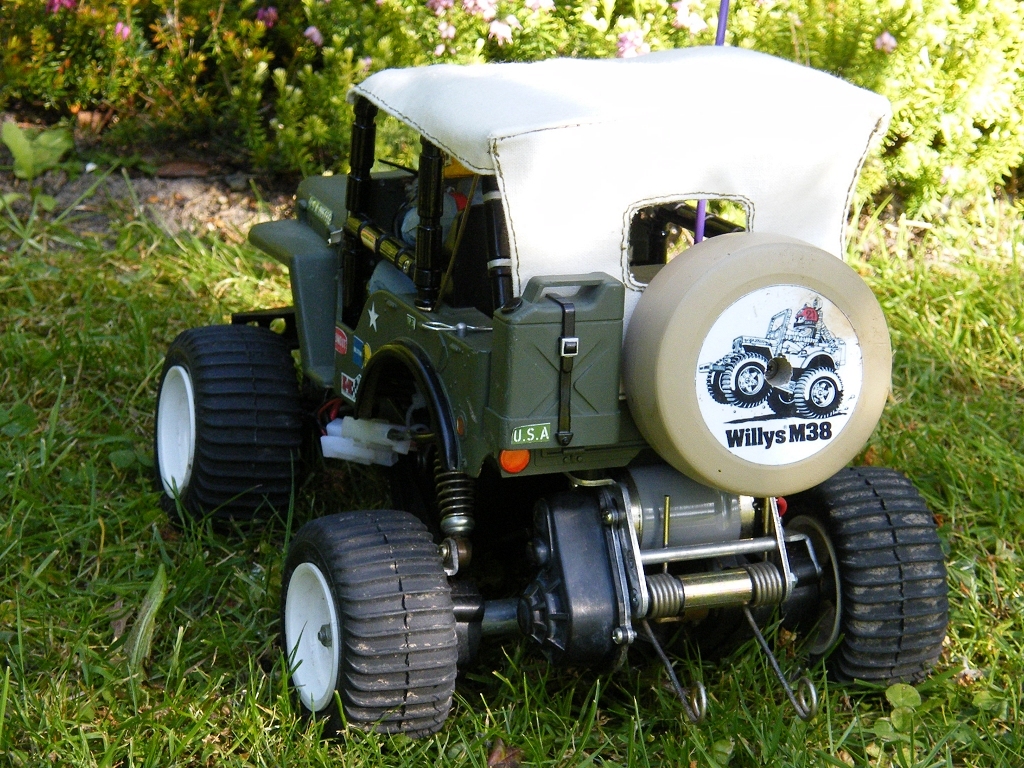
I'm also thinking of a roof - I did have a go at one back in 2008(?), but my standards are a bit higher now (also note the the mould lines on the driver, Grasshopper tyres, damage, purple antenna tube and crap decals on that Willy ...), I'm also inclined to apply resin & paint it to it to make it a lot more robust & dirt resistant.
TBC ...

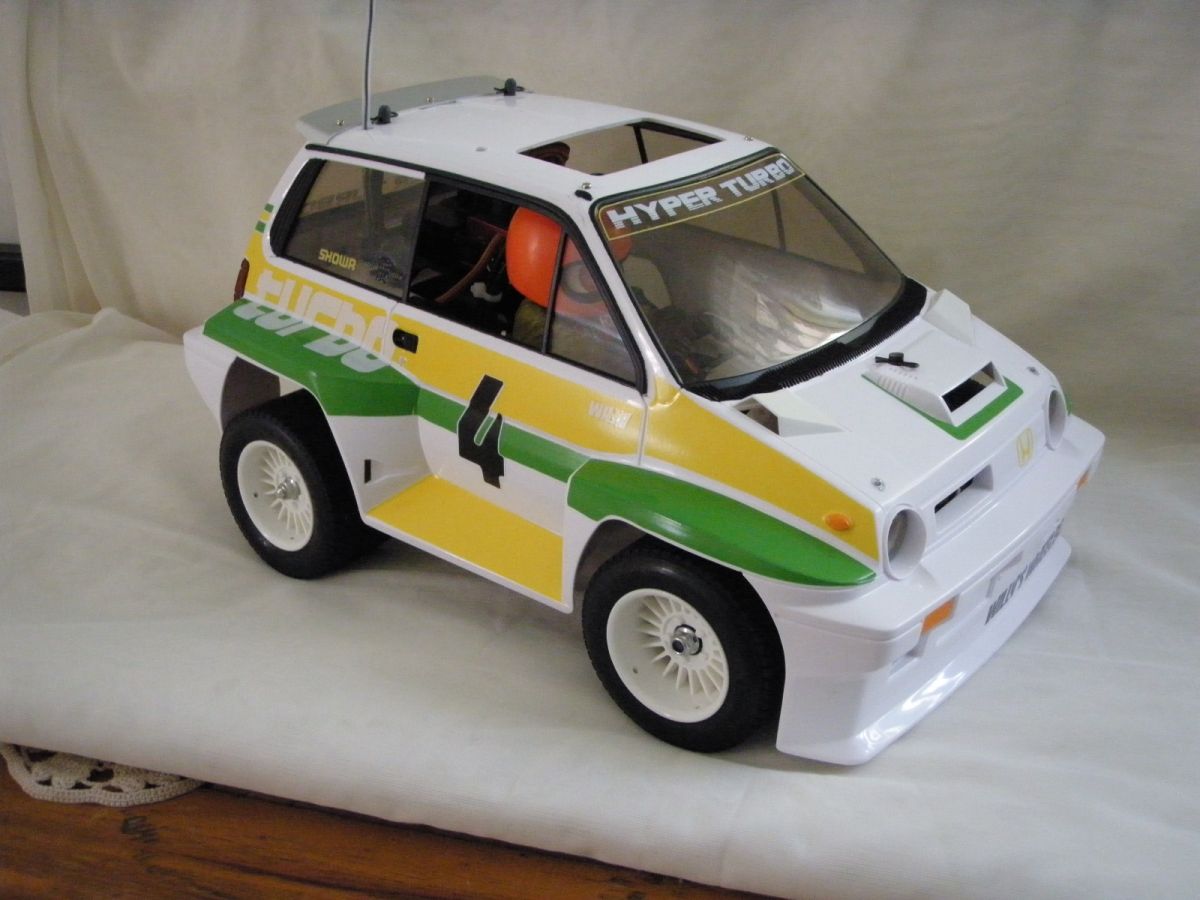
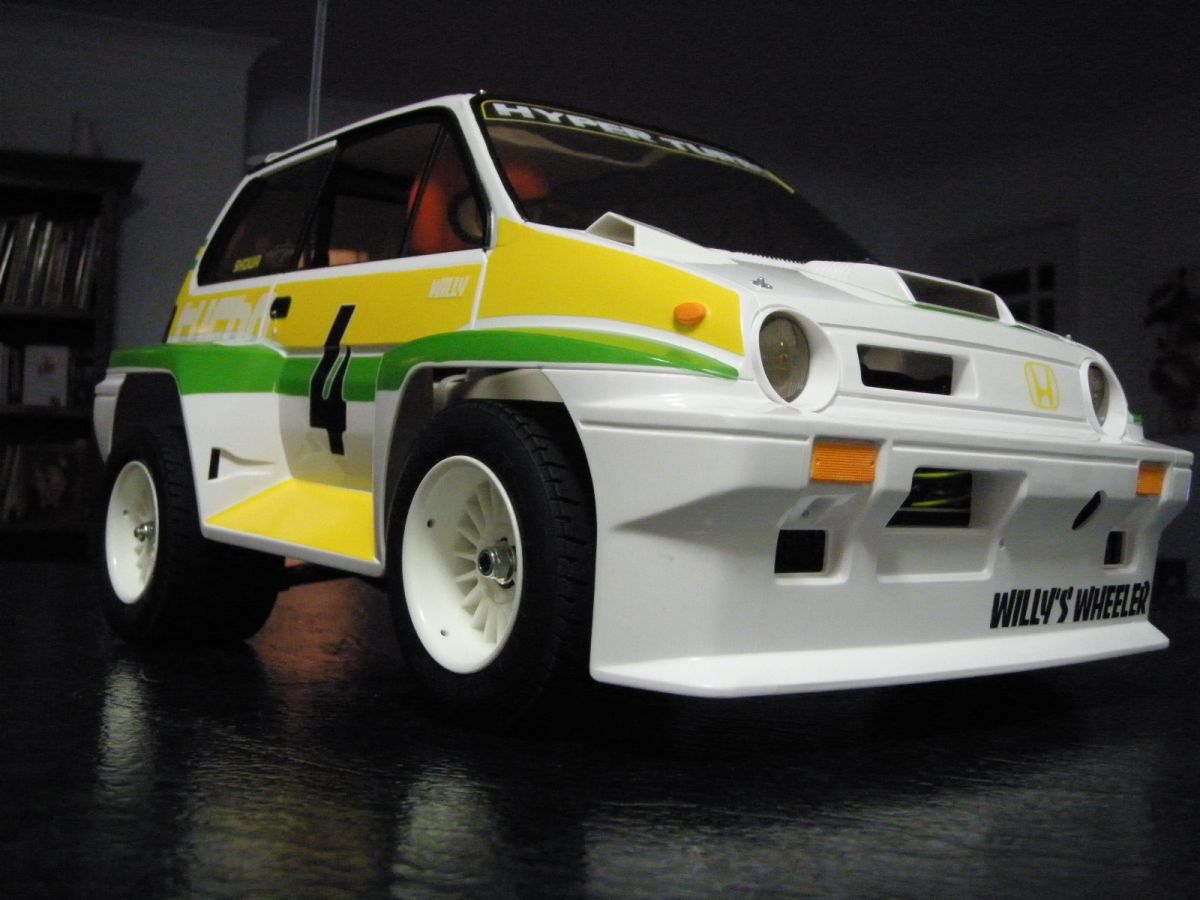
") The yellow gives a racing style.
The yellow gives a racing style. 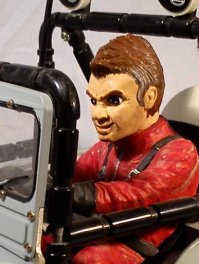


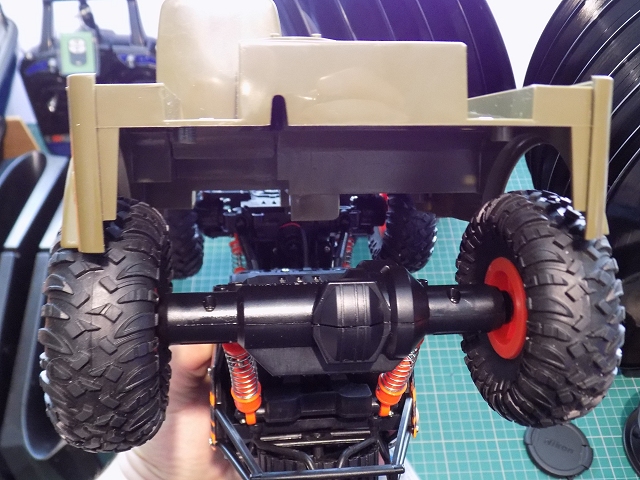
 ), so further shortening is quite possible with a homemade chassis, it'll depend what I find i the way of control electronics when I dismantle it further.
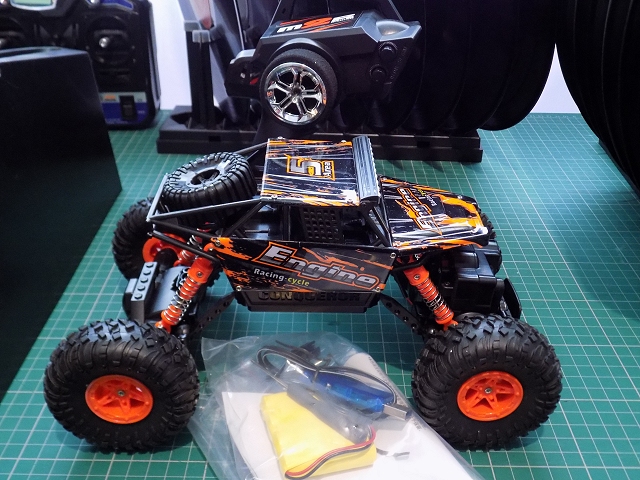
")


