Keyword

TOPIC:

Rought Rider resto 11 years 2 months ago #18530

...
However i think i saved the most important ones, likely those you can't find on E-Bay or even old companies/sponsor's that no longer exist.

...


Don't forget the "Bel-Ray Bullet" decals you can get from ScreenPrintDigital - these are legitmate (as it's not a Tamiya scheme), and excellent quality :)

The following user(s) Liked this: Manotas

Please Log in to join the conversation.

Last edit: by Jonny Retro.

Rought Rider resto 11 years 2 months ago #18531

Perfect !!!

Thanks a lot Jonny :y: :y:
Proud owner of the Bruiser Family

Please Log in to join the conversation.

Rought Rider resto 11 years 2 months ago #18742

Hi Guys,
A little progress on the body "rebuild".
I used some plastic parts to fill in the holes and the missing parts. The plastic i used is from our license plate holders, strong and flexible and glued it with 2 components polyurethane used in the automotive bodyshops.

Before sanding:


After sanding :


Proud owner of the Bruiser Family

Please Log in to join the conversation.

Rought Rider resto 11 years 2 months ago #18743

More pics


That's the 2 components polyurethane i used :


I still need to refill a little bit some air bubbles and sand the whole body again before applying the primer.
I'll keep you posted.
Thanks for looking
Proud owner of the Bruiser Family
Attachments:

Please Log in to join the conversation.

Last edit: by Manotas.

Rought Rider resto 11 years 2 months ago #18746

Primer? Seems a shame to cover it up - a lot of people go to great lengths to give their cars that sort of rat look ;) :laugh:

Please Log in to join the conversation.

Rought Rider resto 11 years 2 months ago #18750

Great job, I do like a good body job :)
If you can't fix it with a hammer, you've got an electrical problem mate :)

Please Log in to join the conversation.

Rought Rider resto 11 years 2 months ago #19042

A small update on the RR body...

Been sanding, primering and sanding many times until the end resuld was satisfying.

Body after primer application...several coats of it :silly: :silly:

After the first coat :


After 4-5 coats of primer, now it looks pretty good and ready for painting


After a day letting it dry...it's time to start painting it.

Here the first coat :


I'm actually fnishing the 3rd coat of TS15...

I'll keep you posted

Thanks for looking
Proud owner of the Bruiser Family

Please Log in to join the conversation.

Rought Rider resto 11 years 2 months ago #19044

Very nice work :woohoo:

Please Log in to join the conversation.

Rought Rider resto 11 years 2 months ago #19045

The "Before" and "After" pictures of this body will be hard to believe! Nice work!
Signature now gets correct formatting if you edit it in your Profile. Use normal BBcode if you want.
www.tamiyabase.com was formatted automatically.

Please Log in to join the conversation.

Rought Rider resto 11 years 1 month ago #19173

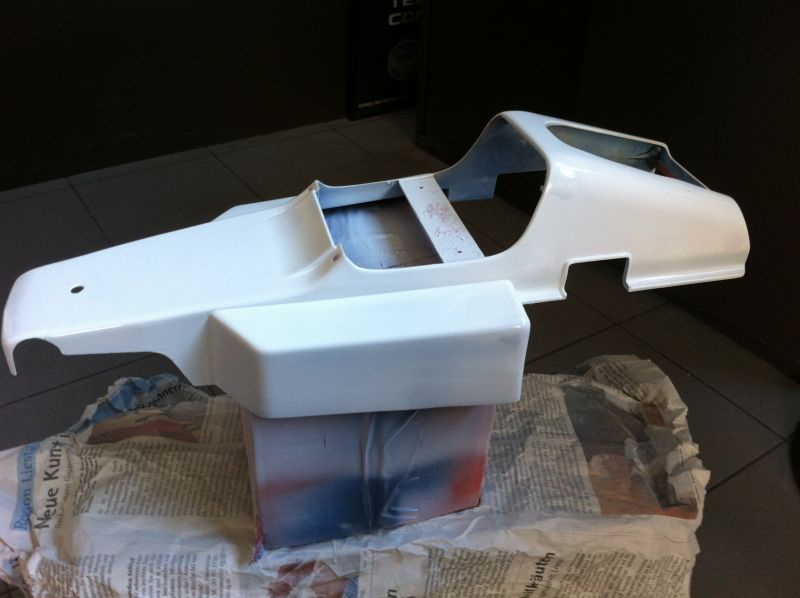
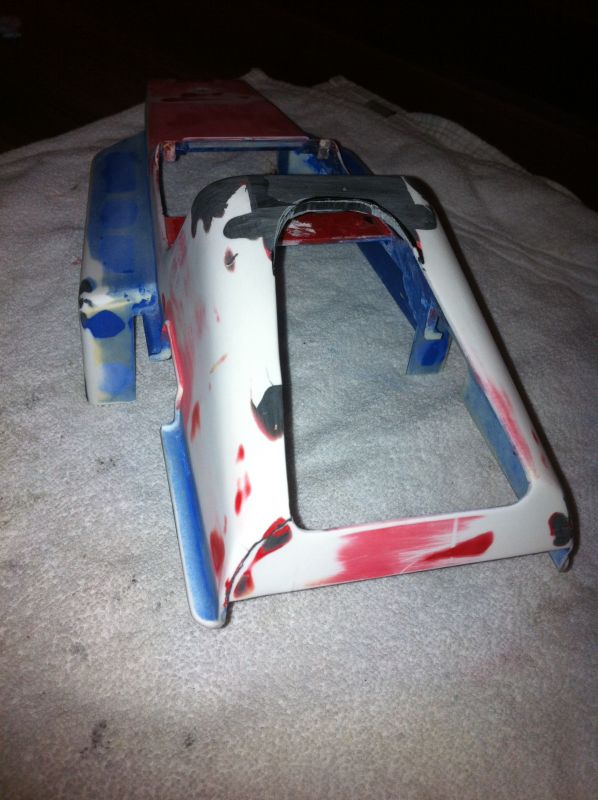
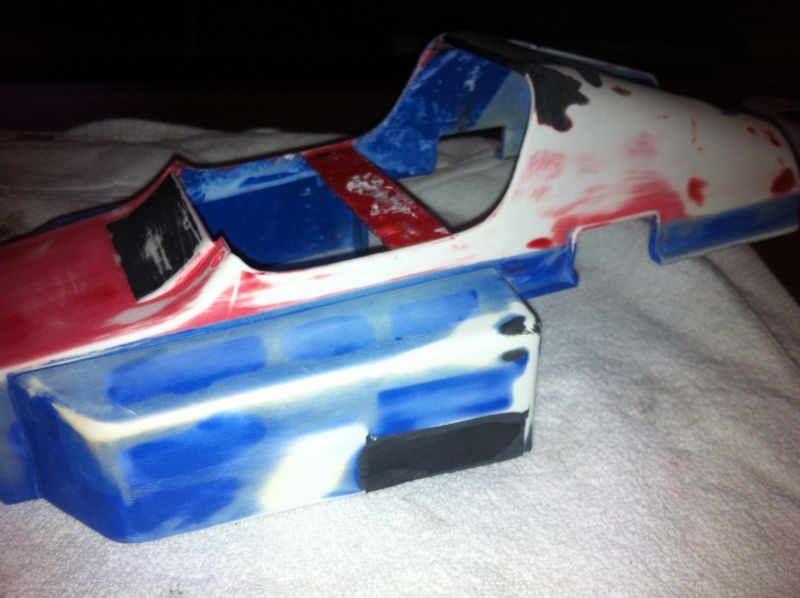
I've been quite busy these days at work with several Motorshows but found a bit of time to continue on the body.
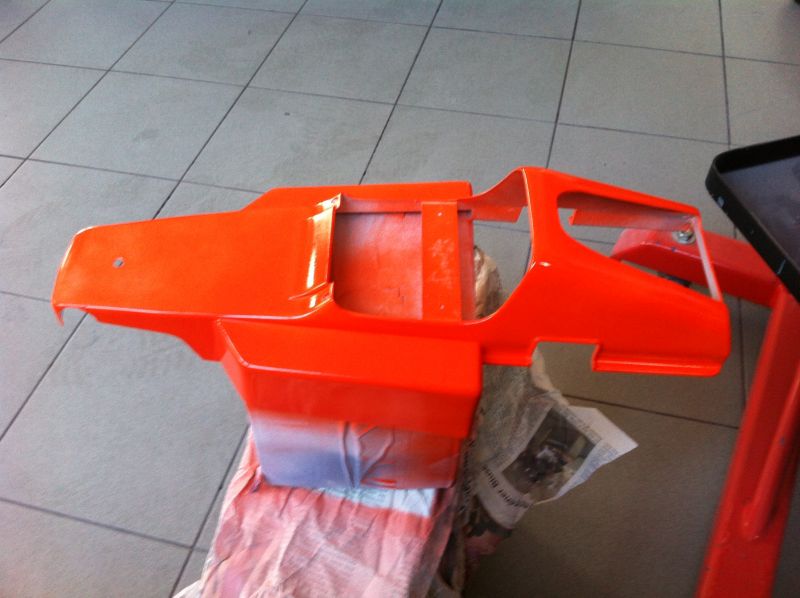
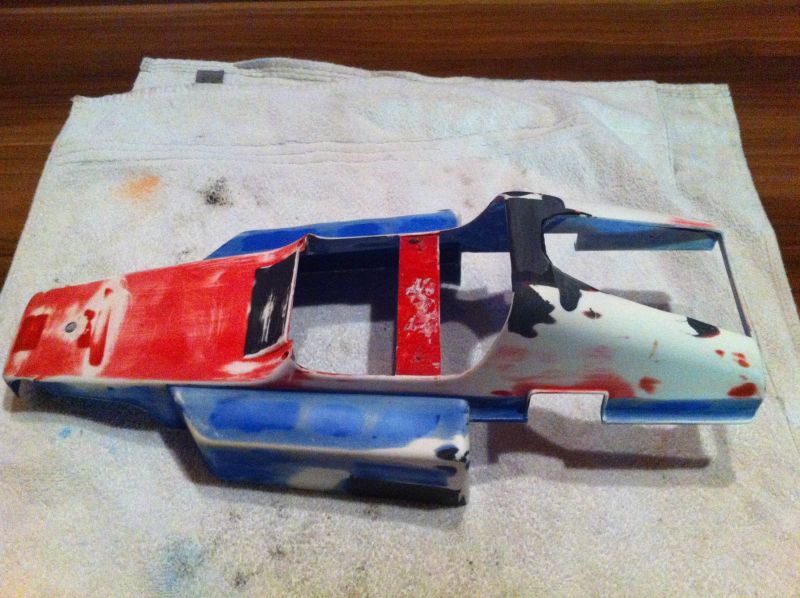
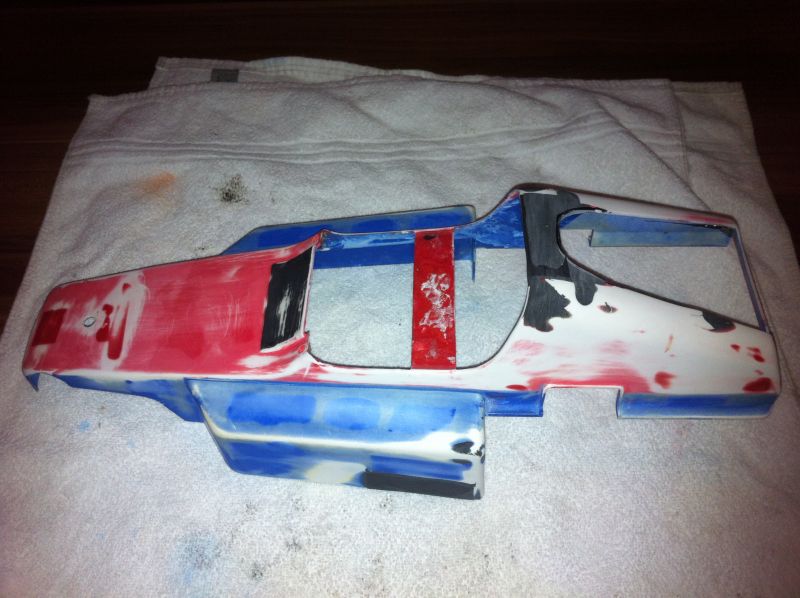
I think i made a mistake painting the body in orange in first place ! As i'm not willing to use re-re decals on it i decided to paint the white parts on the body. It would have been much easiyer to paint it white, mask the white parts off and then apply the oragne colour on it. Anyway i'm not willing to restart the paint job (as it's almost perfect :P ) so i needed to find out the best solution for masking the non white parts.
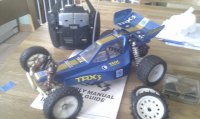
The best way was to scroll on the net to look at pictures of the existing Mk1 Rough Riders. I found a few one's but on the posted pictures there are no close ups of the details that i'm looking for.
Therefore i ordered a re-re decal sheet and once it arrived the work could start.
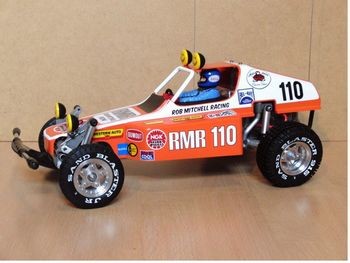
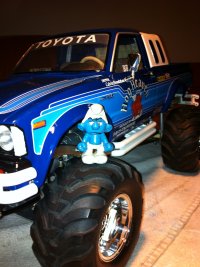
I took this car as example/target for mine.


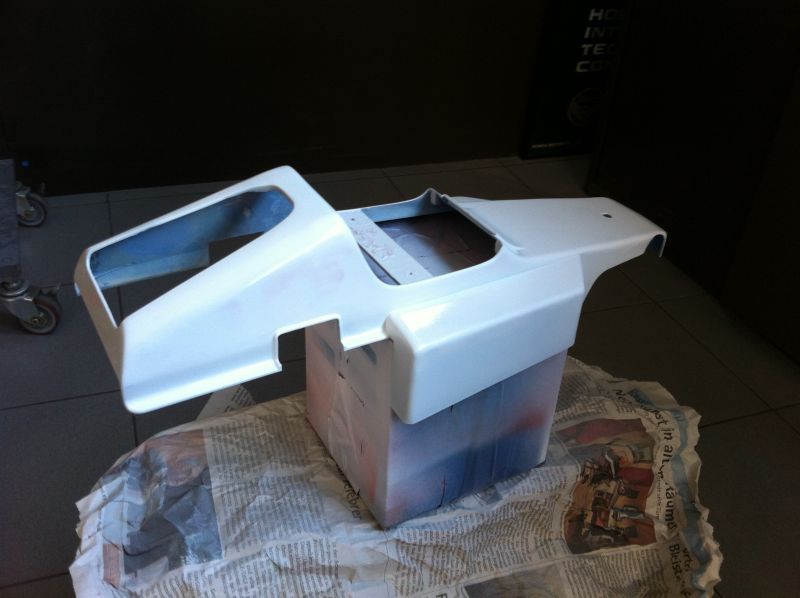
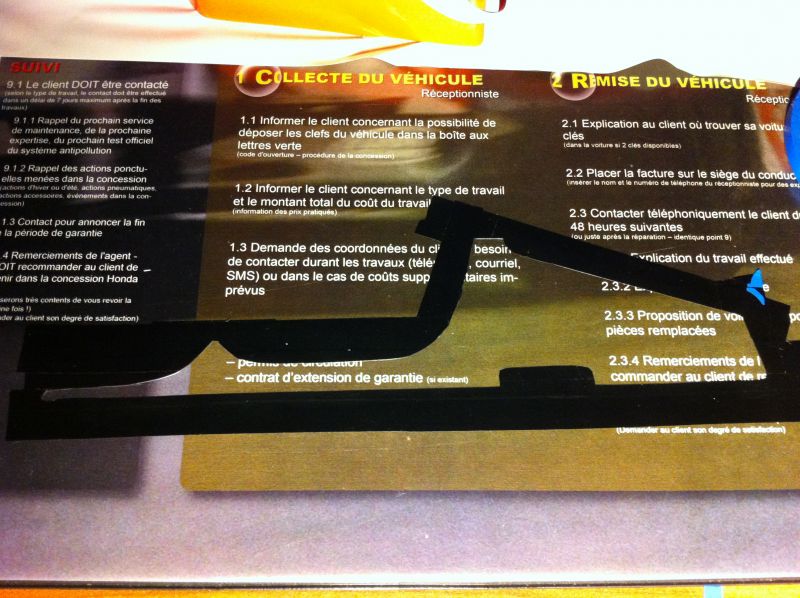
So i started making a papersheet copy of the side decals in order to see which body parts i need to mask. I also tried to make a "negative" of the part, but this solution is way too complicated to cut off in self adhesive masking tape and to apply on the rest of the body.

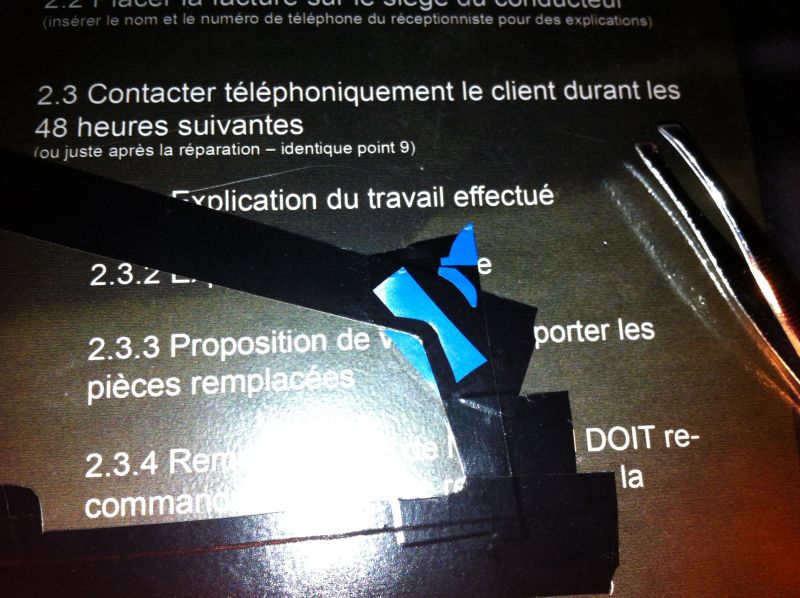
Ok, I took the re-re decals and draw with a pen the decal sheet on a normal paper and cutted the proper contours off.


After that i reinforced it with the most common insulating tape (automotive insulating tape) in order to reinforce the edges of the paper and cutted it off again.


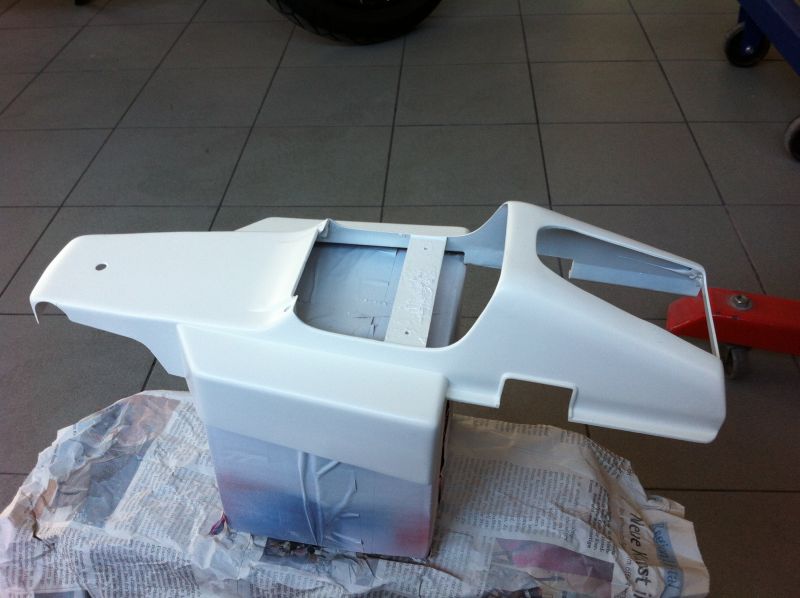
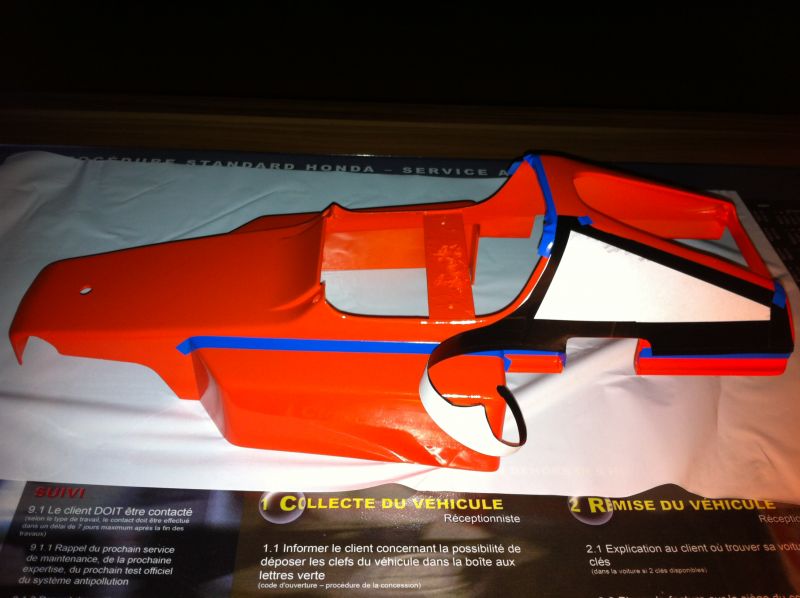
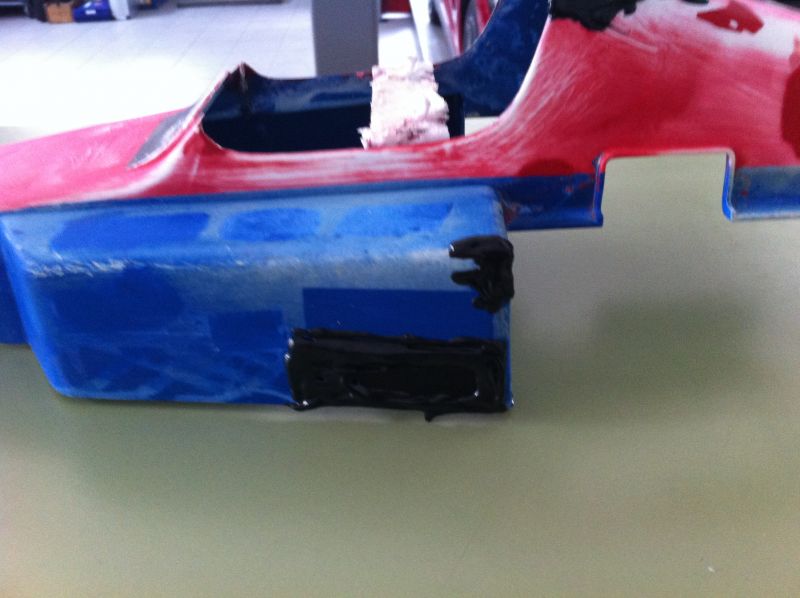
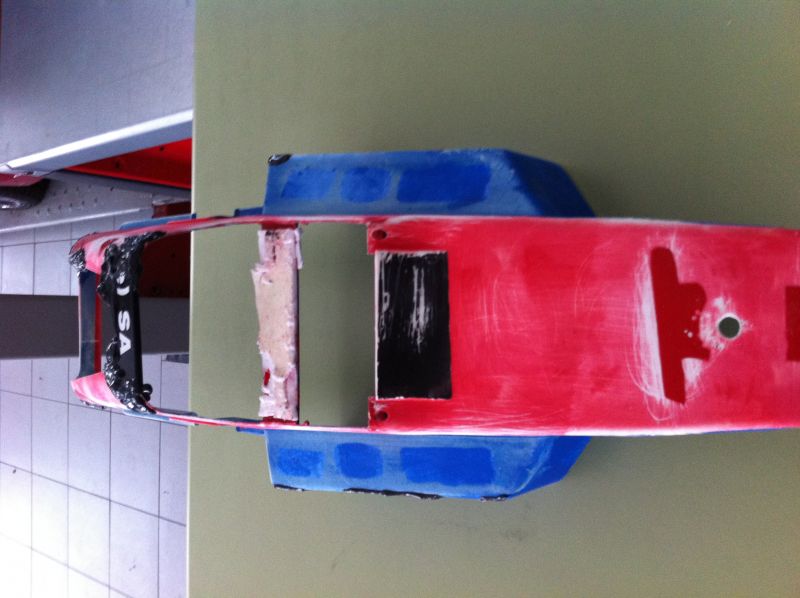
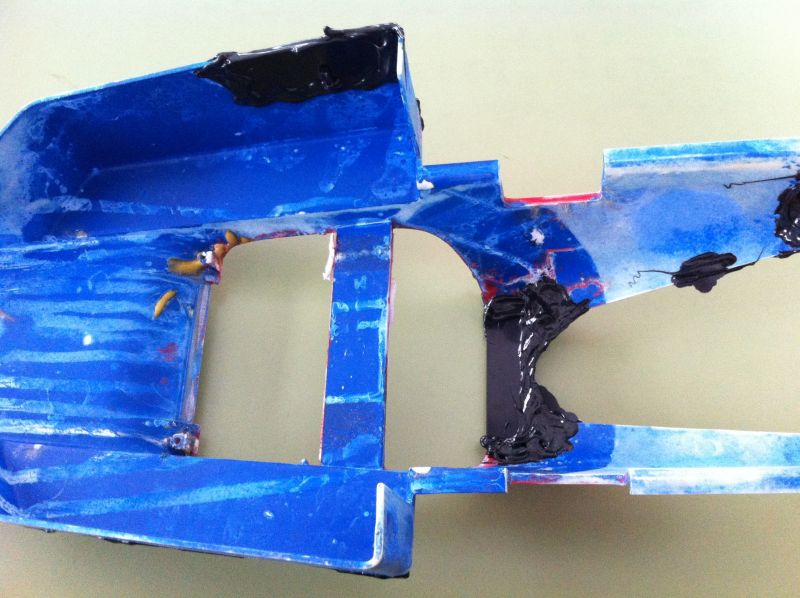
The next step is to put the cutted piece of paper on the body and see what i need to mask.


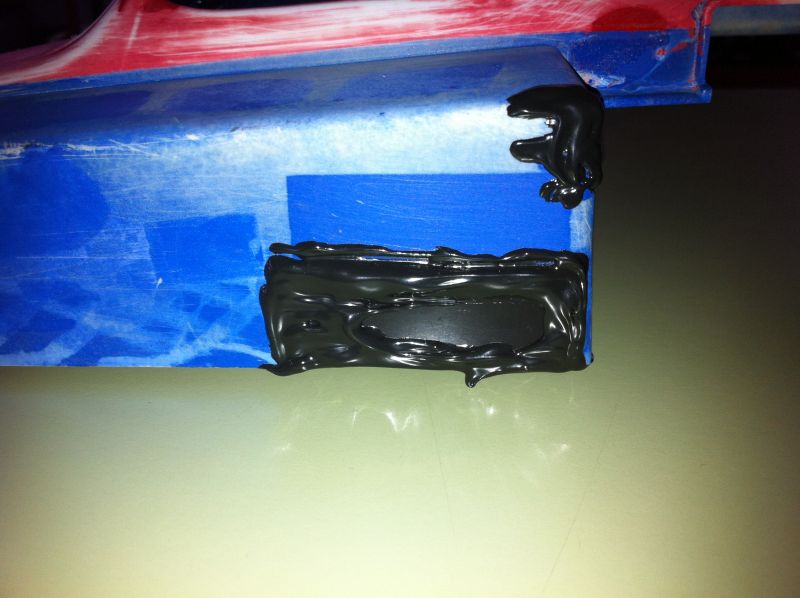
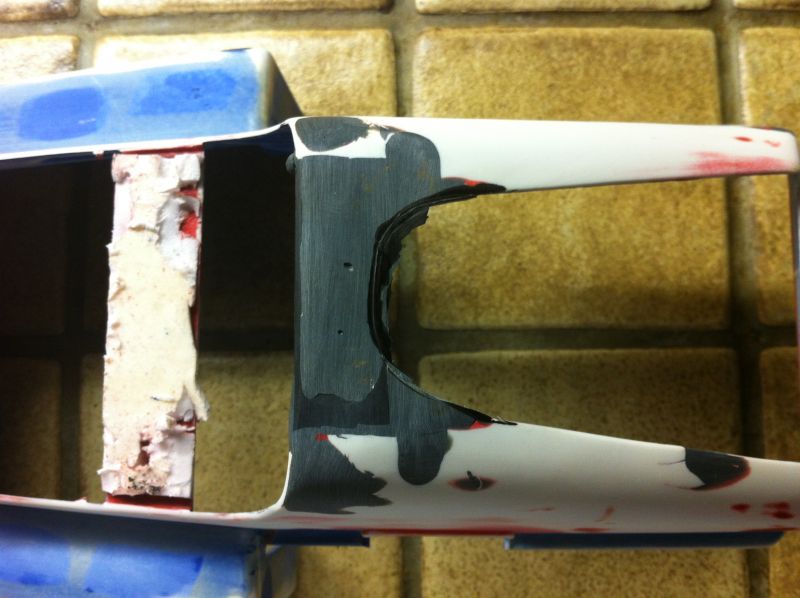
Once this done, the round and other bits of curved lines had to be reproduced with the masking tape in order to keep the orginal shape of the white parts. I used the negative part that remained non adhesive plastic place mat to cut the right angles off.


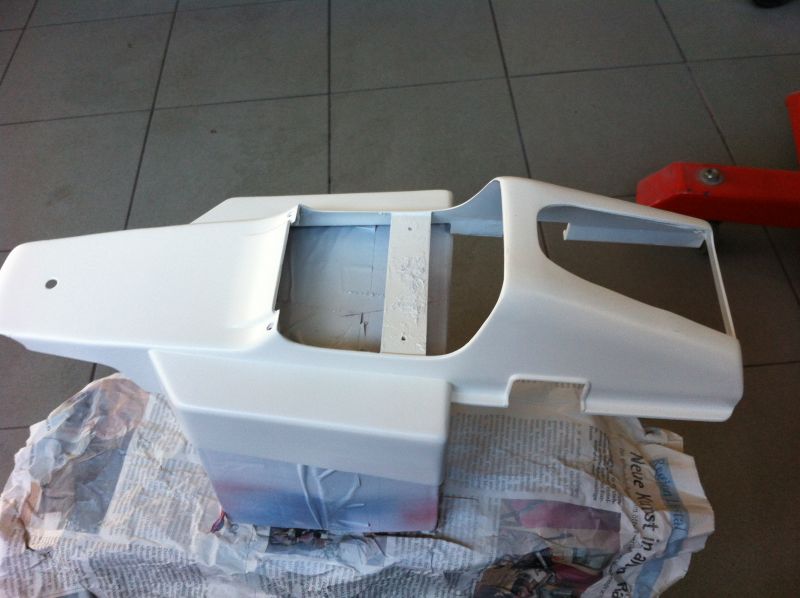
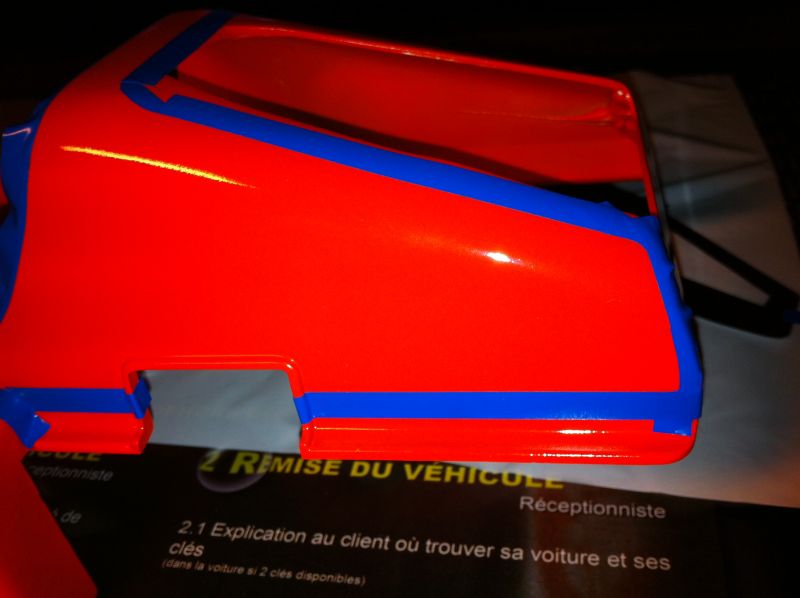
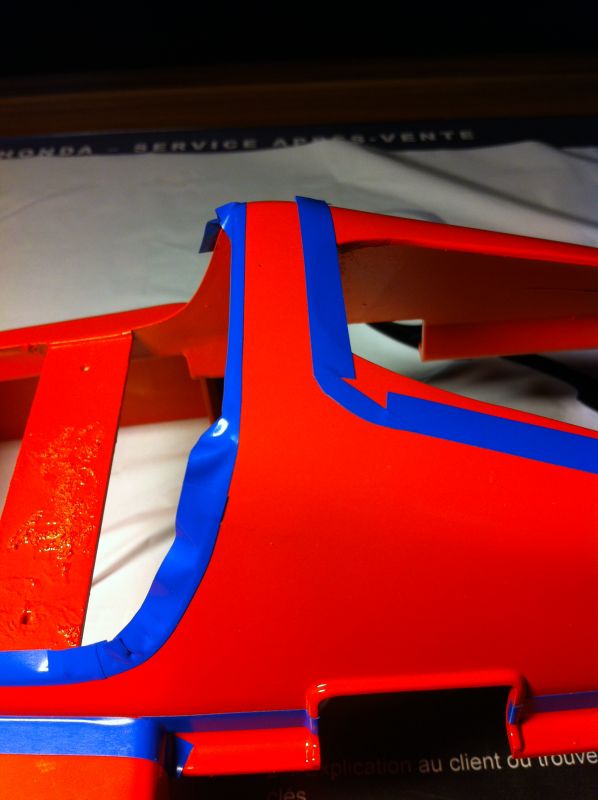
Then I i just had to apply them on the body taking care to keep the correct lines.


And so on...


Proud owner of the Bruiser Family

Please Log in to join the conversation.

Last edit: by Manotas.
Moderators: caprinutstingray-63AndyAus
Time to create page: 0.301 seconds
Cookies are required to make this site work. If you continue to use this site you permit us to use cookies.