TOPIC:
Rought Rider resto 11 years 2 months ago #19365
|
The template was to get it the same both sides? Either way, your panel shaping is excellent
The best thing you can do for the flaws at the moment is leave the shell somewhere toasty for a week or two to make sure the paint is nicely baked before you start your polishing |
|
Please Log in to join the conversation. |
Rought Rider resto 11 years 2 months ago #19371
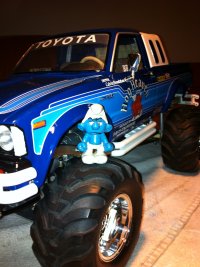
Hi Jonny, Yes, I used the same template for both sides so both sides are equal. The body is resting somewhere behind a window exposed to sunlight so the paint gets "backed" before the next steps. Proud owner of the Bruiser Family
|
|
|
Please Log in to join the conversation. |
Rought Rider resto 11 years 2 months ago #19372
|
While the body is exposed to direct sunlight, i've started working on the mechanical part.
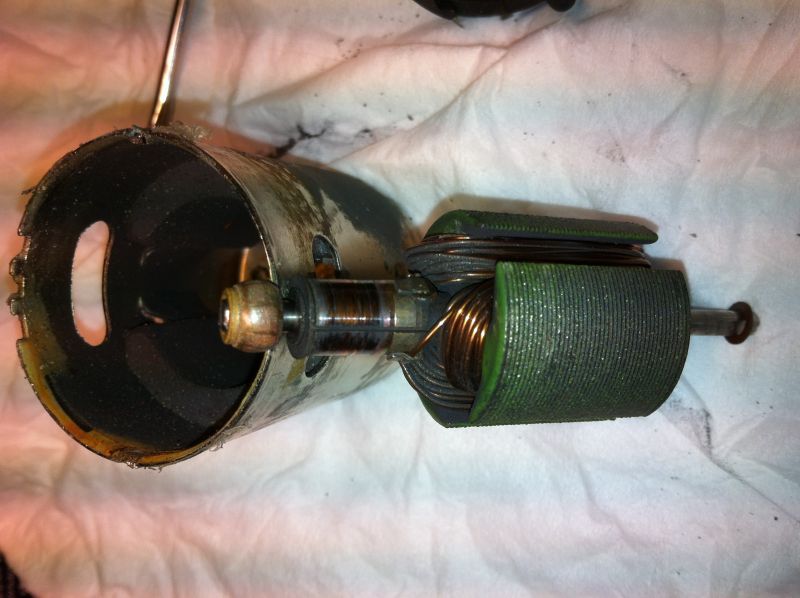
Started taking the shocks apart and polishing them Front Arms Before & after Took the motor apart....but i'll think i'm going to replace it... I still have original vintage ones somewhere As the rear end bronze bushing is stucked on the rotor it might be difficult to find some spares for it. Proud owner of the Bruiser Family
|
|
|
Please Log in to join the conversation.
Last edit: by Manotas.
|
Rought Rider resto 11 years 1 month ago #19906
|
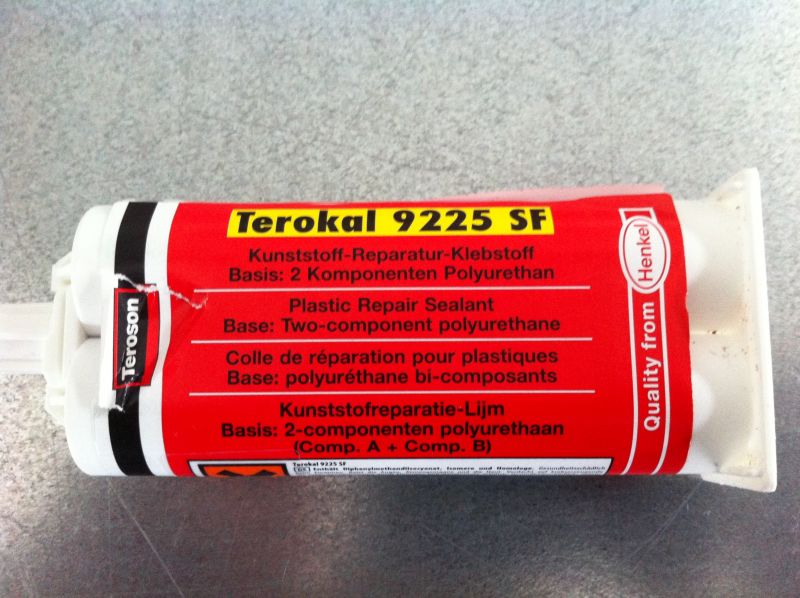
Is that glue for repairing car bumpers? If so, where can I get some? The wife drove her Fiesta into the back of another car on a roundabout yesterday Not too much damage but it's cracked the bumper and it's not worth paying to fix properly - The car is 11 years old, has 160,000 miles on the clock and my stepson will be learning to drive in it soon. |
|
Please Log in to join the conversation. |
Rought Rider resto 11 years 1 month ago #19910
|
You can use this type of glue. We use exactely the same for 1/1 headlights repairing. You can find it in spare parts markets like auto distribution or norauto. Maybe can you buy it directly in a car and body repair. |
|
Please Log in to join the conversation. |
Rought Rider resto 11 years 1 month ago #19924
Hi Martin, Yes, that 2 component polyurethane is mainly used to repair automotive plastic parts. Depending on where you are located u might find it in automotive bodyshops, i doubt that you will find that kind of "professional" 2 component glue in common car shops. If you can't find it, just drop me a PM with your address and i'll be happy to send you one of those Proud owner of the Bruiser Family
|
|
|
Please Log in to join the conversation. |
Rought Rider resto 11 years 1 month ago #19927
|
I found some time to progress a bit on the body
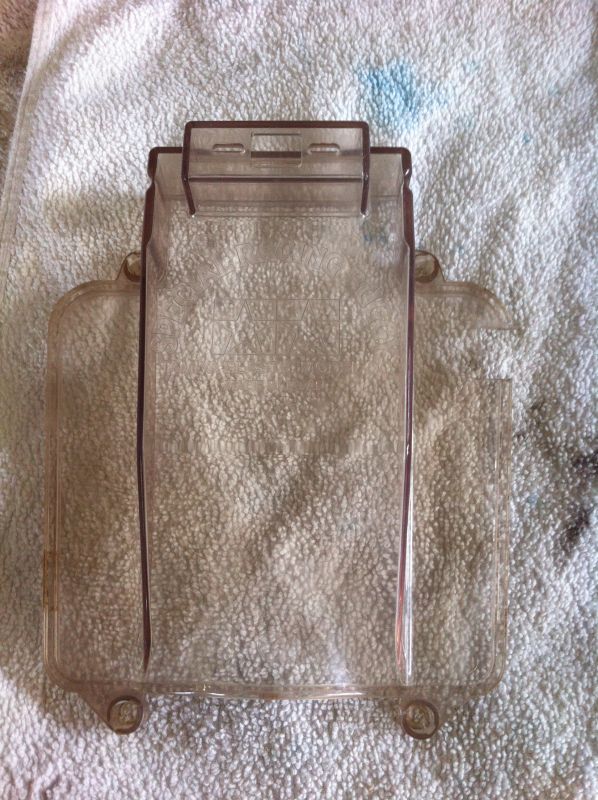
I sanded a bit the white paint edges, polished a bit and now i started with the first coat of clear coat. After appliying the decals i will apply a few more clear laque coats. Painting the roof. This the only part that is not original In the mean time i worked a bit on the chassis parts, cleaning, polishing and making them shinny Polished front and rear shocks with new rubber bushings Polished the electronic box cover and lower part Before After Proud owner of the Bruiser Family
|
|
|
Please Log in to join the conversation. |
Rought Rider resto 11 years 1 month ago #19928
|
Cleaned and polished the underguard
Before After Reassembling the motor after a good clean, polished can and sanded the commutator. I dod not replace the pings and bushes as they still look ok. (and because i don't have spare brushes) Then, time to start assembling the gearbox fitted with new bearings I installed 2 bearings on each rear suspension arms Thanks for looking Proud owner of the Bruiser Family
|
|
|
Please Log in to join the conversation. |
Rought Rider resto 11 years 1 month ago #20286
|
Finally got some time to keep working on the chassis...
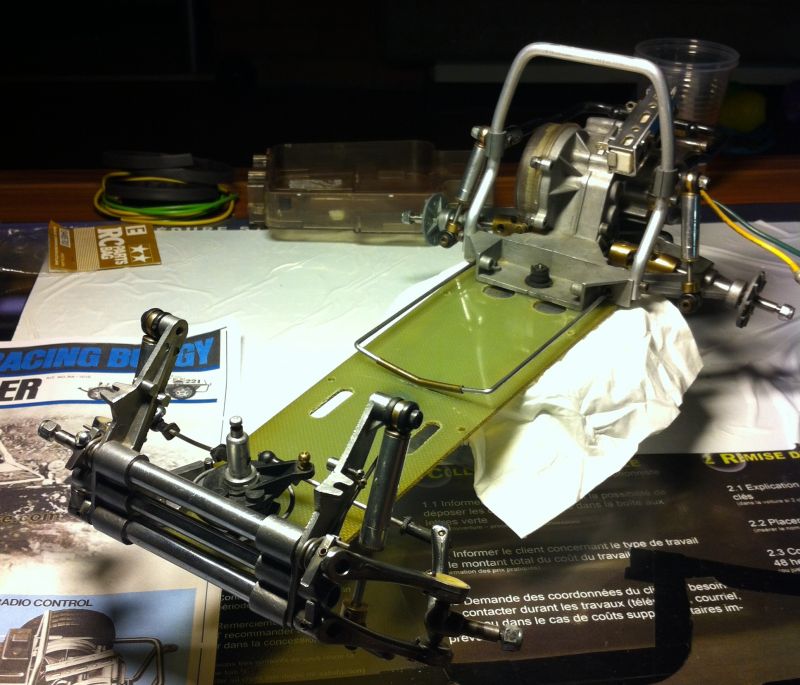
Assembling the front suspension. I still need to remove the ugly M3 srew on upper right arm...waiting for the correct part Assembling the chassis plate, Gearbox and front suspension The electronic box is almost ready to install I just need to revire the MSC and the circuit braker. The alloy rims are on the way and should be arriving real soon In the meantime i put the decals back on the body and as i'm writing this the first coat of clear laque is driying.. Masking the roof, ready for his first coat of pure white After a while...tadaaaaaaaaaaaaaaaaa Headlamps ready for painting too Proud owner of the Bruiser Family
|
|
|
Please Log in to join the conversation. |
Time to create page: 0.291 seconds

