Thanks Martin, and yeah, no problem with your methods at all Jonny
")
Every collector/enthusiast is different. Every single person has their idiosyncrasies, and if anything, hobbies like this only amplify those behaviours.
So for me, "originality" is pretty much my only rule, and I like it for the fact that it keeps things simple, as much as I find it more satisfying in the nostalgic sense.
In my experience, waiting for the right spare part does usually work. Sometimes it takes 5-10 years. But you might find another Spital Trial 12 driver when you least expect it, so keep an eye out.
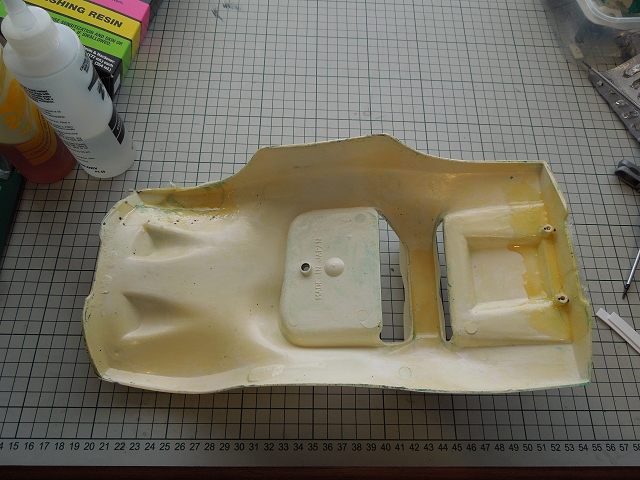
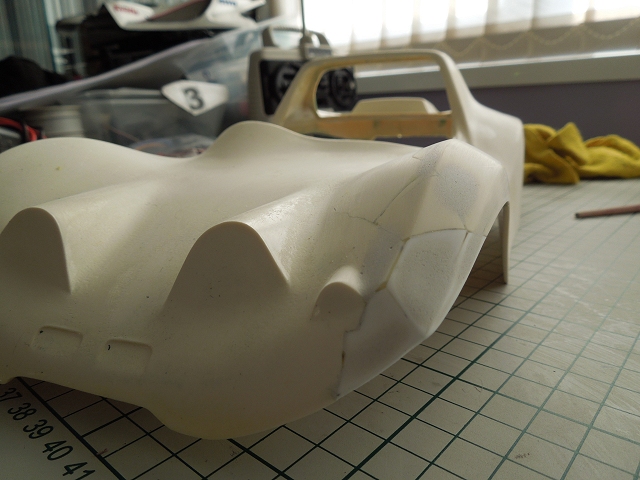
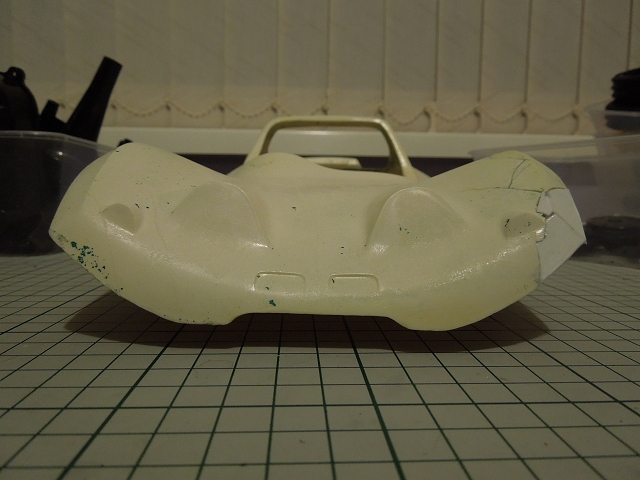
One of my current projects is a complete clean and reassembly (I hesitate to say "restore" as the car is a basket case) of a LaTrax Hustler. Similar era as the Spital Trial 12.
My dad bought a ruined one at a garage sale about 15 years ago, for 50 cents. Recently I found another one with the ultra rare original box. So from the two, after all these years, will come one.
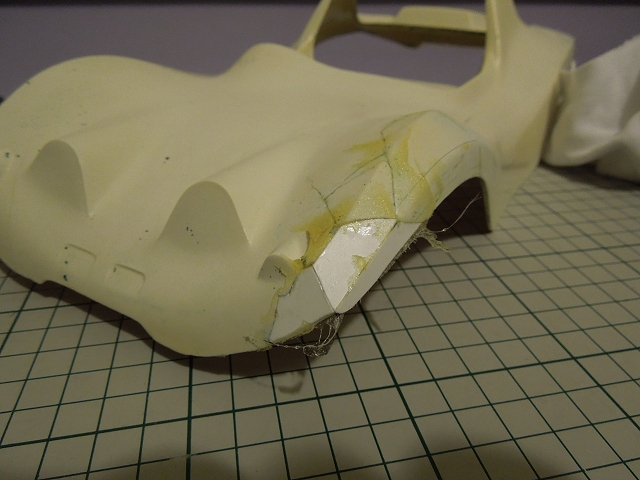
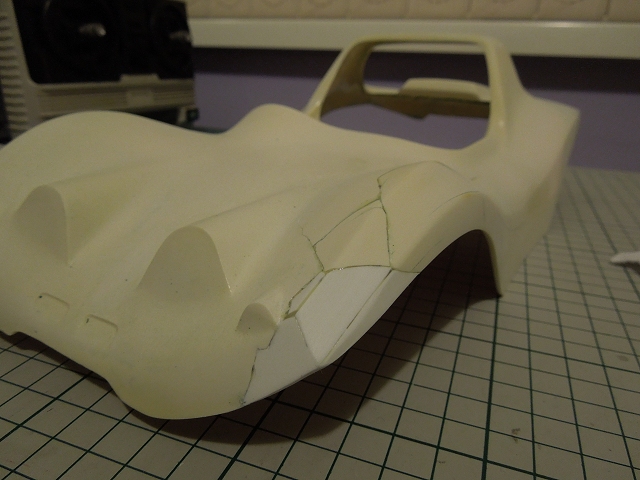
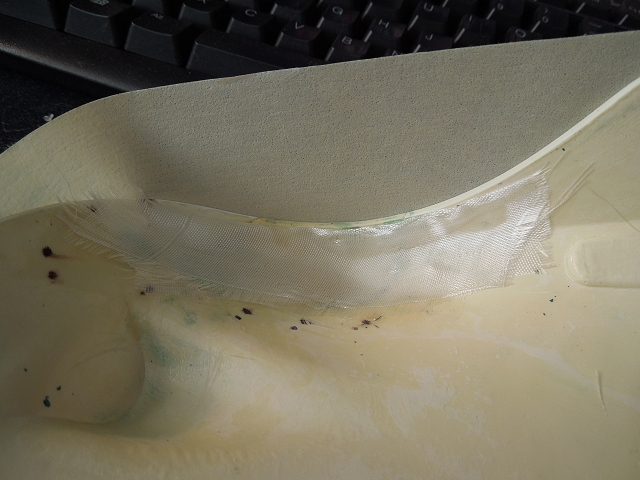
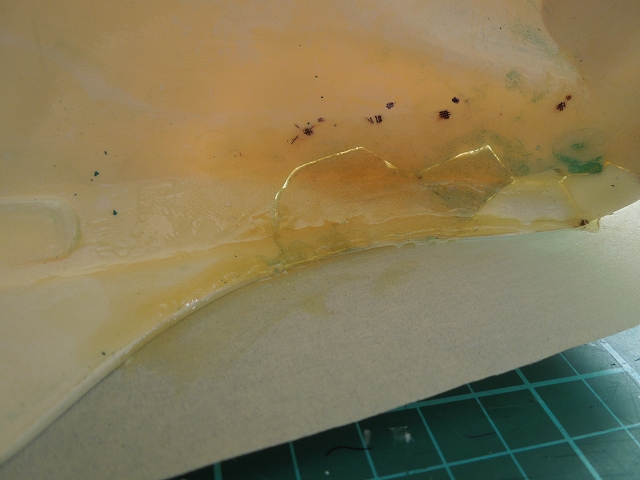
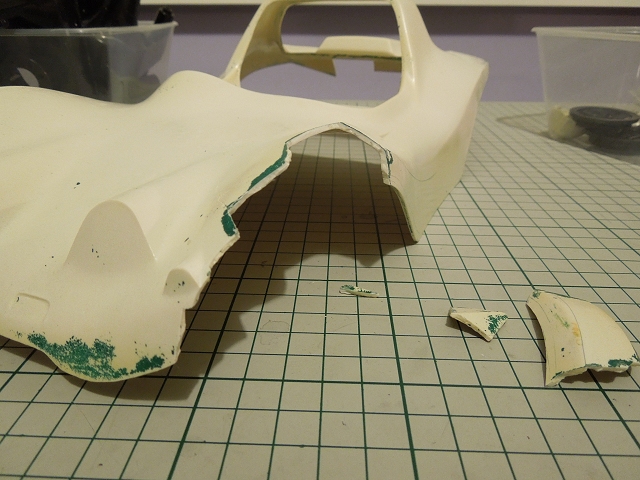
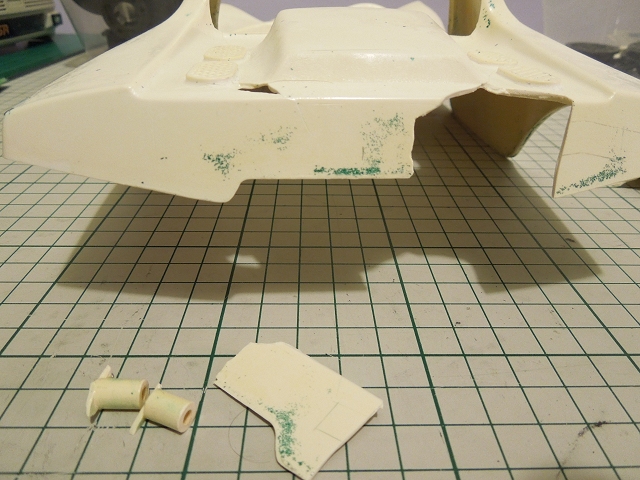
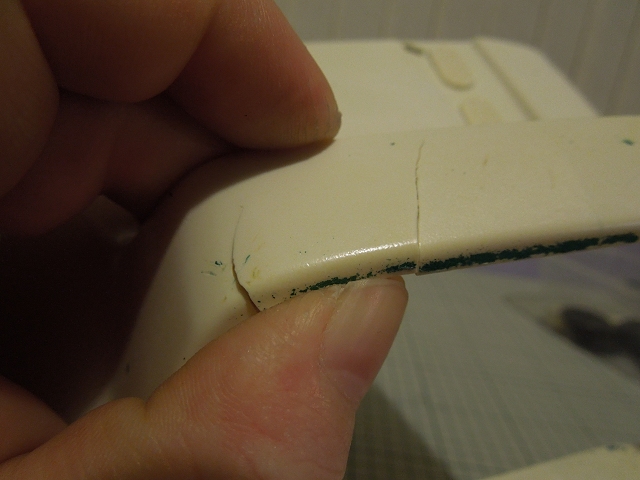
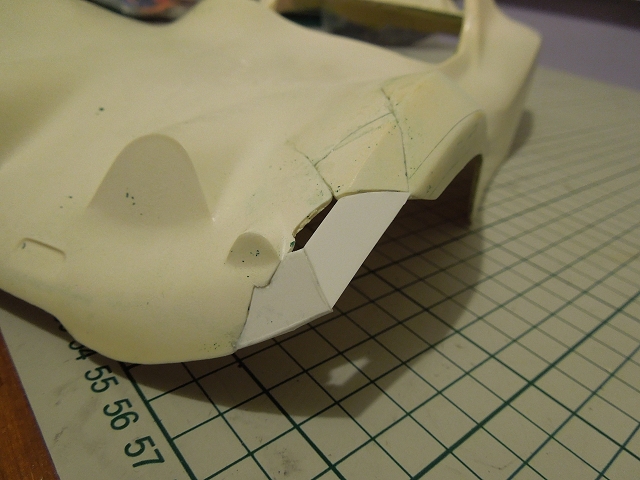
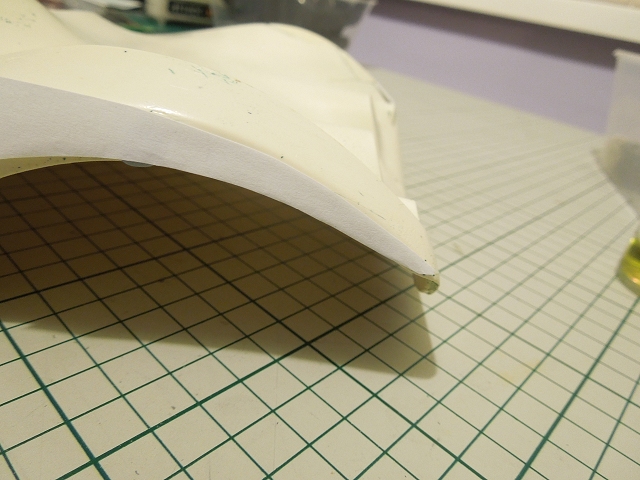
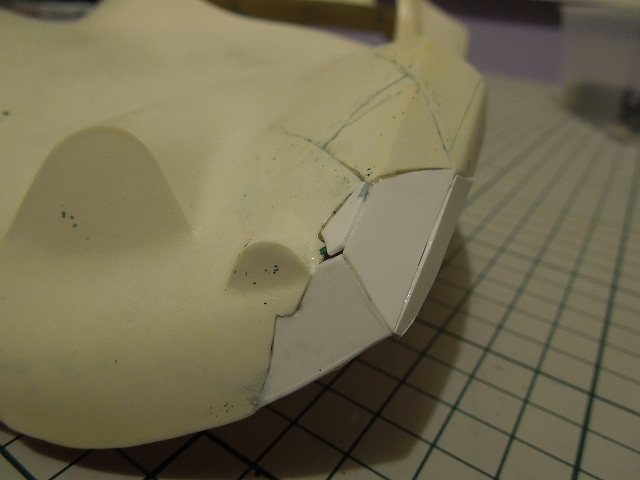
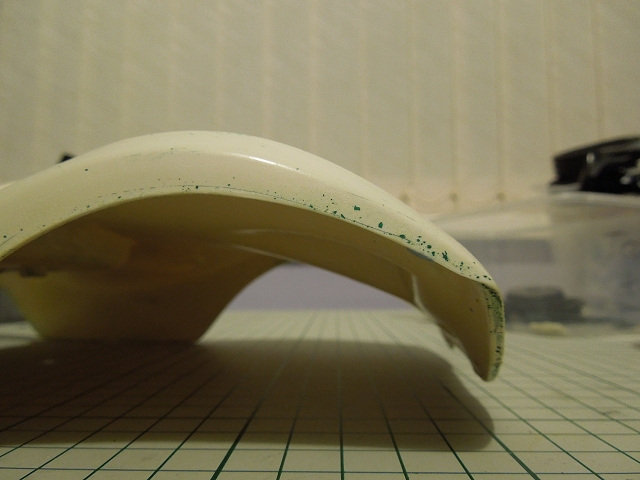
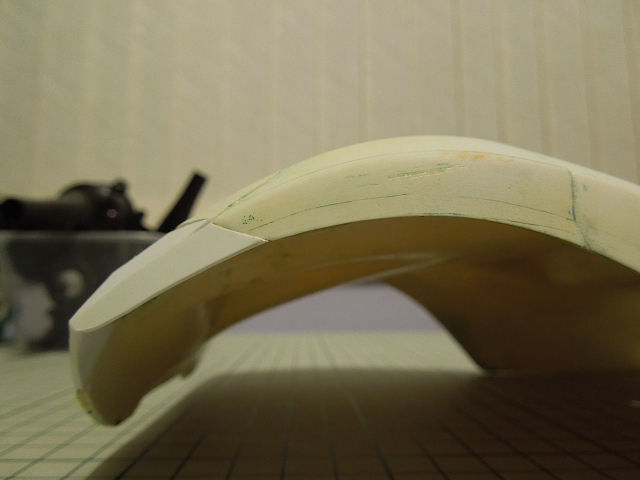
But the only front bumper I have is one which was shattered into about 6 pieces and then glued and rejoined with rusty brackets and pop rivets

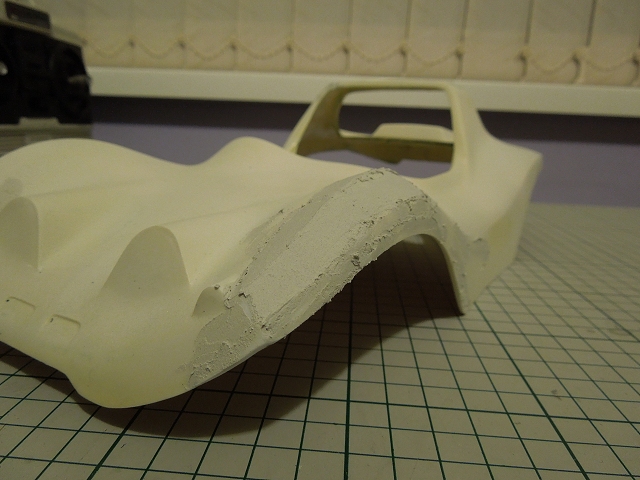
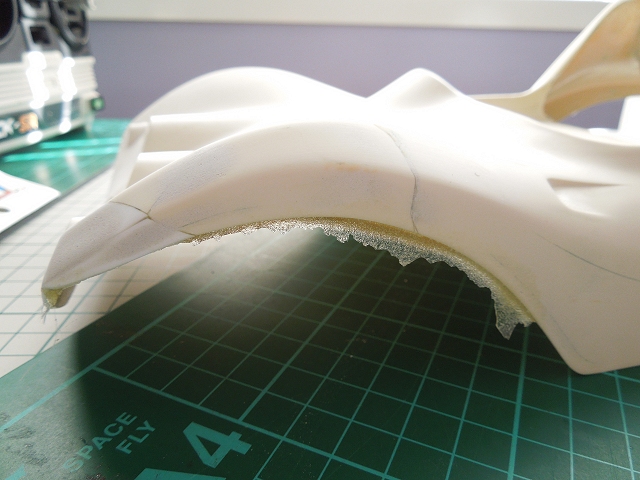
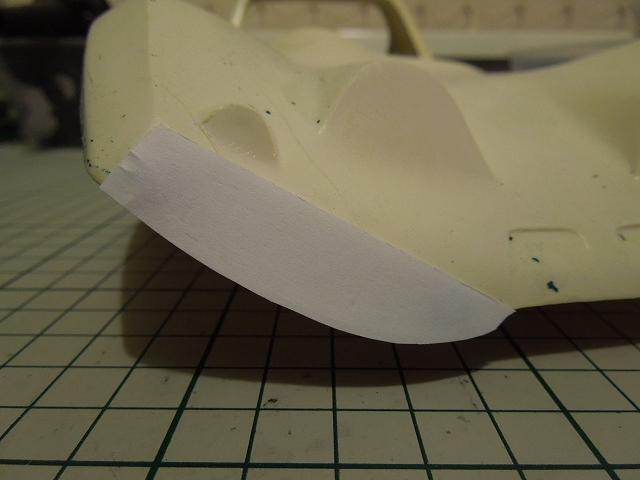
During January, I finally decided to start this project. I spent half a day just trying to pry the pop rivets and brackets out of the plastic, and clean all the fragments, in order to try gluing the bumper back together as it was meant to be (and without breaking it any further). I got there in the end! It will look alright on the car. I could have just used an SRB re re bumper, as its practically a clone of that. But no :/
In a sense, I even think I find it amusing - as an activity - to restore cars as far as they can be restored (while still original), and no further.
If 60% is the best I can do, then I'm happy with that - I like the patina of the car that's had a hard life, being brought back to its best level (without upgrades).
It's like polishing a mosquito trapped in amber, and just being happy that you can see it. As opposed to say, extracting it fully, and mixing it with some modern insect DNA to make it living hybrid that can fly again.

Cheers,
H.
www.rctoymemories.com 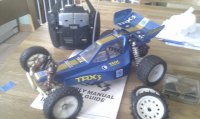


") I'm already looking forward to your body restoration
I'm already looking forward to your body restoration  cheers Andy....
")