Fantastic regarding the regulators/BEC, I wasn't going to suggest it as most get scared when you suggest electronic get-arounds. What are you actually using? - if you go for simple LM7805, they'll deliver 1A at constant 5.0V (Assuming your battery voltage is above that). It can be used as a standalone device (Doesn't require any other components) & is small (About 10x15mm) for the 1A version. It does need a heatsink for large voltage drops &/or high current handling though, as they can get quite warm
Custom F2
...
Hilux crossmember drawing
...
F2 axle drawing
...
Quattro radio lid
...
Holiday Buggy motor bracket drawing
...
Quattro resto
...
HitnMiss engine
...
Wild Willy resto
...
Mardave Cobra resto
...
Thunder Dragon resto
...
Grasshopper resto
...
XR311 resto
...
Modded XR311
...
Carbon 25th scratch build
|
|
Please Log in to join the conversation. |
Excellent project, LB. This will be great to follow
Signature now gets correct formatting if you edit it in your Profile. Use normal BBcode if you want.
www.tamiyabase.com was formatted automatically. |
|
Please Log in to join the conversation. |
|
Very impressive so far LB !! I love the Pinzgauer. Don't you just love the possiblity when you're building one you park next to one also!! What are the odds!!
Keep up the good stuff, we all know that time is the only thing limited the most in life... Cheers, Bram Restoring Countach 58005
Restoring 58015 RR Restoring 58098 F40 Restoring King Cab and Monsterracer Restoring Audi Quattro rally Restoring Mk.1 Sand Scorcher Restoring Porsche 936 |
Please Log in to join the conversation. |
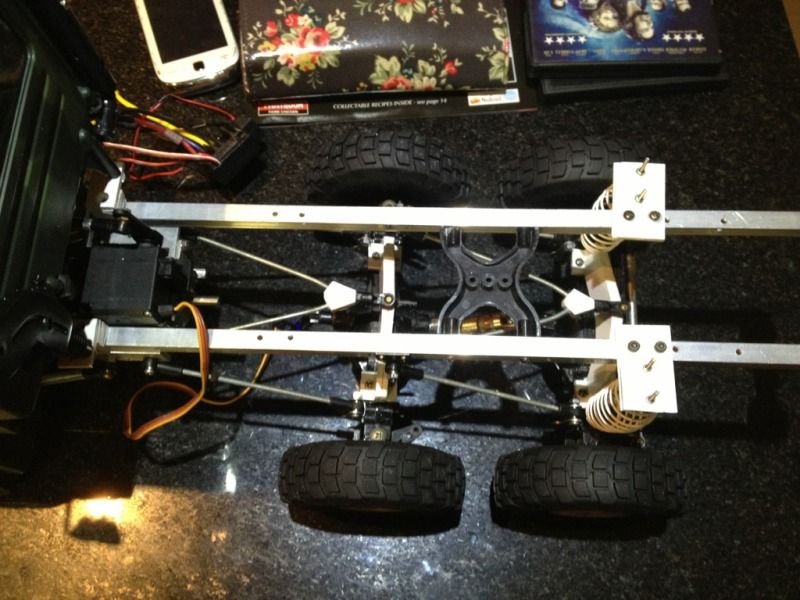
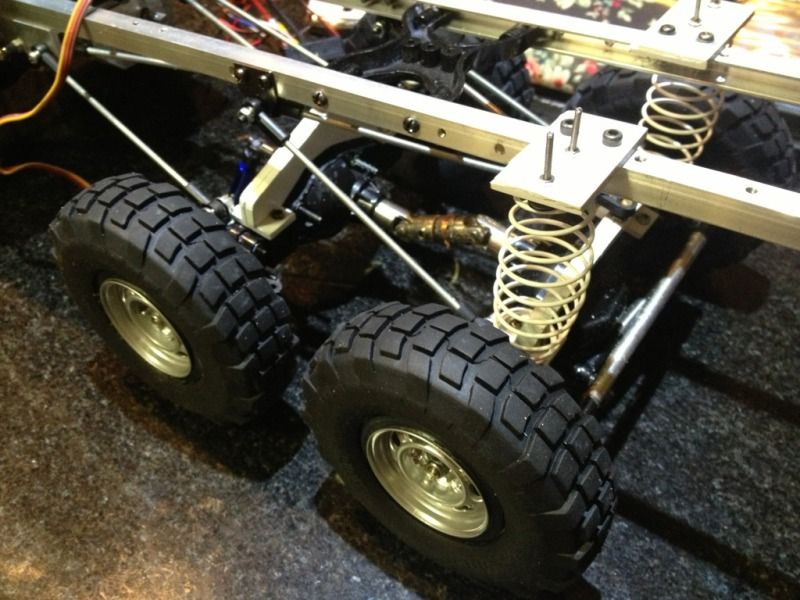
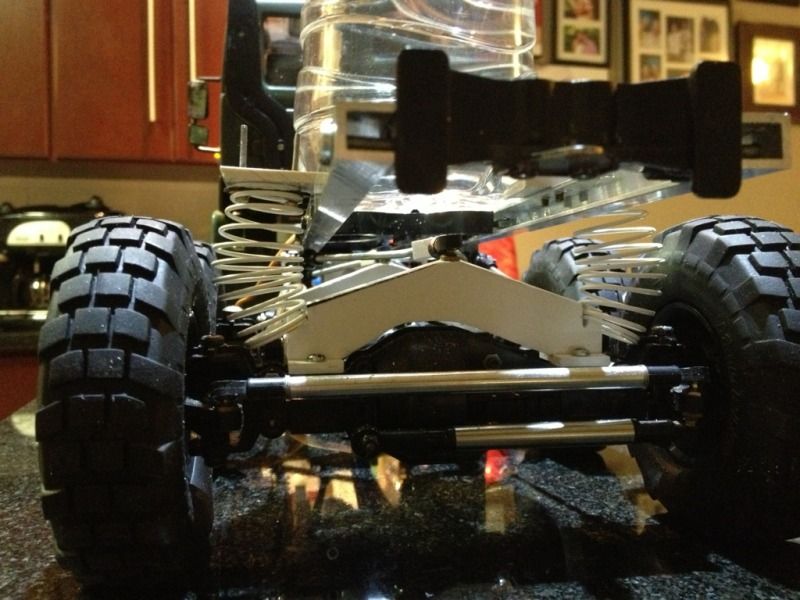
Hello all, long time since I've been on here. The progress on the Pinzgauer is slow, but at least going forward. I've been spending a lot of time on the chassis, fine tuning, and redesigning the rear suspension. I wasn't totally happy with the leaf spring setup. So I have changed it to 4 link on each axle.
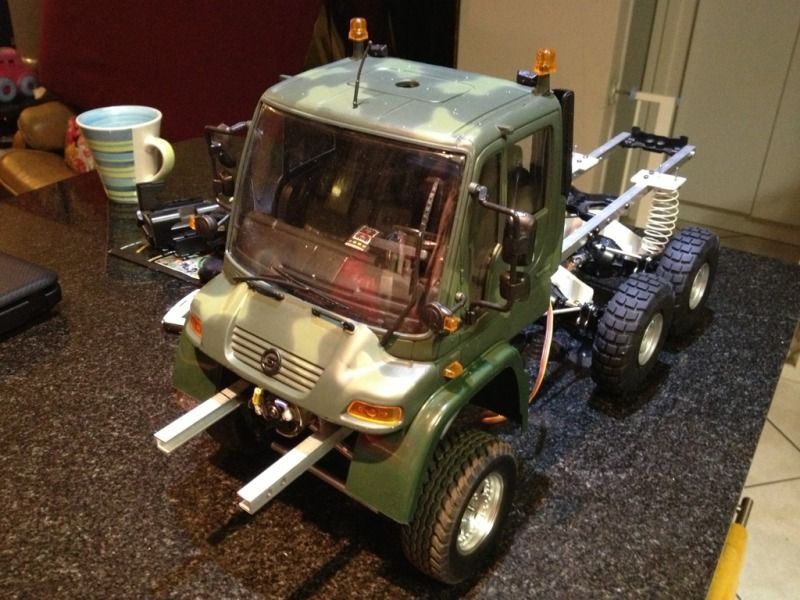
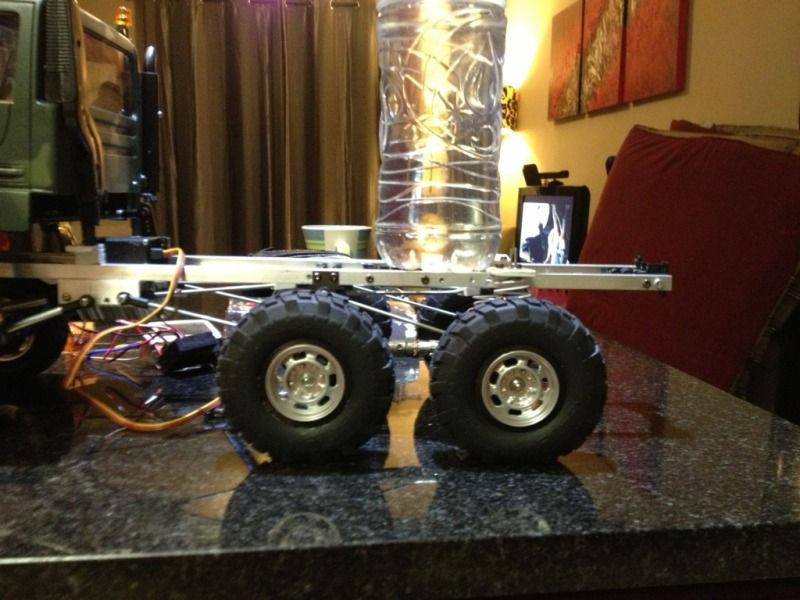
On another note, I'm installing a Unimog body on it for now, while I finish the Pinzgauer body. I cut out the sides of the Pinz body, but 3mm styrene is not the easiest to build with. But here are some pics of the rear mods... 
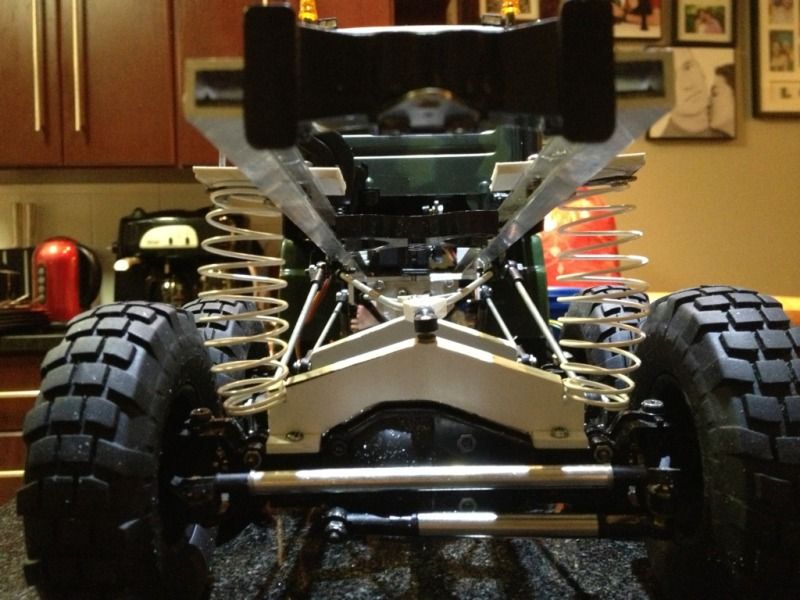
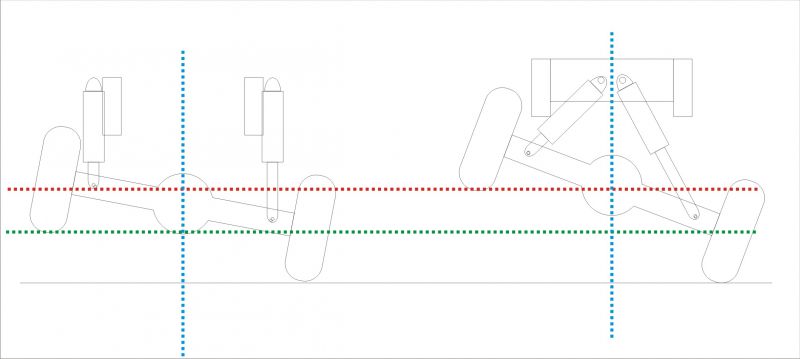
As you can see, the rear is only running on 2 spring for now, haven't fully designed the setup yet. But I think the oil shocks will be at a 45 degree angle, and the spring holders will be raised a fraction. As it stands now, I can put 1.5 liters of water on the back, and the suspension isn't fully bottomed out. More soon, but any comments and/or design ideas are welcome... My Projects:
Bullhead Rebuild ... Ford F350 Mods ... Manta Ray Revival ... Custom Super Hornet Build ... TL-01 Crawler ... CC-01 Pick-up ... CR-01 With Hop ups ... Project Unknown ... Clod crew cab ... Other: Custom Display cases ... Limited Slip Diff(LSD) ... |
|
Please Log in to join the conversation. |
Great to hear you at least moving forward How about using 4 independent mini shocks (like on the front) for the rear? Cheers for the update Andy........
If you can't fix it with a hammer, you've got an electrical problem mate
|
|
Please Log in to join the conversation. |
Thanks for the reply Andy, I have explored that concept already, but the main problem with that is it limits the axle movement. The axle is limited to move only as long as the shock, whereas, if I run the shocks longer and at an diagonal angle, the axle has more room to twist. I'll post a pic when I get back to the office. My Projects:
Bullhead Rebuild ... Ford F350 Mods ... Manta Ray Revival ... Custom Super Hornet Build ... TL-01 Crawler ... CC-01 Pick-up ... CR-01 With Hop ups ... Project Unknown ... Clod crew cab ... Other: Custom Display cases ... Limited Slip Diff(LSD) ... |
|
Please Log in to join the conversation. |
My Projects:
Bullhead Rebuild ... Ford F350 Mods ... Manta Ray Revival ... Custom Super Hornet Build ... TL-01 Crawler ... CC-01 Pick-up ... CR-01 With Hop ups ... Project Unknown ... Clod crew cab ... Other: Custom Display cases ... Limited Slip Diff(LSD) ... |
|
Please Log in to join the conversation. |