TOPIC:
Re-Re Grasshopper full suspension mods and a few more bits :-) 6 years 3 months ago #47048
|
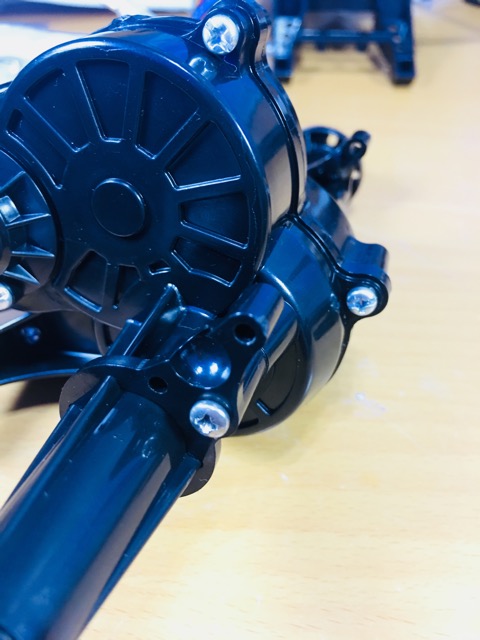
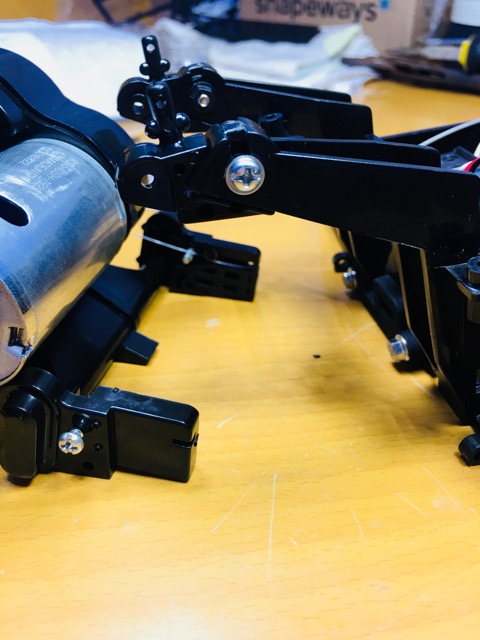
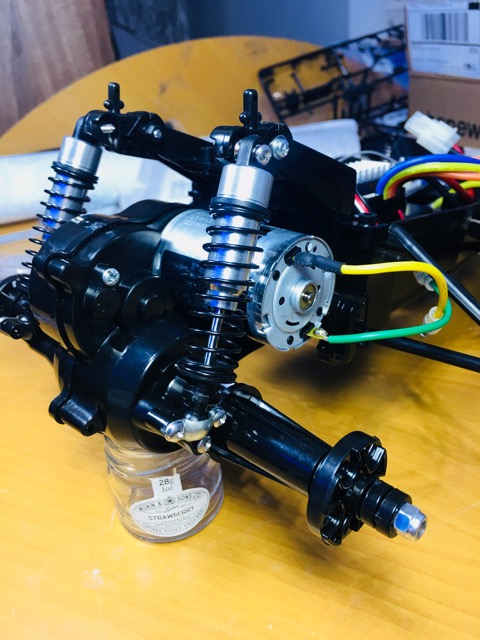
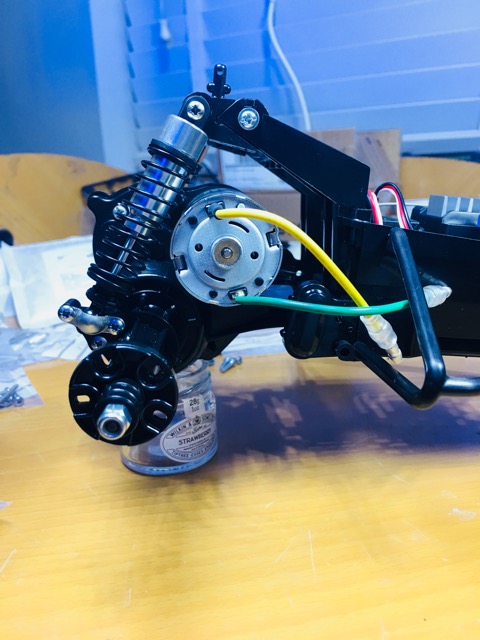
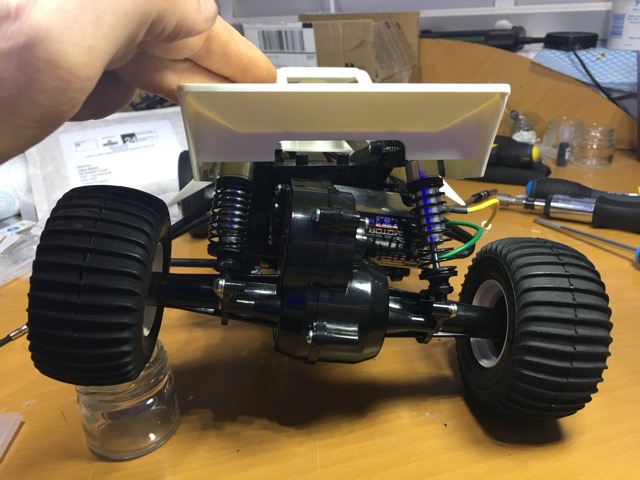
Time to fit the upper and lower shock mounts and reattach the now hornet style axle
Please note the screw fitted in to each axle mount is only there to hold the spring in position during fitment, they are then removed. Axle movement was a bit tight n sticky so very minor trimming was required to the center pivot, after which it was spot on
The following user(s) Liked this: stingray-63
|
|
Please Log in to join the conversation.
Last edit: by goldfish999.
|
Re-Re Grasshopper full suspension mods and a few more bits :-) 6 years 3 months ago #47049
|
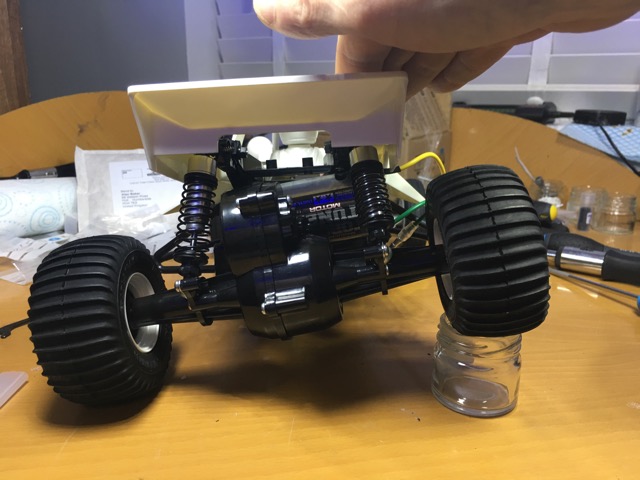
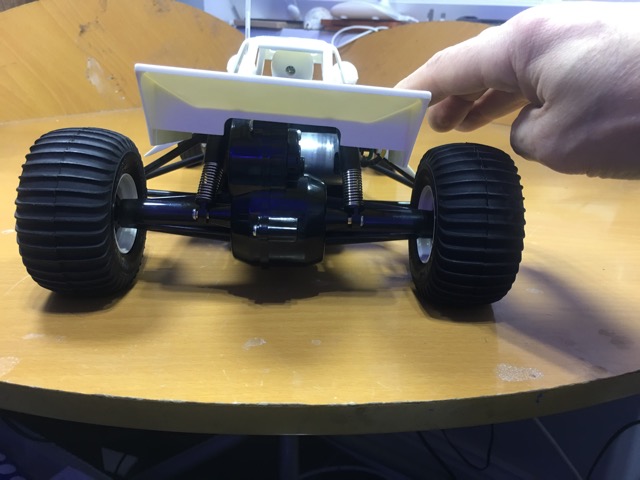
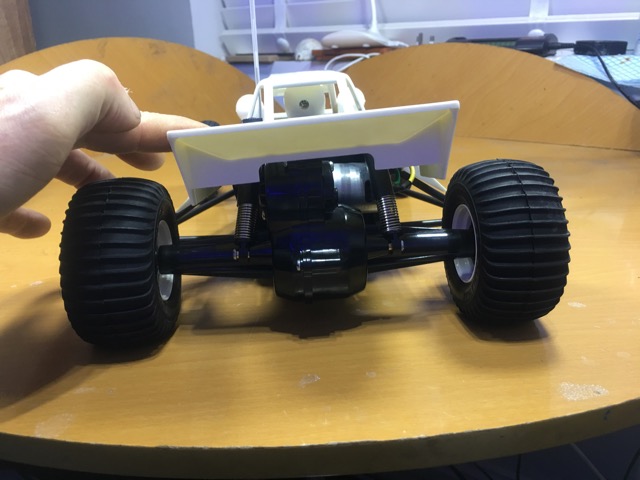
Now fit the shocks n see how it looks
Not bad if i say so my self The difference is dramatic on tiltability Only problem now is the body dont quite fit, i know im going to end up playing with the shock positions at a later date so will leave body mods unti the very end of the project Extra screws n bolts required so far: 2x BA2 3x21mm (self tapper), 4x BA3 3x8mm , 2x BB1 3x12mm, and some M3 nuts n bolts
The following user(s) Liked this: Edou
|
|
Please Log in to join the conversation. |
Re-Re Grasshopper full suspension mods and a few more bits :-) 6 years 3 months ago #47050
|
Buddy it sounds very good.
The following user(s) Liked this: goldfish999
|
|
Please Log in to join the conversation. |
Re-Re Grasshopper full suspension mods and a few more bits :-) 6 years 3 months ago #47051
|
Looks Awesome so far , waiting for the drive results , when it turns out like u wish i will go for that to.
The following user(s) Liked this: goldfish999
|
|
Please Log in to join the conversation. |
Re-Re Grasshopper full suspension mods and a few more bits :-) 6 years 3 months ago #47057
|
Thank you It could be a while before a test drive as there is still the front end to do and the rear end is going to have another total reconfiguration as my bits from Ansmann have finally turned up, have a look here: tamiyabase.com/...yyyy#47011 |
|
Please Log in to join the conversation. |
Re-Re Grasshopper full suspension mods and a few more bits :-) 6 years 3 months ago #47088
|
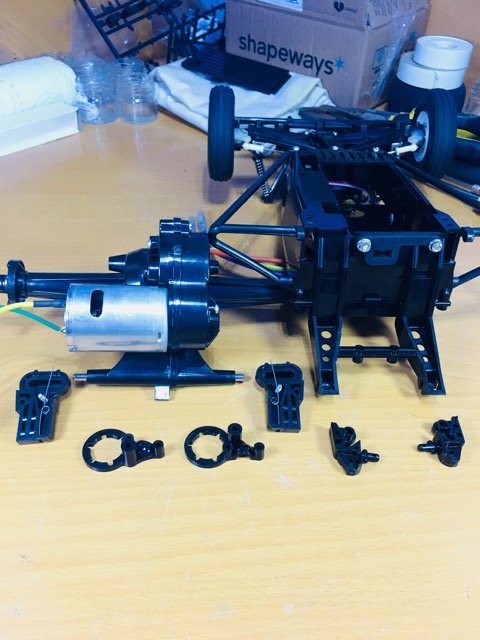
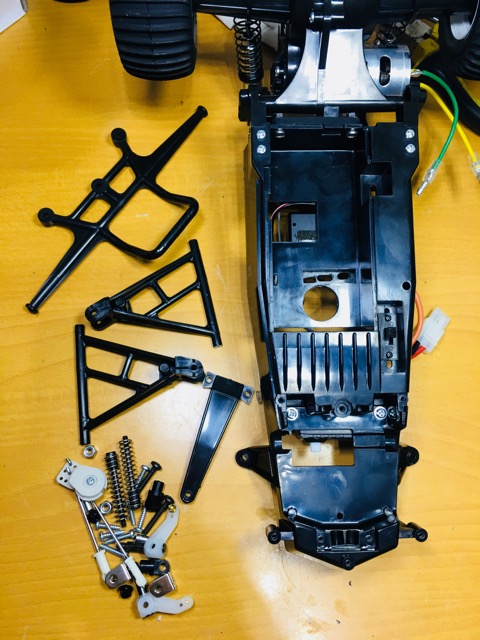
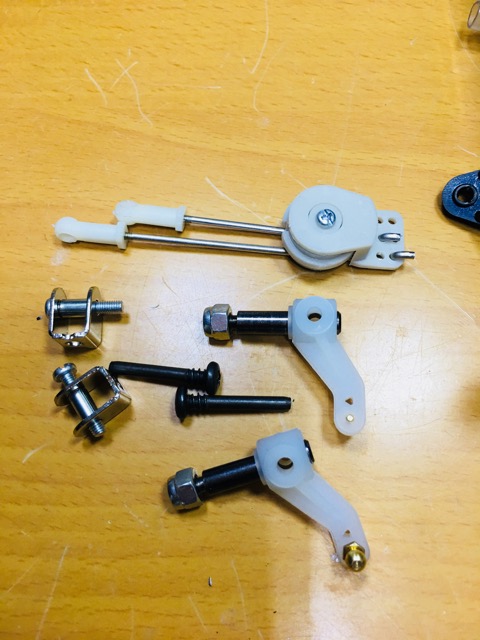
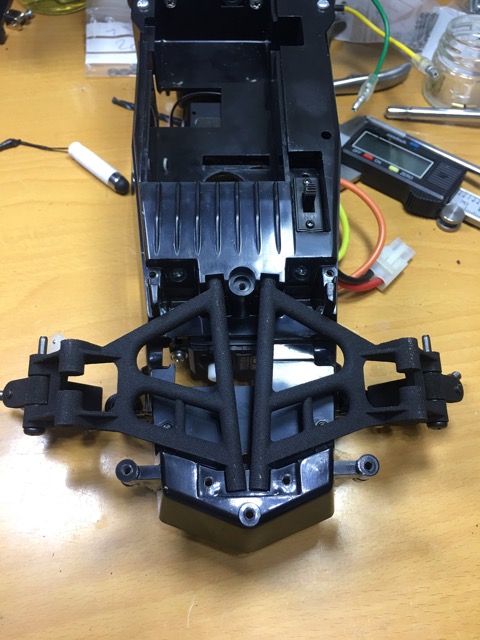
So ive had some time to start the front end, all stripped back down to components and shell
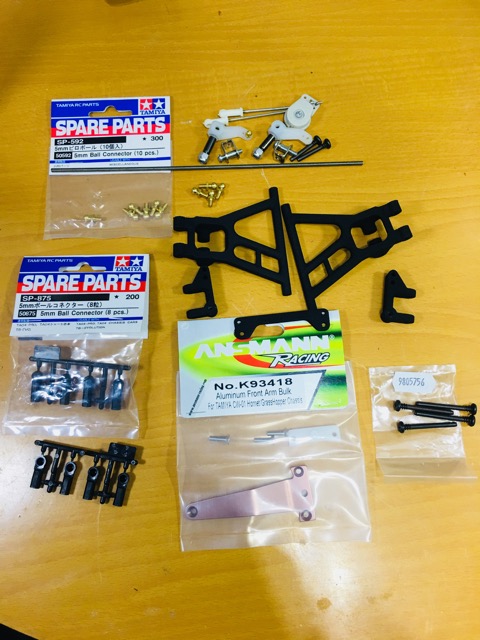
These parts not needed for mod so put to one side Parts to be used again Parts required for the mod (minus shocks, as they have not arrived yet 4x 5mm ball connectors (50592) 4x 5mm ball end connectors (50875) 4x screw pins (9805756) Ansmann aluminium brace (K93418) Ampro 20mm offset hornet bottom arms, hub carrier and mount (045001-20) Some M3 threaded bar |
|
Please Log in to join the conversation. |
Re-Re Grasshopper full suspension mods and a few more bits :-) 6 years 3 months ago #47089
|
That's promising.
|
|
Please Log in to join the conversation. |
Re-Re Grasshopper full suspension mods and a few more bits :-) 6 years 3 months ago #47090
|
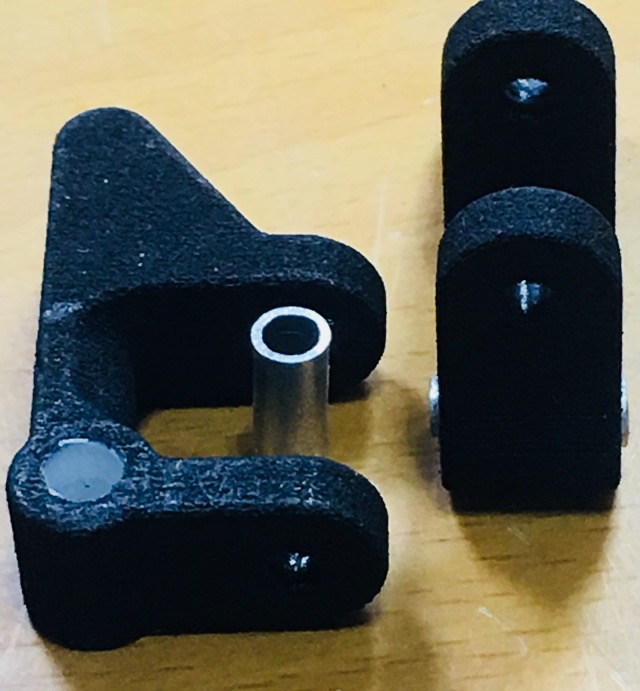
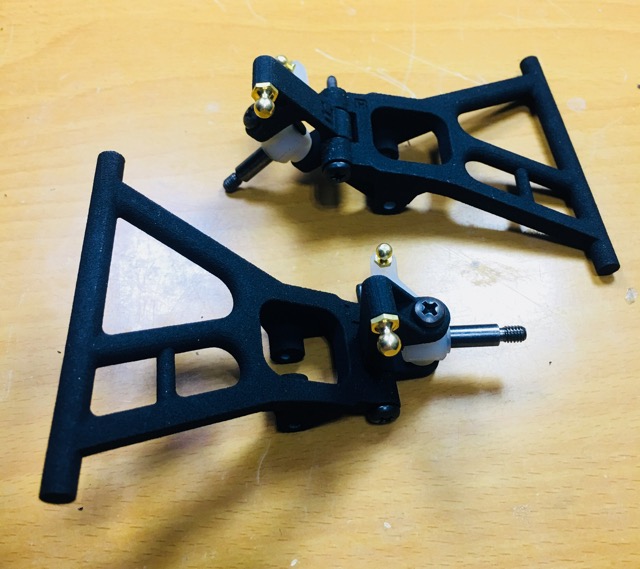
First thing to do is prepare the bottom arms n hubs for assembly
The green arrows were all drilled out to 3mm, the red arrow was originally also 3mm, but i was not happy with the sideways movement on it, so drilled it out to 4mm then pressed in a 10.5mm length of 4mm aluminium tube (3.1mm ID) the blue arrow, problem sotred Time to assemble and fit |
|
Please Log in to join the conversation. |
Re-Re Grasshopper full suspension mods and a few more bits :-) 6 years 3 months ago #47091
|
I am glad to see your custom. Very nice.
The following user(s) Liked this: goldfish999
|
|
Please Log in to join the conversation. |
Re-Re Grasshopper full suspension mods and a few more bits :-) 6 years 3 months ago #47092
|
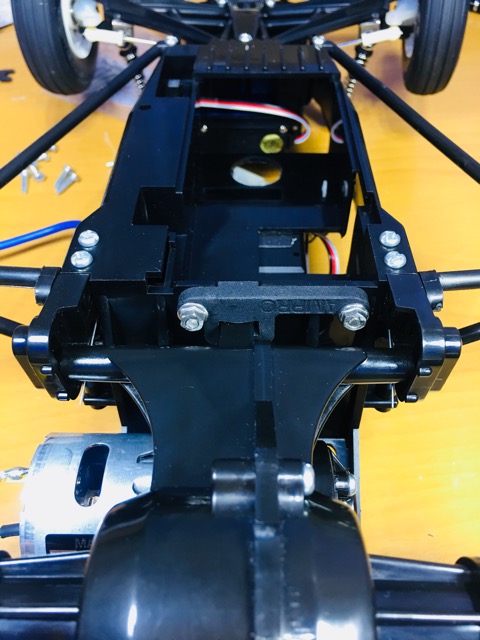
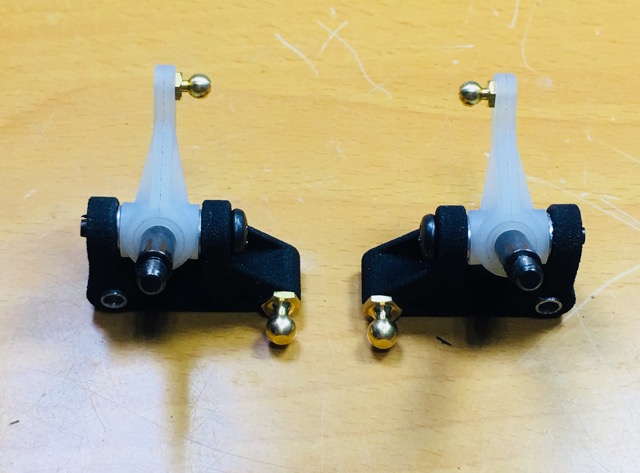
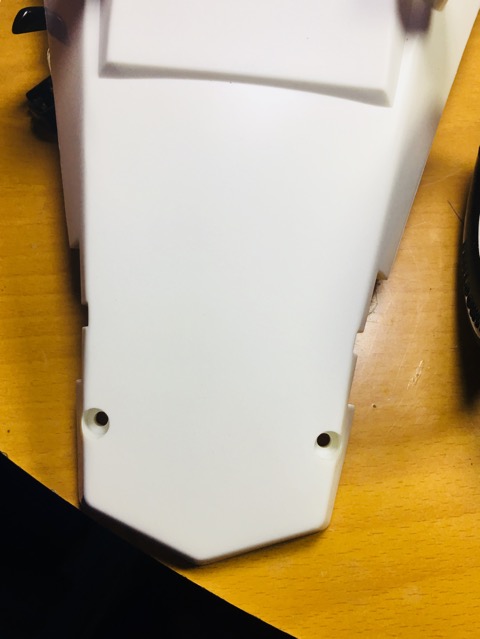
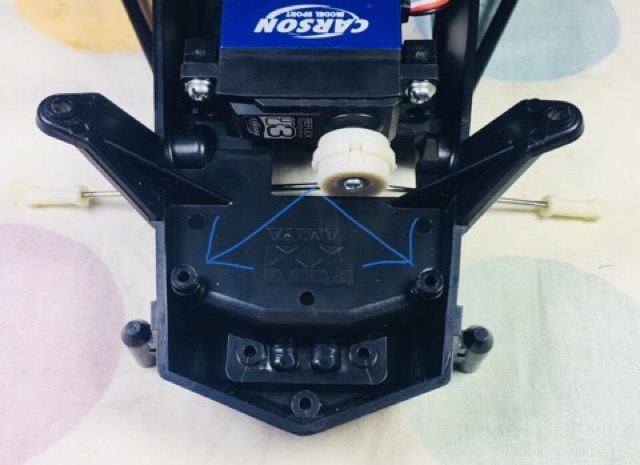
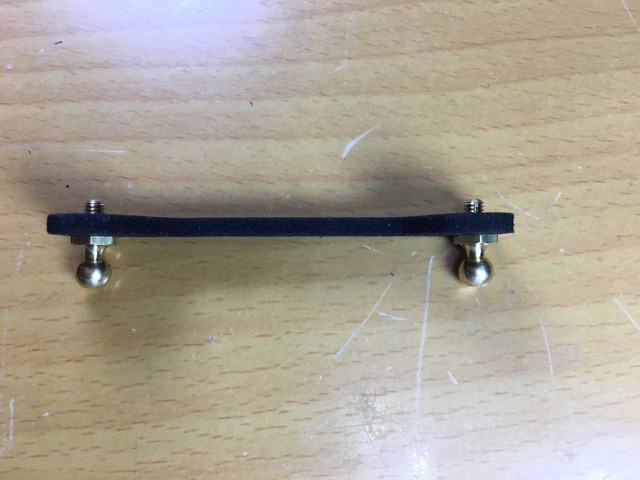
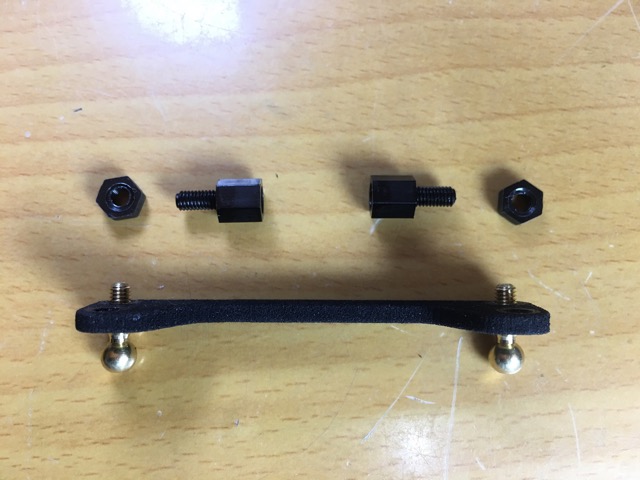
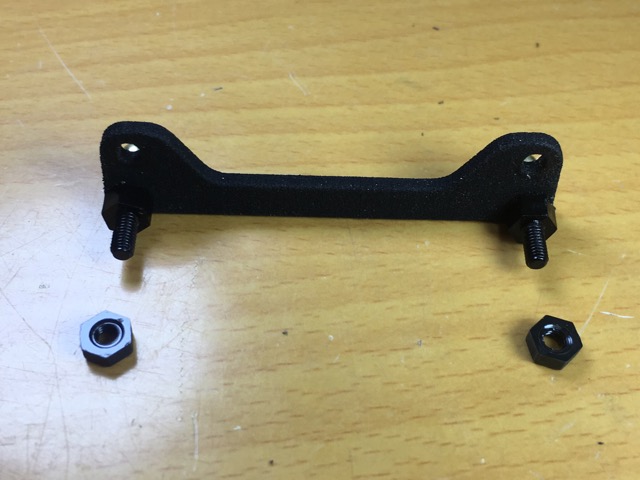
Now for the fun part, getting the top mount which is designed to be fitted to a hornet to fit the hopper, im trying to keep the hopper looking like a hopper as much as possible, so would like the body to attach as it should to the chassis using screws thought these holes in the body.
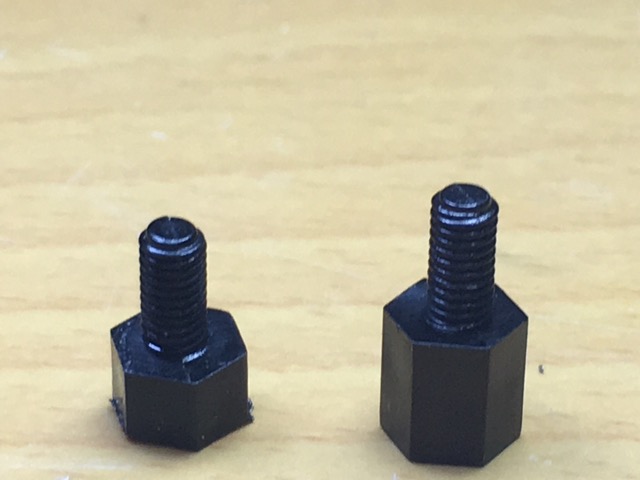
I will have to compromise slightly on the geometry and lower the mount 3mm to hopefully enable the body to fit with minimal external change, the mount would usualy mount to these holes using a couple of self tappers, no good to me as i need thes holes to mount the body Luckily once the ball ends are fitted to the mount there is some thread out the other side, which i can use to alternatively mount it Cut to the right length n fitted to mount And that is the mount ready to fit |
|
Please Log in to join the conversation. |
Time to create page: 0.421 seconds
