|
:)
The following user(s) Liked this: jord001
|
Please Log in to join the conversation. |
|
I bought a 2nd Trial 12 with a pile of spares...
I'm getting the feeling that these bodies are quite fragile ... ... especially the front left corner 
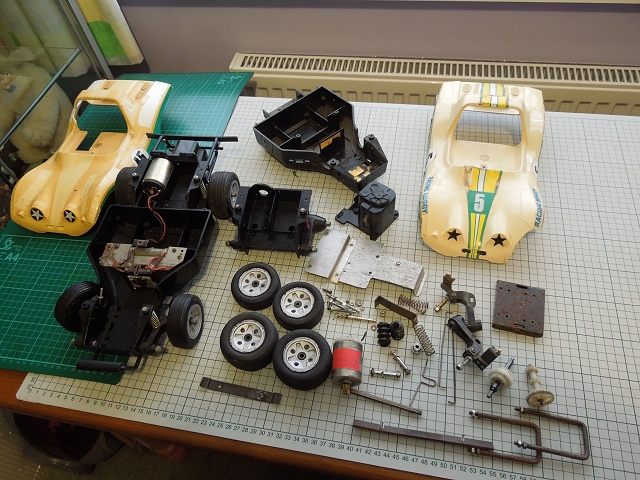
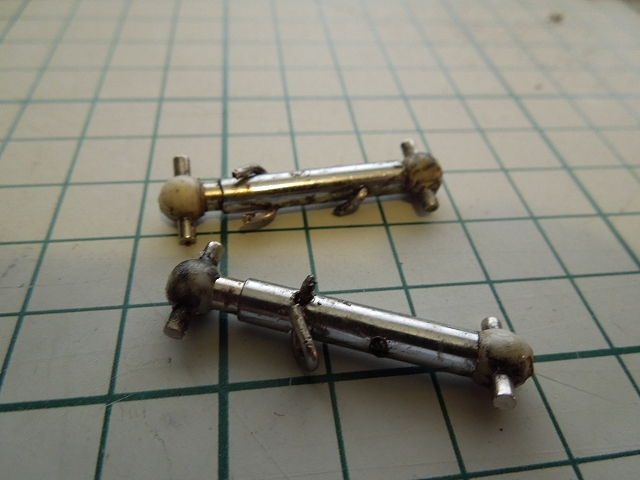
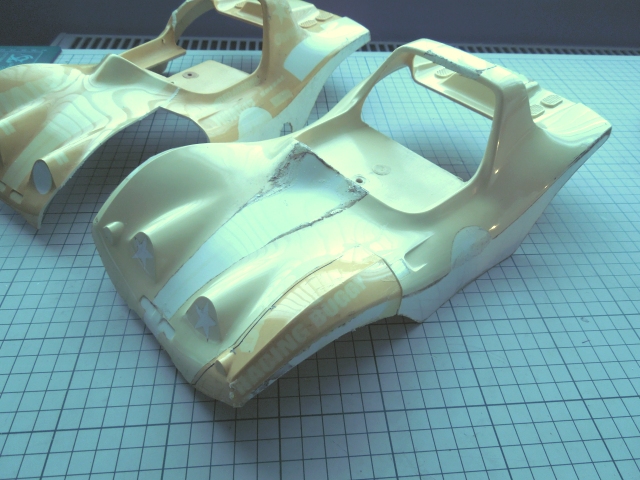
I'll attempt a cut & shut on the two, when I get around to it ... Chassis of the "new" car is less complete than the first, but is in better condition... Spare tub is in better condition than the one on the first car, but has a couple of inexplicable holes in the sides where the battery sits ... These homemade driveshafts were in the spares pile
The following user(s) Liked this: jord001
|
Please Log in to join the conversation. |
|
Too late now, I know, but would a high-build filler primer have sorted that out?
The following user(s) Liked this: jord001
|
Please Log in to join the conversation.
Last edit: by Martin Bell.
|
|
I've used it in the past & I'm not a big fan of it - filling properties seem to be extremely limited & you have to sand almost all of it off again otherwise you just have a rippled surface ... filler & sanding back is easier & quicker - it might have looked like a lot of effort, but really wasn't that bad.
The following user(s) Liked this: jord001
|
Please Log in to join the conversation. |
|
I don't know where you guys find the time to work on these things so regularly... I wish I had that kind of spare time. Well done though, it's looking good.
www.rctoymemories.com - A nostalgia site about vintage and retro radio controlled cars & other toys, from Tamiya, Nikko, Kyosho, Radio Shack and many more.
The following user(s) Liked this: jord001
|
Please Log in to join the conversation. |
In true model maker style, you have to stop playing with everything else & devote your enthusiasm to your toys
Custom F2
...
Hilux crossmember drawing
...
F2 axle drawing
...
Quattro radio lid
...
Holiday Buggy motor bracket drawing
...
Quattro resto
...
HitnMiss engine
...
Wild Willy resto
...
Mardave Cobra resto
...
Thunder Dragon resto
...
Grasshopper resto
...
XR311 resto
...
Modded XR311
...
Carbon 25th scratch build
The following user(s) Liked this: jord001
|
|
Please Log in to join the conversation. |
|
I don't spend any more than an hour a day on RC stuff - it must just seem like a lot more due to all the photos I post.
The following user(s) Liked this: jord001
|
Please Log in to join the conversation.
Last edit: by Jonny Retro.
|
|
The following user(s) Liked this: jord001
|
Please Log in to join the conversation. |
|
Performed the cut 'n' shut on the better body - note fibreglass cloth & epoxy resin on the inside, UV damage on the outside, and cocktail of dirt, decal adhesive, multipurpose glue, evostick & superglue - someone has obvious tried (several times) to re-stick peeling decals 
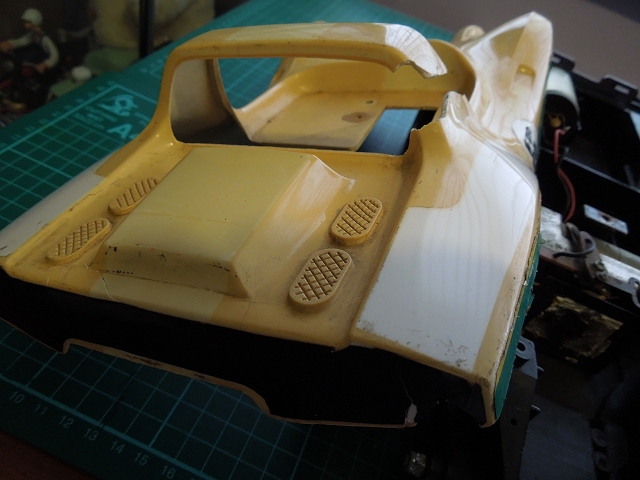
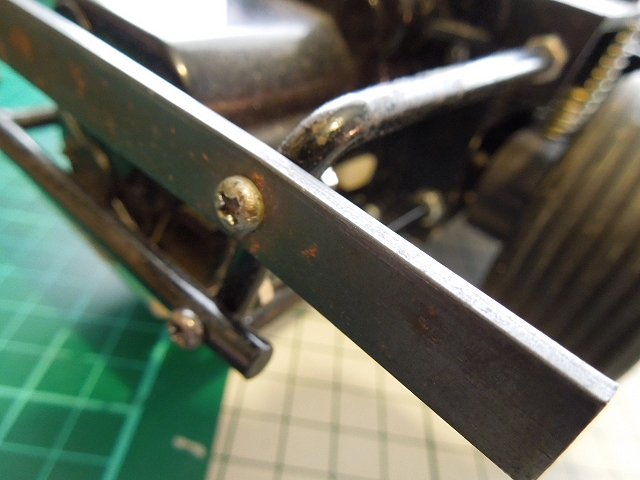
... I had to use 180 grit wet & dry to get it off
The following user(s) Liked this: jord001
|
Please Log in to join the conversation. |
|
I salvaged as much of the decals as possible ... they were already in very poor contition, but they did give me something to work with to make new ones...
The bulk I'll cut out of black, white, yellow or green self adhesive vinyl, some will need printing on white, and some on clear. I also "upgraded" the dials & lights
The following user(s) Liked this: jord001
|
Please Log in to join the conversation. |