Keyword

TOPIC:

What did you do today? 10 months 1 week ago #75559

Spent the today at another track club day, Ran the Fire dragon before breaking an input shaft 😄. Ran the Hot Shot II before breaking the rear shock tower 😄, Ran the B3 with no issues and finished the day by running the Maxxum FF 😁


If you can't fix it with a hammer, you've got an electrical problem mate :)
Attachments:
The following user(s) Liked this: stingray-63, 1972 LeMansGT Jim, Lemsko, Ducksnuts, GToddC5

Please Log in to join the conversation.

What did you do today? 10 months 1 week ago #75560

  • Al
  • Al's Avatar
  • Offline
  • Impressive Numbers
  • Impressive Numbers
  • Posts: 1498
  • Likes received: 1736
For any one interested MCI have got another promotion on this weekend.
20% off everything.
I’ve just ordered a bunch more decals for some of my builds.
The following user(s) Liked this: stingray-63, 1972 LeMansGT Jim, Lemsko, GToddC5

Please Log in to join the conversation.

What did you do today? 10 months 1 week ago #75565

  • Al
  • Al's Avatar
  • Offline
  • Impressive Numbers
  • Impressive Numbers
  • Posts: 1498
  • Likes received: 1736
 
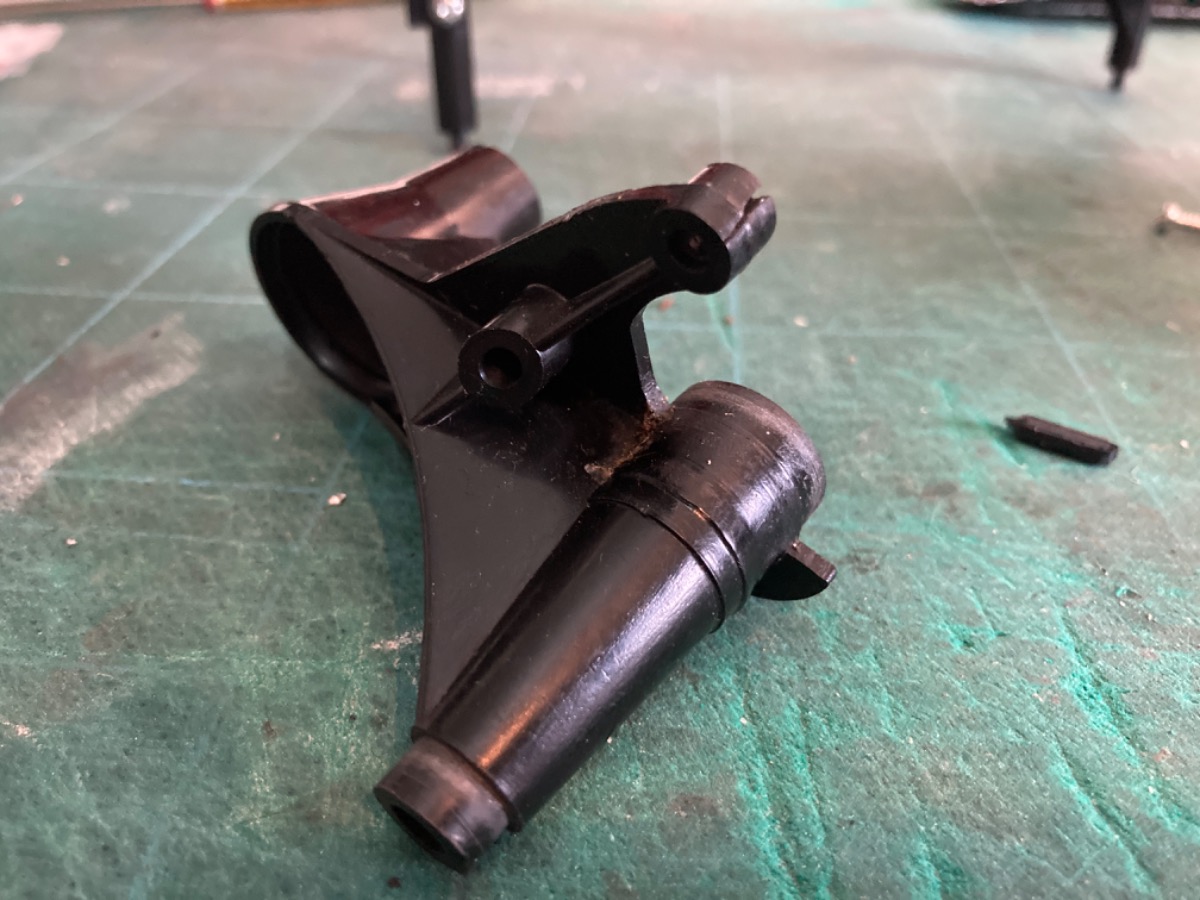
The biggest problem with the ORV chassis is the suspension mounting point on the trailing arms.
Rather than buy a new parts tree to replace this one on my Blackfoot, I seriously couldn’t bring myself to spend more money on this part.
Instead I thought I’d try fixing it ???
I thought I’d try using a piece of the black plastic from the parts tree and use my soldering iron to melt some more plastic into the crack. 
I wouldn’t expect it to last long if I gave it a run, but for now it’s slightly better than it was before hand. The screw is at least holding. 
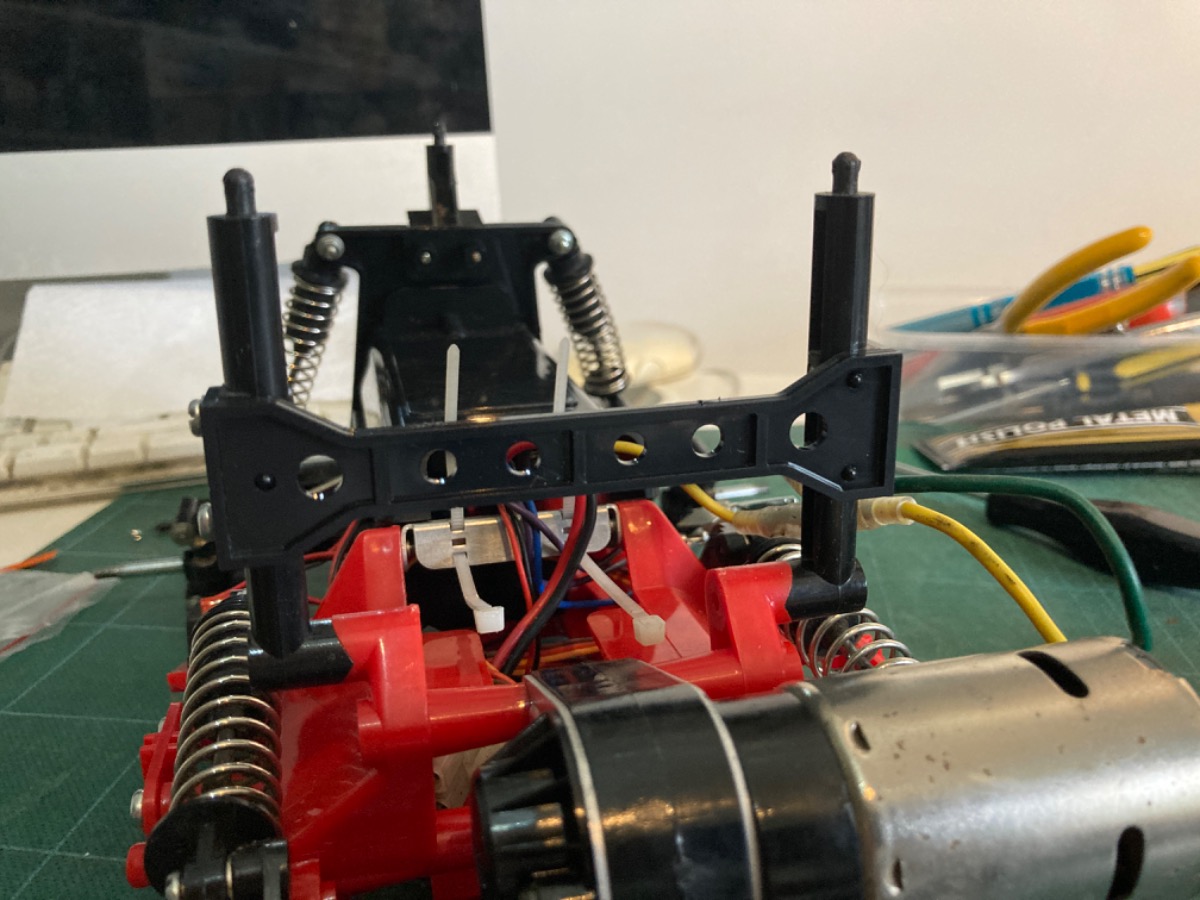
I also added the last part to finish the build. The brace between the two body posts needed fitting.
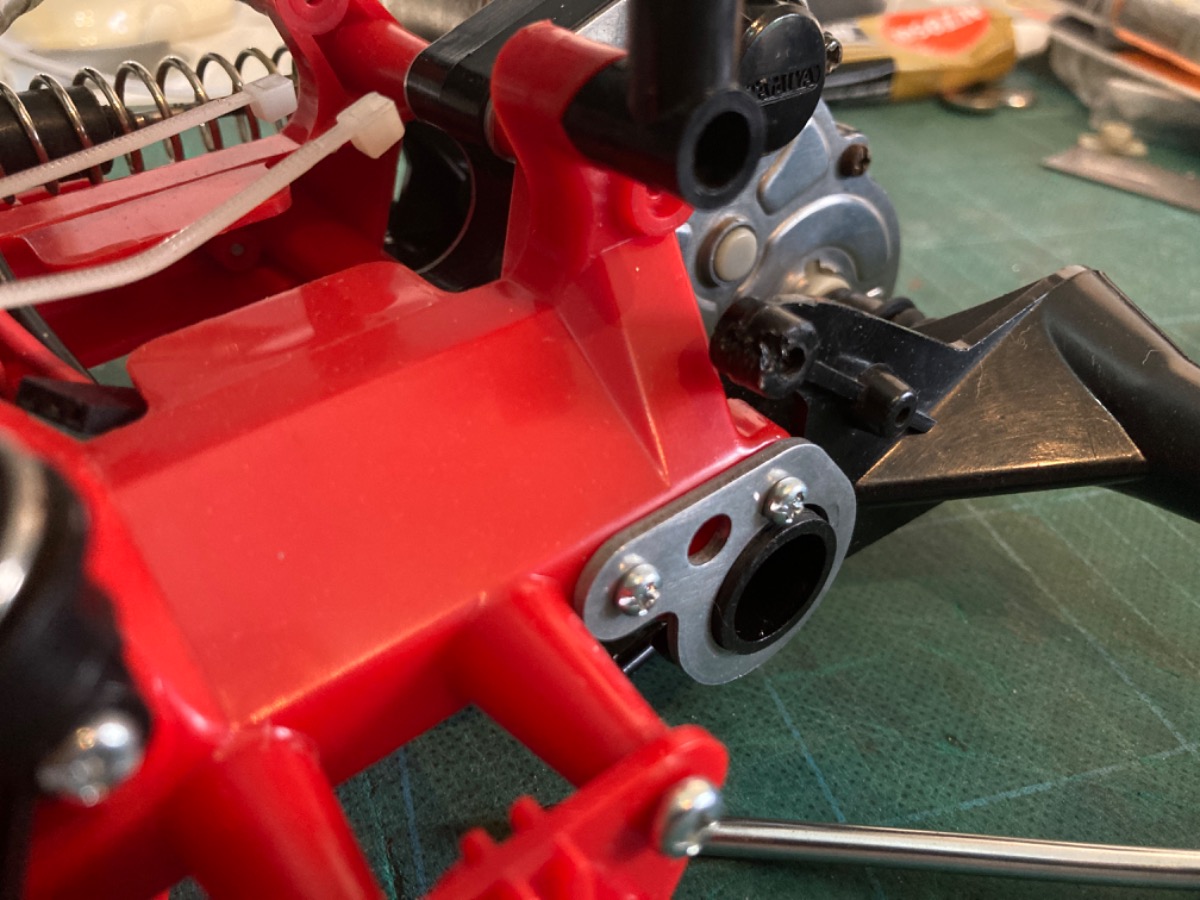
I had been avoiding buying another whole parts tree just for one piece, but £10 for a whole tree against £15 for the individual part secondhand, I just gave up and bought a whole parts tree.
Another small job to tick off.
Attachments:
The following user(s) Liked this: caprinut, stingray-63, 1972 LeMansGT Jim, Lemsko, GToddC5

Please Log in to join the conversation.

Last edit: by Al.

What did you do today? 10 months 1 week ago #75566

In addition to what you've done, Al, I woul print a part that goes around and would reinforce it... (this is basically the type of fixes I made to my Hunter chassis' motor mounts...)
I buy kits to built and ru(i)n them :-)
The following user(s) Liked this: stingray-63, Al, 1972 LeMansGT Jim, Lemsko

Please Log in to join the conversation.

Last edit: by silvertriple.

What did you do today? 10 months 1 week ago #75567

Tomorrow should be final assemble time.

 
Attachments:
The following user(s) Liked this: stingray-63, 1972 LeMansGT Jim, silvertriple, Ducksnuts, GToddC5

Please Log in to join the conversation.

What did you do today? 10 months 1 week ago #75568

  • Al
  • Al's Avatar
  • Offline
  • Impressive Numbers
  • Impressive Numbers
  • Posts: 1498
  • Likes received: 1736

In addition to what you've done, Al, I woul print a part that goes around and would reinforce it... (this is basically the type of fixes I made to my Hunter chassis' motor mounts...)

Cheers Marc. I think other people have done additional parts to address this issue. As much as that part really does annoy me, because Tamiya have never tried to fix it, but I’m sadly going to leave it in original order. At this point any way. If I run it, I’ll need to add some additional support or sadly buy another part.
It’s one of the few parts I would never buy secondhand because you’d never know if it was any good or not. Most of the time they have hair line cracks.
 

The following user(s) Liked this: stingray-63

Please Log in to join the conversation.

What did you do today? 10 months 1 week ago #75569

Well, hair line cracks are generally coming from overtightened screws initially. I remember back in the eighties, I had no idea what a JIS screw driver was. Only screw drivers I had at hand was Philips screw drivers... And used with JIS screws, while you are trying to turn the screw, the form of the bit was pushing the screw driver up, which means you had no sense of how much you were tightening the screw... That led to overtightened screws most of the times... And therefore cracks. Further old ABS exposed to UV, cold and hot weather, is not better. That being said, a circle of PETG of 2 mm around the part for 3-4 mm deep should be enough to reinforce the part so it doens'nt crack more than how it is cracked already...
And when it's broken already, it doesn't cost anything most of the times... And you would not mind to break it more if you run the part :-)
I buy kits to built and ru(i)n them :-)
The following user(s) Liked this: Lemsko

Please Log in to join the conversation.

Last edit: by silvertriple.

What did you do today? 10 months 1 week ago #75570

  • Al
  • Al's Avatar
  • Offline
  • Impressive Numbers
  • Impressive Numbers
  • Posts: 1498
  • Likes received: 1736
Cheers Marc, thanks for that explanation and also some ideas.
Much appreciated.
Al

Please Log in to join the conversation.

What did you do today? 10 months 1 week ago #75571

I had the same issue with my rere brat never run from 2005. And not overtighten. The bushing method is the best one.
The following user(s) Liked this: Al

Please Log in to join the conversation.

Last edit: by stingray-63.

What did you do today? 10 months 1 week ago #75572

She is done so far. For the light controller i need to find some space 1st.


Attachments:
The following user(s) Liked this: stingray-63, Al, 1972 LeMansGT Jim, Ducksnuts, EddyCH, GToddC5

Please Log in to join the conversation.

Moderators: caprinutstingray-63AndyAus
Time to create page: 0.259 seconds
Cookies are required to make this site work. If you continue to use this site you permit us to use cookies.